Tips to Make a Spider Plant Grow Fuller?
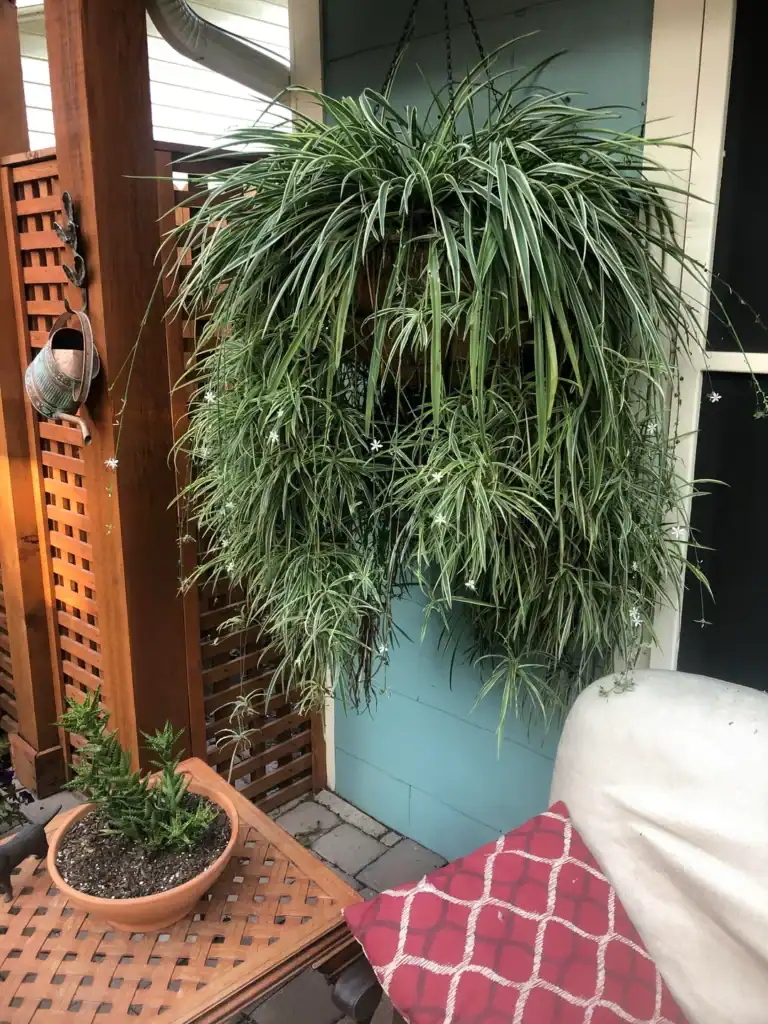
Spider plants are popular houseplants that grow quickly and look great in hanging baskets. But sometimes they can look a bit sparse or thin instead of full and bushy. If you want your spider plant to have more leaves and look healthier, you’re in the right place.
The good news is that making your spider plant grow fuller doesn’t require any special skills or expensive supplies. I’ll share simple ways to help your plant fill out by adjusting how you care for it. This includes tips on pruning, watering, light, and basic maintenance that really work.
You’ll learn how to create the best growing conditions for your spider plant and what to do when it needs a little extra help. These methods work whether you’re brand new to plants or you’ve been growing them for years.
Please note: Simplify Plants is reader-supported. As an Amazon Associate, I earn from qualifying purchases made by our readers with no extra cost added to you all! Some links in the post are affiliate links and I get a commission from purchases made through links in the post.
1) Pinch back long, leggy stems regularly to keep your spider plant compact and bushy
I like to grab my scissors every few weeks and snip off stems that are getting too long and sparse. This stops my spider plant from looking stretched out and sad.
When I pinch back these leggy stems, the plant sends out new growth from the base. That’s what creates the fuller, bushier look I’m after.
Quick Tip: Cut stems back to about 4-6 inches from the soil, just above where leaves branch out.
I’ve noticed that spider plants in lower light get leggy faster, so I check mine more often in winter. The trimmed stems can go straight into water if I want to start new plants, which is a nice bonus.
2) Repot into a 1–2 inch larger pot with fresh potting mix
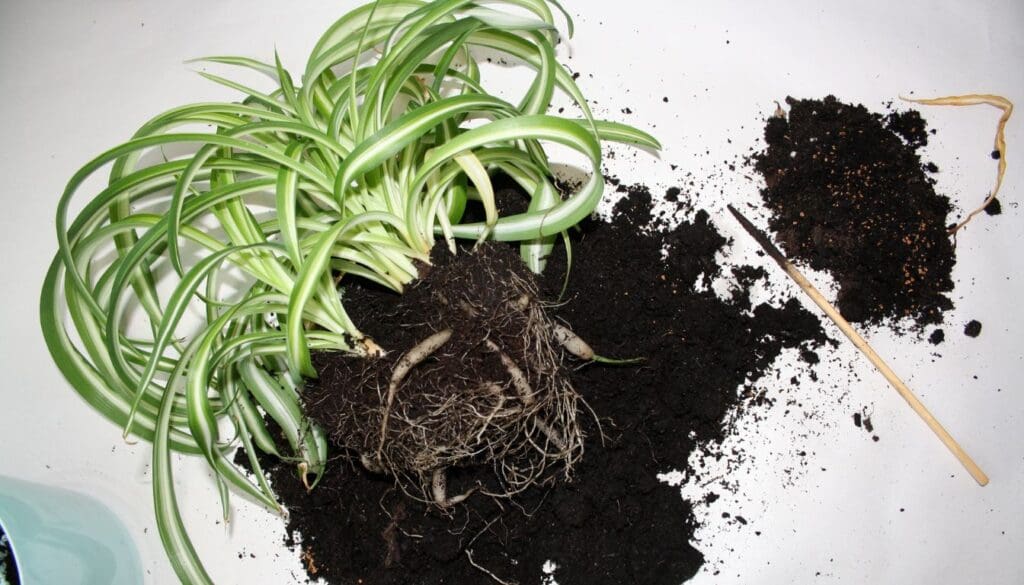
When my spider plant’s roots start peeking out of the drainage holes, I know it’s time to move up a pot size. I grab a container that’s just 1–2 inches wider than the current one—nothing huge.
Going too big too fast can actually stress the plant out. The extra soil holds moisture that the roots can’t reach yet, which leads to soggy conditions.
I fill the new pot with fresh potting mix because old soil gets compacted and loses nutrients over time. Spider plants love light, airy soil that drains well.
Quick Tip: Gently loosen the root ball with your fingers before placing it in the new pot—it helps the roots spread out faster.
Spring and early summer are the best times to repot since the plant bounces back quicker when it’s actively growing. If you’re in a colder zone, wait until temperatures stay consistently warm.
3) Use a well-draining potting mix with perlite to prevent root rot and boost growth
Spider plants hate sitting in soggy soil. Their roots need air pockets to stay healthy and grow strong.
I always mix perlite into my potting soil because it creates tiny air channels that let water drain quickly. Those white, puffy bits you see in quality potting mix? That’s perlite doing its job.
When roots get waterlogged, they rot and can’t absorb nutrients properly. Your spider plant will grow thin and sad-looking instead of full and bushy. A good potting mix should feel light and crumbly in your hands, not dense like garden soil.
Quick Tip: Aim for a mix that’s about 20-30% perlite to regular potting soil.
You can buy pre-mixed houseplant soil or add your own perlite to basic potting mix. Either way works fine. Just make sure water runs through the drainage holes within a few seconds after watering—not pooling on top.
4) Provide bright indirect light near an east or west window
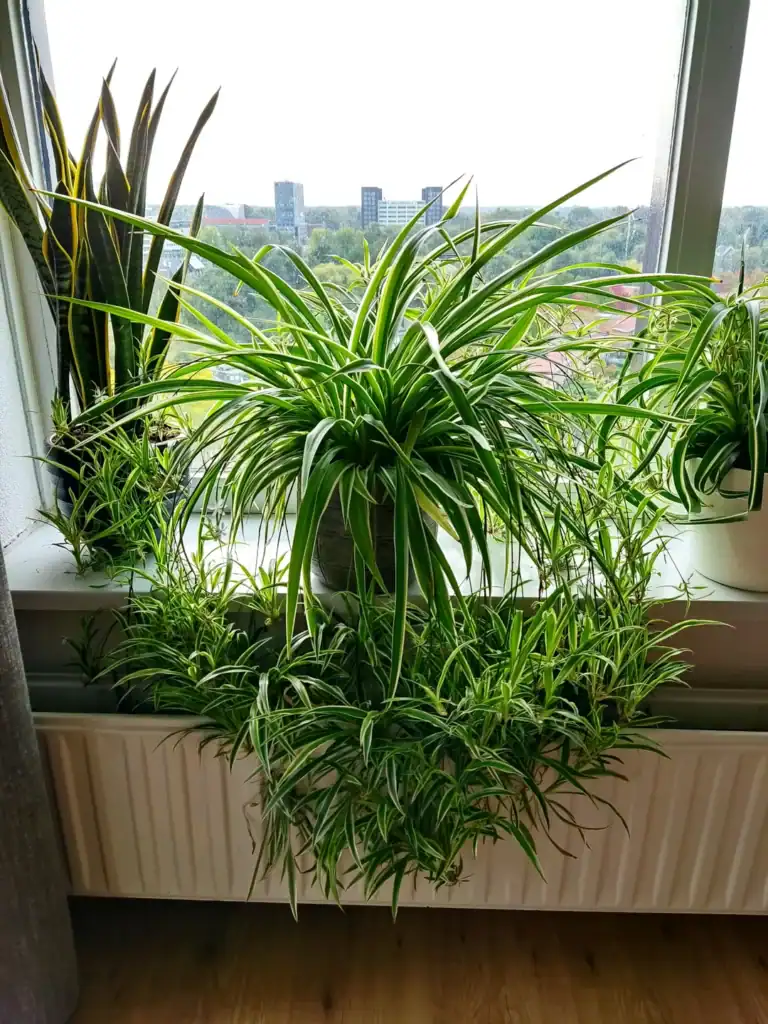
I always place my spider plants near an east or west-facing window because that’s where they get the perfect amount of light. These spots give your plant a few hours of gentle morning or evening sun without the harsh midday rays that can scorch the leaves.
Spider plants need enough light to fuel their growth, but direct afternoon sun through a south window can bleach their stripes and dry out the tips. If you notice pale leaves or slow growth, your plant might be telling you it needs more light.
Quick Tip: Keep your spider plant about 2-3 feet back from the window if the light feels hot on your hand.
In winter or cloudier climates, you can move the plant a bit closer to the glass. Just watch for brown, crispy leaf tips—that’s usually a sign of too much direct sun or low humidity, not the indirect light itself.
5) Water thoroughly when top 1–2 inches of soil are dry
I always check the soil before watering my spider plants. I stick my finger about an inch or two down into the potting mix. If it feels dry at that depth, it’s time to water.
When I do water, I make sure to give the plant a good soak. I pour water until it runs out of the drainage holes at the bottom. This helps the roots get enough moisture and prevents salt buildup in the soil.
Spider plants don’t like sitting in soggy soil, so I let mine dry out a bit between waterings. In summer, I usually water once a week. In winter, I cut back to every 10-14 days since the plant grows slower.
Quick Tip: Yellow or brown leaf tips often mean you’re watering too much or using tap water with chemicals.
I’ve noticed my spider plants in bright spots dry out faster than ones in dimmer areas. The pot size matters too—smaller pots need water more often.
6) Feed monthly with a balanced liquid fertilizer (20-20-20)
I feed my spider plants once a month during their growing season, which runs from spring through early fall. A balanced liquid fertilizer with equal parts nitrogen, phosphorus, and potassium (that’s what 20-20-20 means) gives them the nutrients they need to pump out more leaves and baby plantlets.
I dilute the fertilizer to half strength because spider plants don’t need much food. Too much fertilizer can actually burn their leaf tips and turn them brown.
During winter, I skip feeding altogether since my plants go into a rest period. They’re not actively growing, so they don’t need the extra nutrients.
Quick Tip: Always water your spider plant before adding fertilizer to avoid shocking the roots.

If you notice the tips turning brown even with proper feeding, your tap water might have too much fluoride or salts. I switched to filtered water and that solved the problem for me.
7) Maintain temperatures between 65–75°F (18–24°C)
Spider plants are comfortable in the same temperature range that most of us prefer. I keep mine in rooms that stay between 65–75°F, and they reward me with thick, lush growth.
When temperatures drop below 55°F, growth slows down and the leaves can turn brown at the tips. Heat above 80°F isn’t great either—it stresses the plant and causes wilting or pale leaves.
Quick Tip: If your home runs cold in winter, move your spider plant away from drafty windows or unheated rooms.
I notice my spider plant looks happiest when the air feels pleasant to me too. If you’re reaching for a sweater or turning on a fan, your plant probably feels the same way. Room temperature is really all it needs to fill out nicely.
8) Increase Humidity with a Pebble Tray or Humidifier to Help Your Spider Plant Thrive
Spider plants love a bit of moisture in the air. When the humidity drops too low, their leaf tips can turn brown and crispy.
I like using a pebble tray because it’s simple and cheap. Just fill a shallow tray with pebbles, add water until it almost covers the stones, then set your pot on top. The water evaporates around your plant without soaking the roots.
A humidifier works great if you have several plants or live somewhere dry. Place it near your spider plant and run it when the air feels stuffy or your heater is on.
Quick Tip: Aim for around 40-50% humidity, which feels comfortable for you too.

In winter, indoor heating can zap moisture from the air fast. That’s when brown tips show up most. Misting helps a little, but it’s temporary compared to a pebble tray or humidifier.
9) Remove yellow or damaged leaves promptly
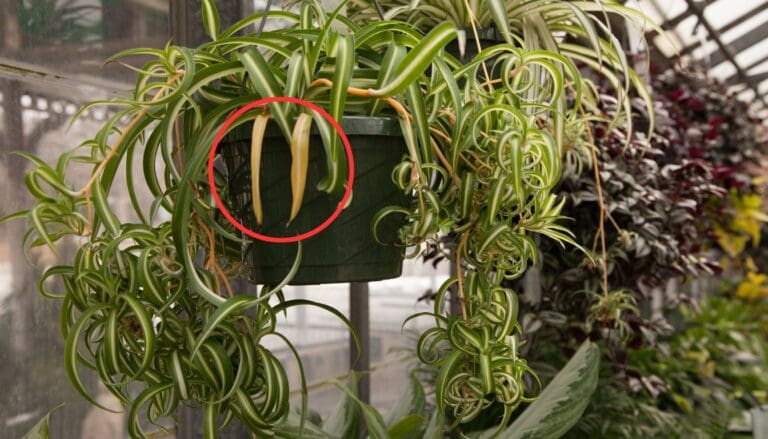
I always check my spider plant for yellow or brown leaves because they drain energy from the rest of the plant. Those dying leaves can’t recover, so they’re just taking up resources that could go toward new growth.
I use clean scissors or my fingers to snip off any damaged leaves at the base where they meet the soil. It takes less than a minute, but it makes a real difference in how full the plant looks.
Quick Tip: Pull gently on yellowing leaves—if they come away easily, the plant is already letting them go.
Dead leaves can also attract pests or develop mold if they stay damp. In humid climates, this happens faster, so I make it a habit to remove them right away. The plant looks cleaner and puts all its effort into healthy foliage instead of trying to save leaves that are already done for.
10) Divide crowded plants and replant offsets in spring
When my spider plant starts pushing itself out of the pot, I know it’s time to divide it. Spring is the best time to do this because the plant is waking up and ready to grow.
I gently pull the root ball apart into smaller sections, making sure each piece has healthy roots attached. Spider plants are pretty tough, so they bounce back quickly from this. The babies hanging off the stems can go straight into their own pots too.
Quick Tip: Use a clean, sharp knife to cut through thick root clumps if they won’t separate by hand.
Fresh soil and a new pot give each division room to spread out. I water them right after planting and keep them in bright, indirect light while they settle in. Within a few weeks, they start filling out and looking fuller than ever.
Understanding Spider Plant Growth Patterns
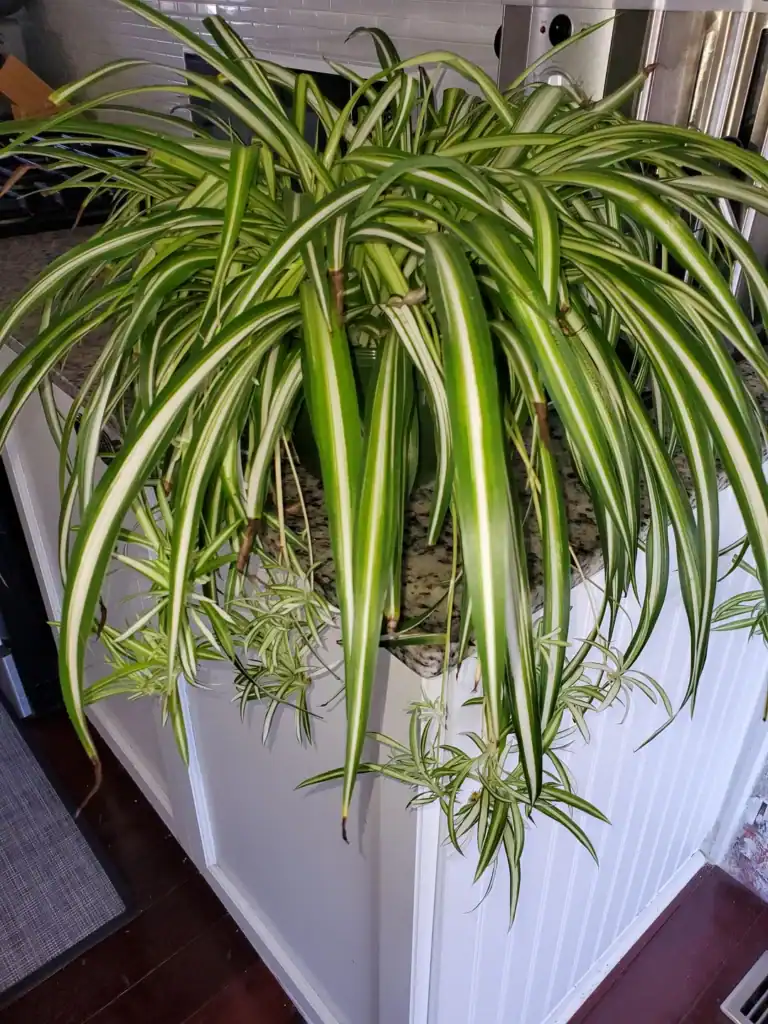
Spider plants grow from a central crown and send out long, arching leaves that multiply over time. The density of your plant depends on how many individual plantlets share the pot and how well you meet their basic needs.
How Spider Plants Develop Foliage (and Why Some Stay Scraggly)
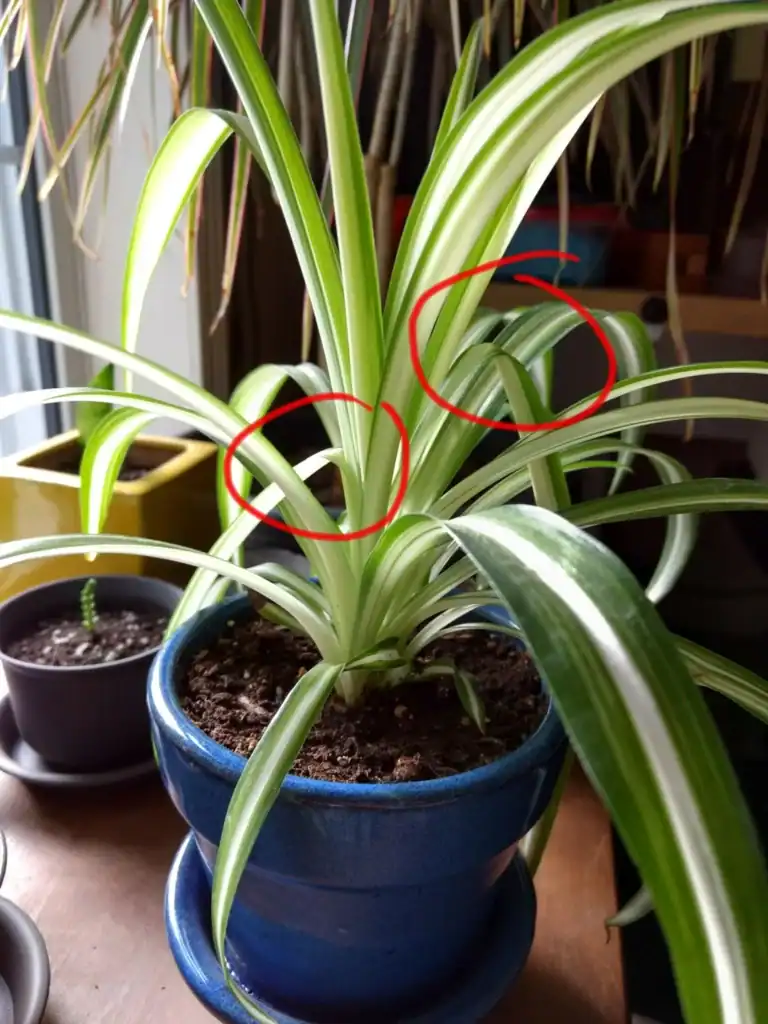
Spider plants grow new leaves from the center crown, which sits right at soil level. Each leaf emerges tightly curled and gradually unfurls into that classic arching shape. The plant doesn’t branch out like a tree—it just keeps pushing out more leaves from that same central point.
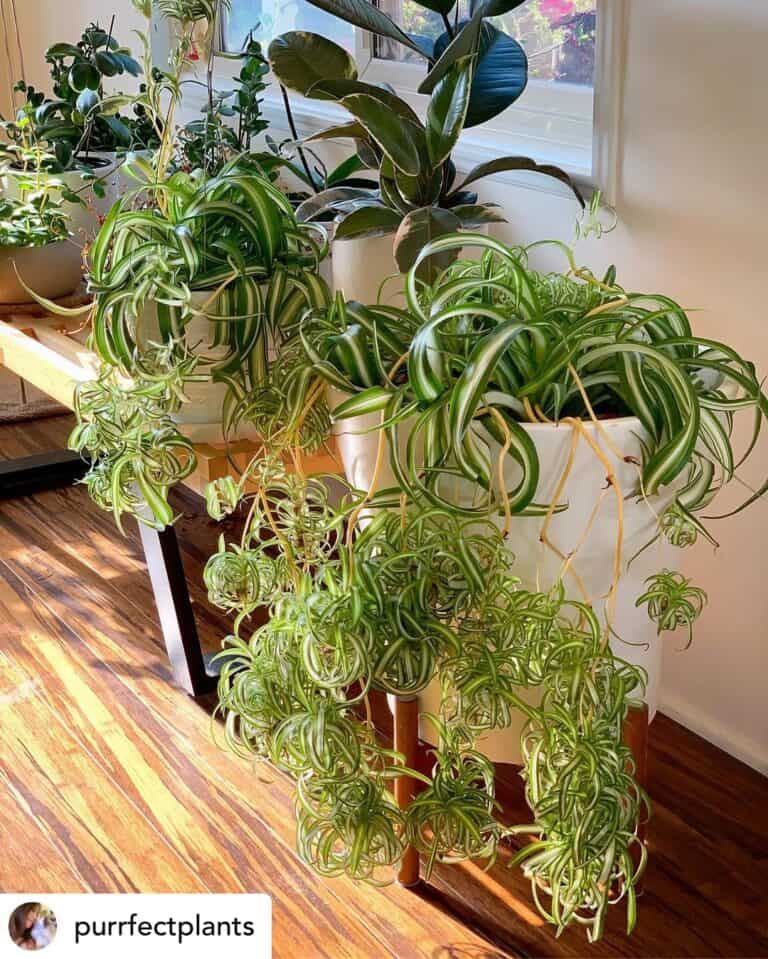
Here’s what I’ve noticed: a single spider plant will only produce so many leaves on its own. If you want a truly full pot, you need multiple plants growing together. That’s why mature spider plants look bushier—they’ve either been divided and replanted together, or they’ve dropped their babies into the same pot.
Quick Tip: Count the crowns in your pot. One crown = one fountain of leaves. Three or four crowns = much fuller look.
The leaves themselves live for several months before they naturally yellow and die back. This is normal. But if your plant pushes out new growth faster than the old leaves die, you’ll see that lush, overflowing effect everyone wants.
Factors Influencing Leaf Density (What Actually Makes the Difference)
Light is the biggest player here. I’ve found that spider plants in bright, indirect light produce more leaves and grow them faster than plants stuck in dim corners. They can survive low light, but they won’t fill out.
Water consistency matters too. When the soil dries out completely between waterings, the plant slows down its growth. It’s not dying, just conserving energy. Keep the soil lightly moist (not soggy) and you’ll see steady new growth.
Pot size affects density more than people realize. A root-bound spider plant will focus energy on making babies instead of leaves. Give it fresh soil and a slightly larger pot, and it’ll redirect that energy back into foliage.
Quick Tip: If your plant looks thin, check if roots are circling the pot’s bottom.
Temperature swings and drafts can slow growth too. Spider plants like steady temps between 60-75°F. Anything below 50°F and they basically pause.
Optimizing Your Spider Plant’s Environment
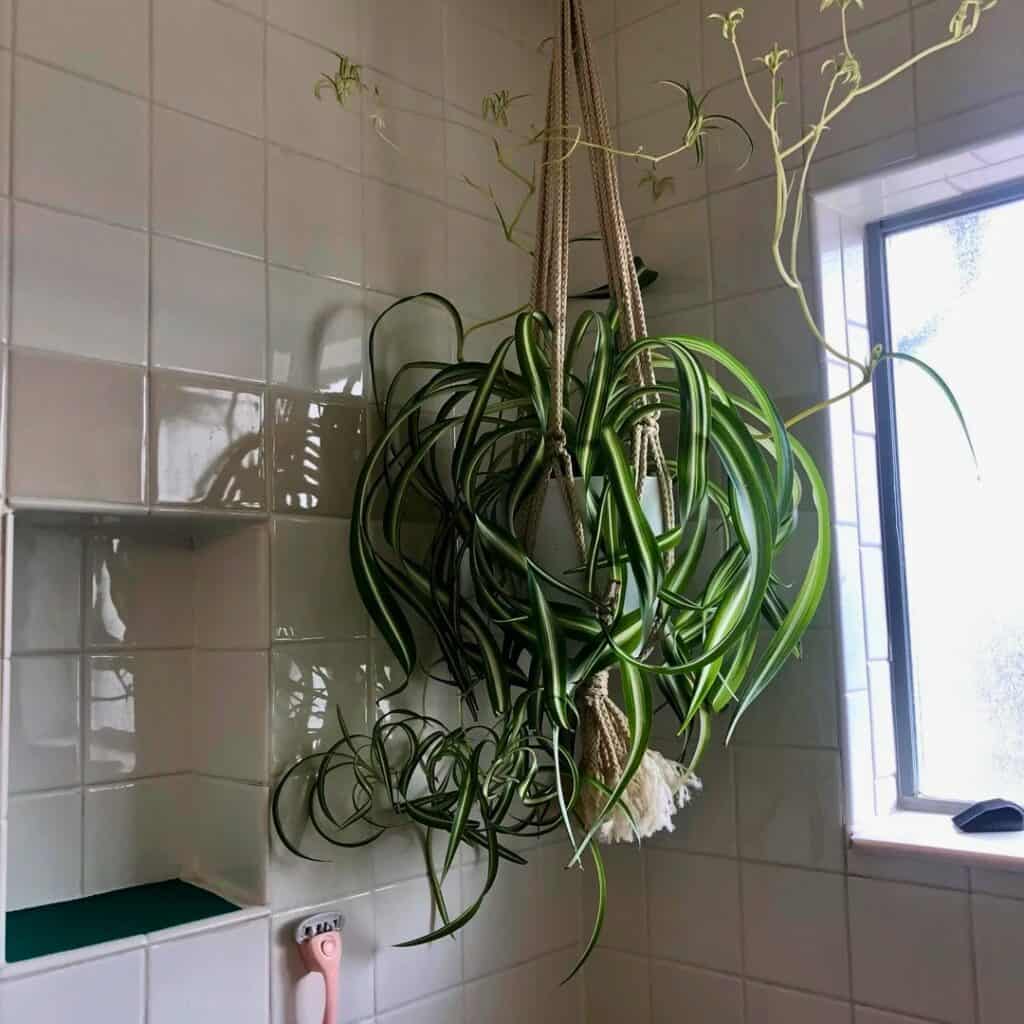
Spider plants need the right balance of light and water to develop thick, healthy foliage. Getting these basics right makes all the difference between a sparse plant and one bursting with leaves.
Light Requirements for Lush Growth (The Sweet Spot Between Too Much Sun and Not Enough)
I’ve found that spider plants thrive in bright, indirect light. They can handle some direct morning sun, but harsh afternoon rays will scorch their leaves and leave brown tips.
A spot near an east-facing window works perfectly. North-facing windows provide gentler light that still keeps them growing well. If you only have south or west-facing windows, pull the plant back a few feet from the glass or use a sheer curtain to filter the intensity.
Quick Tip: If your spider plant’s leaves look pale or washed out, it’s getting too much light. Dark green leaves that aren’t producing babies mean it needs more.
Low light won’t kill your plant, but it will make it leggy and sparse. The leaves stretch out searching for light instead of growing full and compact. I move mine around seasonally since winter light is weaker than summer sun.
Ideal Soil and Watering Practices (Getting the Balance Right Without Overthinking It)
I use a well-draining potting mix for my spider plants. Regular houseplant soil works fine as long as it doesn’t stay soggy. Adding a handful of perlite helps water drain faster if your mix seems heavy.
Water when the top inch of soil feels dry to your finger. Spider plants have tuberous roots that store water, so they bounce back from slight underwatering better than overwatering. I water mine about once a week in summer and every 10-14 days in winter.
Quick Tip: Yellow leaves usually mean too much water, while brown tips can signal underwatering or fluoride in tap water.
Let water drain completely through the pot. Never let your plant sit in standing water. I use room temperature water since cold water can shock the roots.
Frequently Asked Questions
Spider plants can look sparse when they don’t get the right care, but a few simple adjustments to light, water, and trimming can make a big difference. Here’s what I’ve learned about fixing common problems and getting these plants to fill out nicely.
How can I make my spider plant look bushier indoors without it getting tall and leggy?
Pinching back those long stems is the secret to getting a fuller plant. When I see stems getting too long and stretched out, I use my fingers or clean scissors to snip them back by a few inches. This tells the plant to put energy into growing new leaves closer to the base instead of just getting taller.
I do this every few weeks during spring and summer when my spider plant is actively growing. The plant responds by pushing out fresh growth from the center, which fills in those empty spots.
Quick Tip: Pinch just above a leaf node to encourage branching.
What kind of light helps a spider plant fill out and grow thick instead of thin and pale?
Bright indirect light is what makes spider plants grow dense and full. I keep mine near an east or west-facing window where it gets plenty of light without direct sun burning the leaves. In a spot like this, the plant produces more leaves and they grow closer together.
If your plant is in a darker corner, it’ll stretch toward whatever light it can find. Those long, thin leaves are a clear sign it needs more brightness.
North-facing windows can work in summer, but you might notice slower, leggier growth. South-facing windows are usually too intense unless you have a sheer curtain to filter the light.
Quick Tip: Rotate your plant every week so all sides get equal light and fill out evenly.
How often should I water a spider plant to encourage fuller growth without causing root problems?

I water my spider plant thoroughly when the top 1–2 inches of soil feel dry to the touch. This usually works out to once a week in warm months and less often in winter. Consistent watering like this keeps the roots healthy and the plant pushing out new growth.
Overwatering leads to root rot, which makes the plant droopy and stops new leaves from forming. Underwatering causes brown tips and thin growth because the plant is stressed.
I stick my finger in the soil before watering. If it feels moist below the surface, I wait a day or two.
Quick Tip: In hot, dry climates, check the soil twice a week since it dries faster.
When and how should I prune a spider plant so it grows more densely from the center out?
I prune during the growing season in spring and summer when the plant can quickly recover and fill in. I cut back long, weak stems close to the base and remove any dead or yellowing leaves. This clears out the clutter and redirects energy to healthy new growth.
Pruning also makes the plant look tidier right away. I use clean scissors or pruning shears to make smooth cuts, which heal faster than tears.
If your spider plant has gone months without pruning, don’t be afraid to cut back several stems at once. The plant can handle it and will bounce back fuller.
Quick Tip: Always cut above the soil line, not into the crown where new leaves emerge.
Where should I cut spider plant babies (spiderettes) to promote new growth on the main plant?
I cut the babies off at the base of the stem where it connects to the mother plant. Removing spiderettes stops the plant from using energy to support them, so that energy goes into producing more leaves on the main plant instead.
I either toss the babies or plant them in their own pots. Leaving too many attached makes the mother plant look messy and slows down its growth.
If you want a fuller main plant, remove babies as soon as they form roots. If you like the look of the hanging babies, you can leave one or two without hurting the plant too much.
Quick Tip: Use sharp scissors and cut cleanly to avoid damaging the stem.
What can I do to help a droopy spider plant perk up and look healthier and more full again?
Droopy leaves usually mean the plant needs water, better drainage, or a new pot. I check the soil first—if it’s bone dry, I give it a good soak until water drains out the bottom. If the soil is soggy, the roots might be sitting in too much moisture and need better draining mix with perlite.
Repotting into a pot that’s 1–2 inches larger with fresh potting mix can make a huge difference. I do this when roots start poking out the drainage holes or circling the inside of the pot. Fresh soil gives the plant nutrients and room to grow fuller.
Temperature matters too. Spider plants don’t like cold drafts or heat vents, which can stress them and cause drooping.
Quick Tip: After repotting, place your plant in bright indirect light and water lightly for the first week while it adjusts.
Note: Some images in the articles are sourced from Reddit and Other Platforms For Reference Purpose.