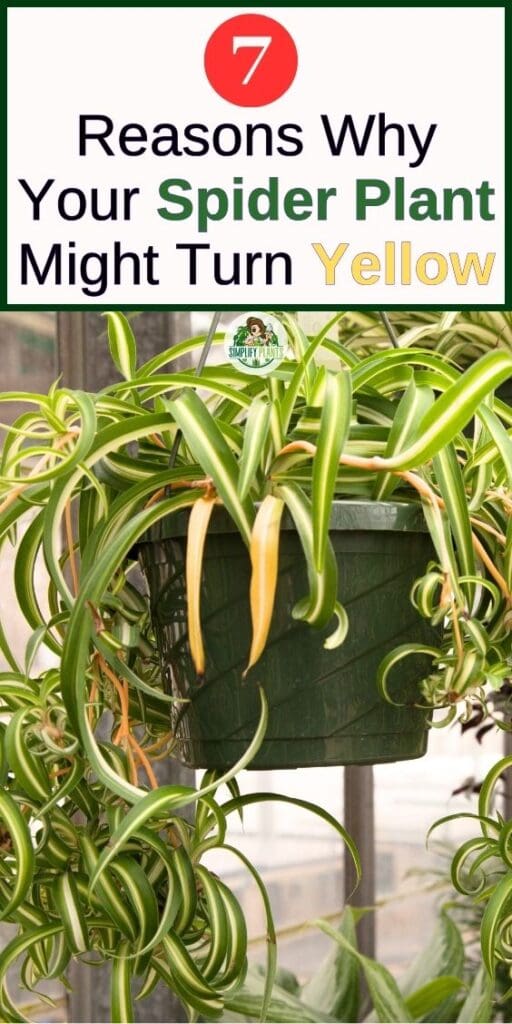
7 Reasons Why Your Spider Plant Is Turning Yellow? (+What to Do)
Why is my spider plant turning yellow? I have watered it correctly, applied all the efforts, fertilization is up to the mark, yet there are yellow leaves on my spider plant. Sometimes, the answer to the question could be the simplest of things, and you might even be surprised!
Yellow leaves in the spider plant are mostly caused by overwatering, overfertilization, and intense sunlight. Apart from these pests, cold drafts, wrong pot size, and unwanted chemicals in the water can also result in the yellowing of leaves in spider plants. Make sure to provide appropriate living conditions to your spider plants.
Spider plants are very picky about what they need. Did you know that the water that you add could have an excess of chlorine content or fluoride content in it? This excess of minerals is harmful to the spider plant.
In this guide, we will get more of such information about why the Spider plant is turning yellow.
Some of the most common reasons behind the spider plant turning yellow are overfertilization, watering problems like underwatering or overwatering, and even pests. So, without further delay, let’s get right into it.
Please note: Simplify Plants is reader-supported. As an Amazon Associate, I earn from qualifying purchases made by our readers with no extra cost added to you all! Some links in the post are affiliate links and I get a commission from purchases made through links in the post.
What do yellow leaves on a spider plant mean?
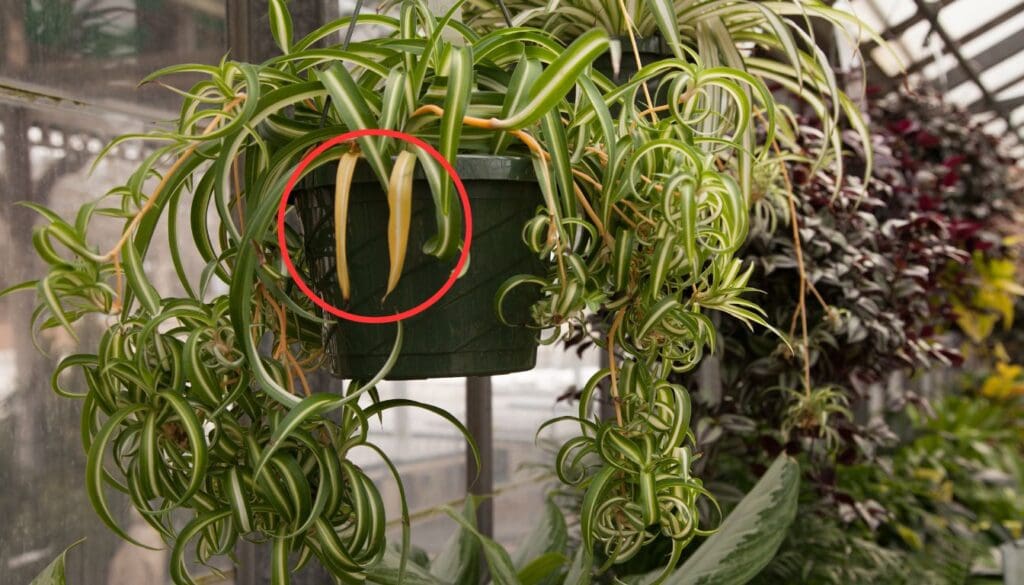
The most crucial point is to realize that the spider plant is turning yellow. Identification!
If there’s any condition in a human body, the body sends out a signal either in the form of pain, irritation, or even frustration; Plants are no different.
Spider plants if they are neglected for a while, and we are lazy about the excess water on the drainage tray, then also the plants send a signal by changing the color of the leaves to yellow or brown, or in some cases, they have also developed gray tips as well.
Once we notice that our plant is not healthy, then we should understand that it could be because of the reasons mentioned below in this guide.
Why are my spider plant leaves turning yellow?
The spider plant has been with us for decades and is very popular. The art of growing the spider plant is fascinating, and I have mentioned the fact multiple times.
As stated earlier, we had talked about the reasons behind the spider plant turning yellow. We will list down all the reasons and elaborate on the topic for all of you.
Some of the most common causes of yellow leaves on spider plants are:
- The spider plant gets direct sunlight
- Overfertilization can affect the foliage and roots
- Pests are a significant concern
- Watering right is the most crucial aspect
- Cool-weather or Cold draft can stress the spider plant
- Too small pot bounds the growth of the plant
- Water with chemicals can lead to yellowing of the leaves
We could simply say that the spider plant should get enough indirect sunlight.
Providing direct sunlight during the morning hours for an hour or two helps improve the variegation on the leaves. But at the same time, intense sunlight can burn the leaves of your spider plant.
Coming to the watering situation, then both the underwatering and the overwatering of the spider plant is injurious. The same goes for overfertilization, which may lead to stunted growth.
There is a higher possibility that there could be root rot, and the spider plant is trying to give up on you if neglected. Root rot condition calls for a pest situation who are not your allies. We do not want to see a root rot on our lovely plant.
If the water has excess minerals like chlorine or fluoride, then it should not be used to water the spider plant.
We had just given a gist about what all the situations could be, but we never try to achieve all the things at once when trying to resolve the issues.
Remember that the plant is already going through a lot, and we trying to help a lot will only stress the plant further. So be careful!
Take one step at a time and let the plant adapt to the changes. They will thrive if taken good care of.
Let us understand each topic in detail as to why the leaves turn yellow on the spider plant.
Spider plant gets direct sunlight
The spider plant develops good variegation on the leaves if they are kept in perfect light conditions.
What does perfect stand for in the case of spider plants?
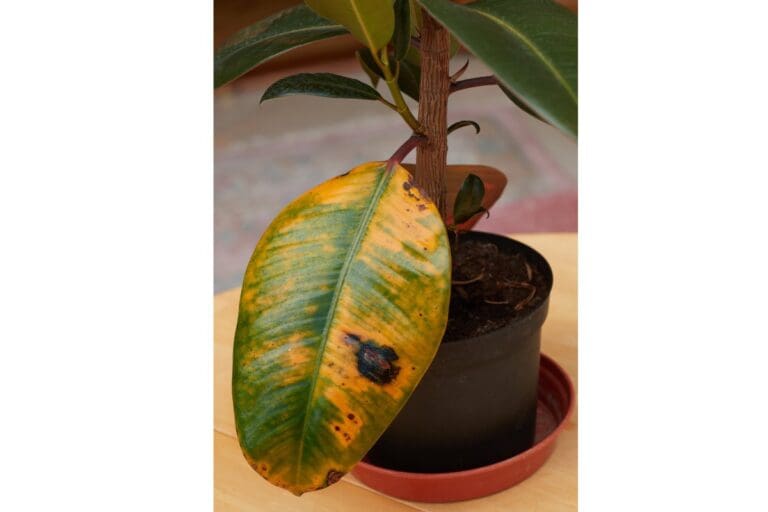
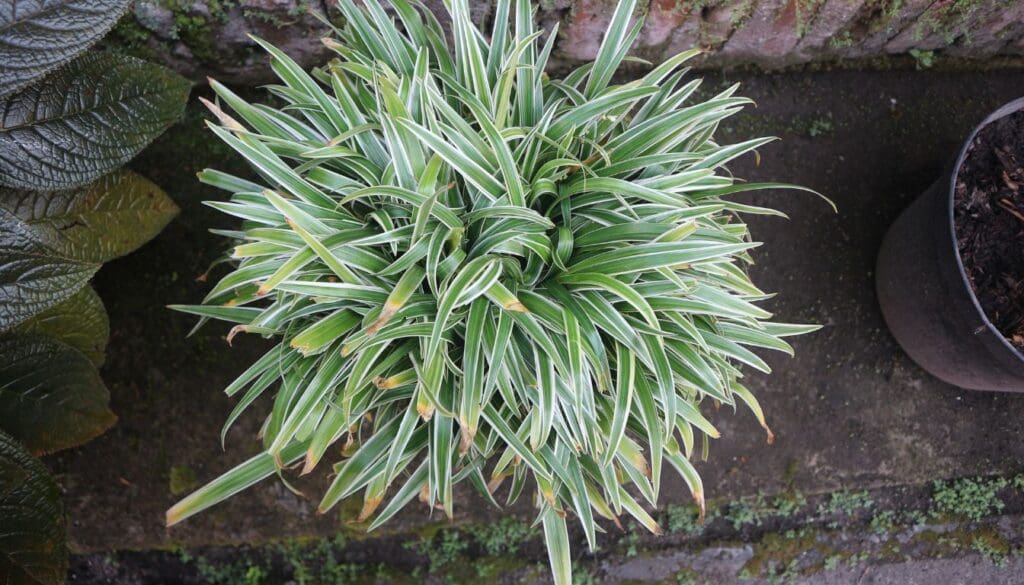
If the spider plant is exposed to intense sunlight than required, then the spider plant’s leaves will start to curl to protect itself and turn yellow.
The color of the leaves will eventually turn brown because of the leaf burn and start shedding from the plant. This intense direct sunlight can be harmful to the spider pups as well.
In the above case, we require a partial shade or a sheer curtain to protect the spider plant from getting burned.
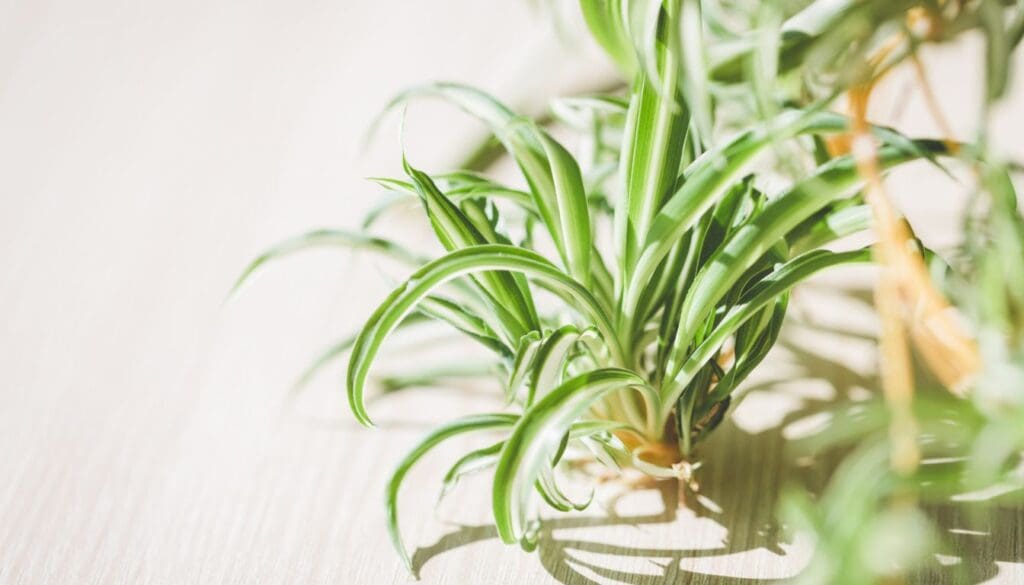
If talking about the other side of the coin, if the light is not sufficient, the spider plant will go leggy and fade. For this situation, we will need to relocate the pot.
Yes, the placement of the pot is the key. The appropriate placement decides how your houseplants will choose to flourish.
Have you been giving your spider plant direct sunlight?
To develop the lush green and yellow colored variegation on the leaves is not an art but the perfect blend of light and care you give.
If we provide our spider plant with the right amount of direct sunlight during the morning and late afternoon hours, then we will see the variegation on the leaves.
As we had stated, direct sunlight, please understand that it should not be too much. Start with an hour or two in the beginning.
If the plant goes through environmental stress, then we will notice the leaves of the spider plant turning yellow. As the plant is already suffering, we should avoid stressing the plant.
Give the sturdy spider plant some time to adapt and fight the situation. They will get back like a warrior through environmental stress if nurtured.
Also read: How much light do spider plant need?
Over-fertilization should be avoided
Spider plants are not heavy feeders and do not want plenty of fertilizer.
They are medium plants. By medium, we mean to say that they are neither light feeders like succulents nor heavy root feeders.
Overfertilization is one of the most basic causes of yellow leaves on the spider plants. These lovely plants were used as houseplants since the late 1700s.
Thus, we should choose to provide feed in an appropriate quantity and only during the growing season.
The growing season means from early spring, when we notice the spider pups on the mother plant, to late summer.
Winter is the dormant season for spider plants. They do not like disturbance and rest during winter, wherein no feed is required.
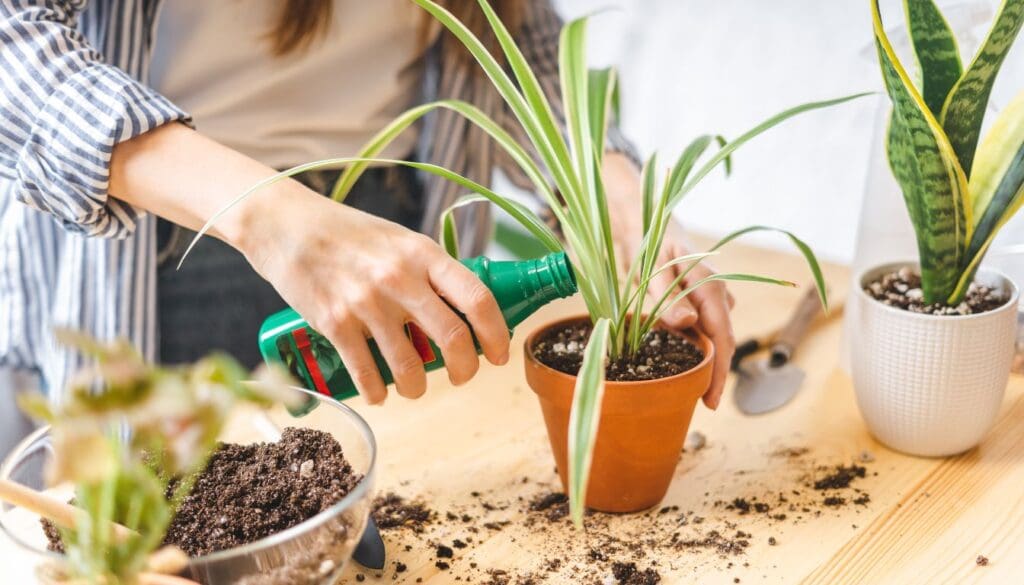
For fertilization, we suggest using a very dilute dose of a 2-4-4 N:P: K ratio fertilizer or a 4:4:4 fertilizer on the spider plant. The fertilized can be used once in two-three weeks.
Do check if the dose is very light and not a strong dose. The spider plant is a little intolerant to overfertilization and develops yellow leaves.
Now, the condition could arise that you have already fertilized the spider plant with a little extra feed, what would you do?
Getting over over-fertilization
If the fertilizer is on the topsoil, we can only clean the top layer of the soil with a spoon to remove the fertilizer build-up.
However, the problem arises if the fertilizer was mixed in a liquid form.
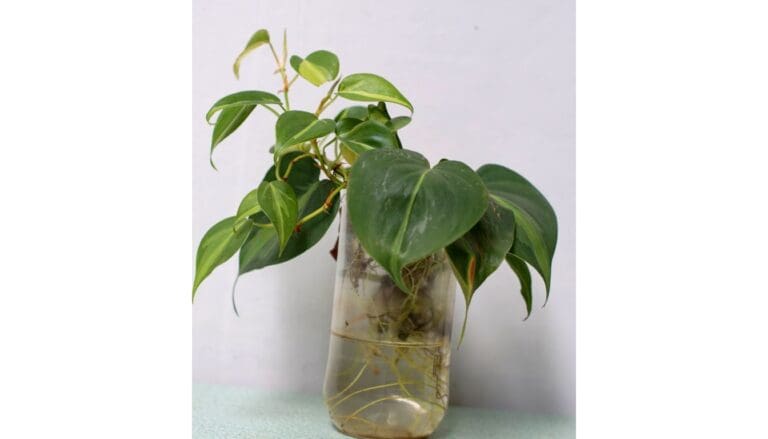
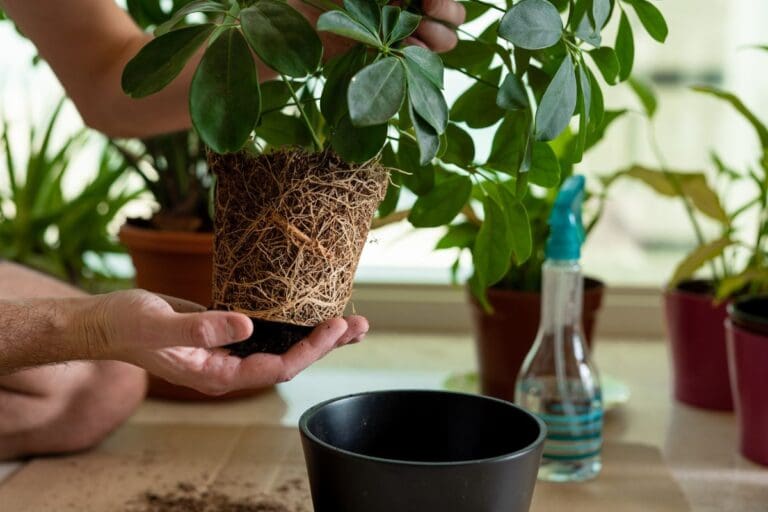
Now, the only way to get through overfertilization is by removing the root ball from the pot.
Be extremely gentle and careful during this process. We do not want any harm to the roots.
Next, take the plant along with the root ball, rinse it with water, or keep it under a running tap. Follow the process at least 3-4 times.
Repeating the process will ensure that the excess fertilizer is flushed away from the roots of the spider plant.
Repot the plant in a new pot and then fill it with a mixture of a well-aerated potting soil and perlite/pumice for increasing the aeration in the soil.
Water the spider plant and check for drainage. They should be cleaned and seeping out water from the holes. Do not fertilize the plant for a month.
This should ensure that the spider plant thrives again. Choose to keep it in a well-lit place and provide bright indirect sunlight.
Also read: Do spider plant need fertilizer? (How much+How often)
Beware of the Pests
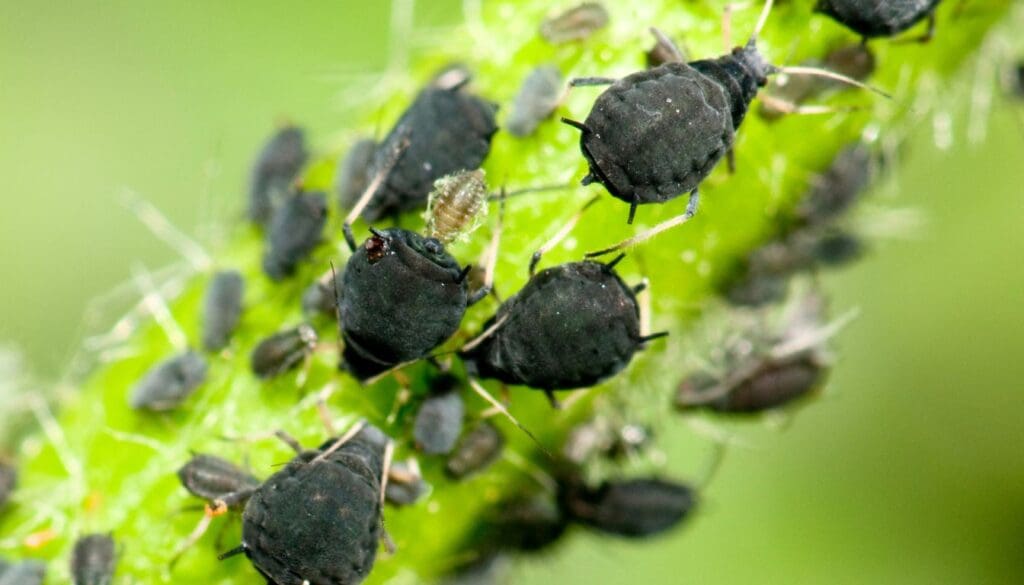
The spider plant is sturdy, but even these plants can badly suffer when attacked by pesky pests like spider mites, mealybugs, and aphids.
The spider plants can suffer from a lot of diseases when overwatered. Some common diseases include root rot and fungal infection. These can further lead to a pest situation.
It might even be that the bugs we tend to tore moved from another contaminated plant.
At whatever point we see yellow leaves, it’s continuously savvy to take a gander at the plant thoroughly and check for bugs.
To prevent the further spread of diseases among other plants, we will separate the spider plant.
It is critical to disengage the plant from the others.
Disconnection will prevent the spread of pests from one plant to another.
To fix things, we’ve two alternatives.
- By choosing natural products for your houseplants
- Utilization of pesticides
On the off chance that we choose all-natural methods, we will utilize a neem soil solution and mix it with water.
At that point, shower this combination on your spider plant.
Follow this technique for fourteen days together to kill the eggs on the off chance they have been determined to the spider plant.
These pests feed upon the spider plant’s newest leaves, and hence blending the neem oil solution in tepid water will support advantage.
We may also go with chemical fertilizers available to us. In such circumstances, we need to adhere to the dosage recommended on the label. You should only add half the recommended dose to be on the safe side.
Never add further pesticide to the plant. At that point, the amount endorsed because of which will harm the plant much more.
The plant is in pressure and along these lines will build up the yellow leaves. Whenever they’re eased, the plant will become healthy as it was earlier.
Getting the watering right
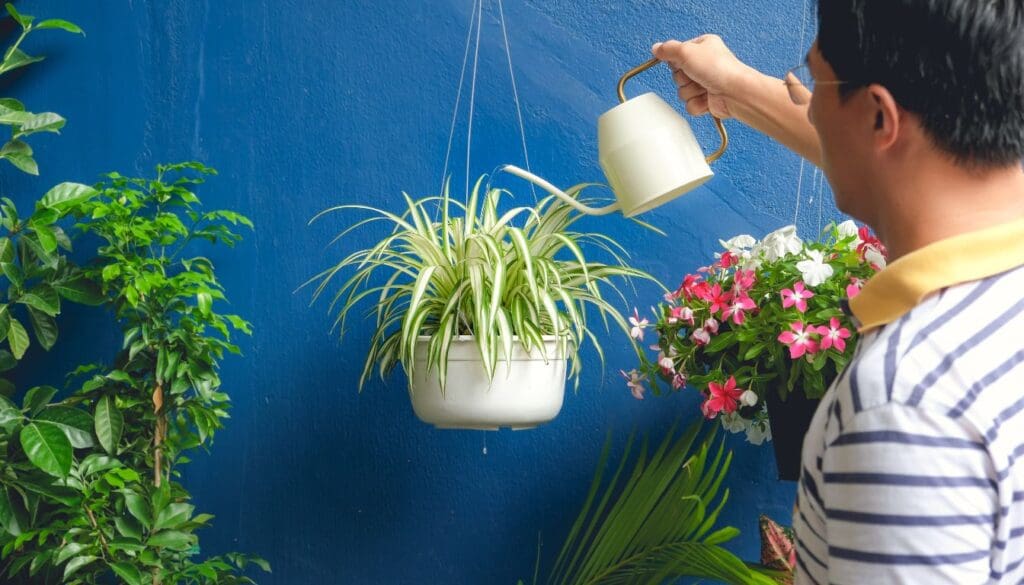
The watering issue could be the ultimate reason for the yellow leaves on the spider plant. What issues are we talking about?
The watering issue could be:
- Underwatering
- Overwatering
In general, it is due to the overwatering of the spider plant that we see yellow leaves on it. However, if the spider plant is underwatered or the soil is left too dry, we will see yellow leaves.
Overwatering Problems
Spider plants do not like to be overwatered and need to dry out between watering.
What happens is that when we water the plant, the excess water stays on the soil. The soil becomes soggy, and your spider plant does not like it.
Because of overwatering, the spider plant goes leggy, and the color of the leaves turns yellow.
These lovely plants are medium-sized plants, and they just need water for the soil to be moist.
We can avoid overwatering by the following process:
- Create a watering regime.
- Stick a note to the plant if required, and nowadays, digital notes are handy.
- Check the drainage holes and the drainage tray.
- Excess water collected on the tray can cause overwatering.
- The soil should be felt before watering, and it should be dry and not moist.
- If the condition is worsened, then repot the plant in another pot.
Overwatering leads to a root rot situation, and the spider plant has tender roots. Root rot situation, if worsened, can invite pests.
Fungus and bacteria will increase because of root rot and feed on the roots, damaging the spider plant.
Also read: Overwatering vs. Underwatering
Cold weather/Cool draft
Spider plants love the temperature range from 50°F-80°F. It means that these tropical plant does not like the extreme environment.
During the winter season, the spider plant is in a dormancy period and does not require much water. Do not think about adding any feed during winter as well.
If kept in a Southern window, then the cold wind and draft can harm the spider plant, and they need to be removed from such places.
If the spider plant experiences a cool draft, then they develop stunted growth, and we will see the color of the leaves changes to yellow.
Humidity also plays a vital role in the spider plants. They like medium humidity and do not prefer arid climates.
If kept in dry weather without adequate humidity levels, the spider plant turns yellow. If neglected, the color changes to brown, and the leaves start shedding off the plant.
The arid weather is also harmful to the development of spider pups.
Spider plants require regular misting. We should mist the spider plant almost every day.
Do not water the plant regularly, but consider misting the plant.
During the colder months up to early spring, add some neem oil solution to the water and mist the plant.
The extra humidity maintains the temperature of the spider plant. The use of humidifiers is also suggested, as they are useful for maintaining ideal humidity levels.
Misting alone won’t help the spider plants if you live in dry regions. Thus it would be best if you take additional measures.
For us, we did not face any difficulties growing the spider plants. The temperature goes below 10°C in our region, and it gets pretty dry, but with a good humidifier and occasional misting, our plants did well throughout the season.
Also read: Do spider plant need misting? (+ideal humidity levels)
The size of the pot
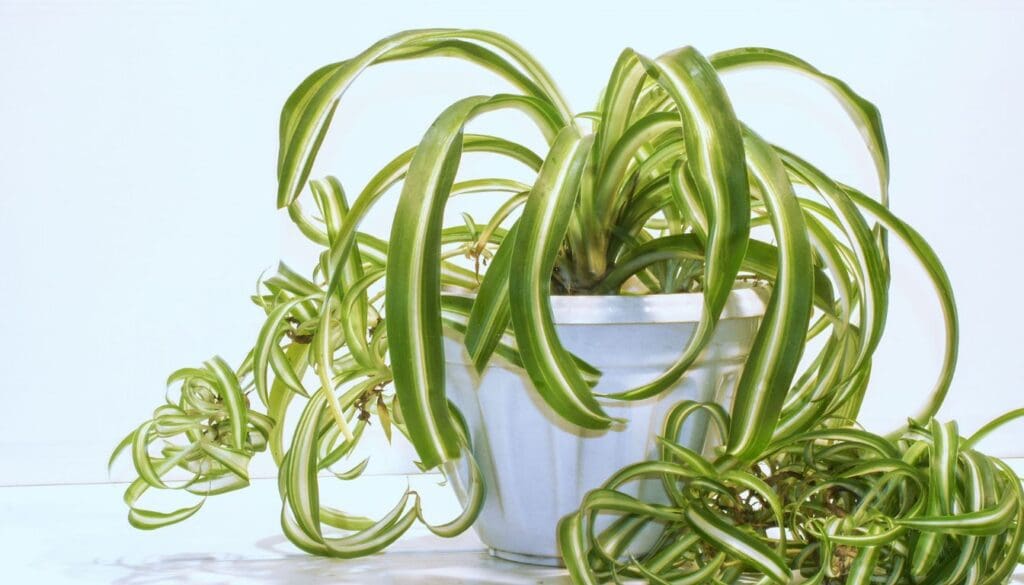
What is the size of the pot that you have kept your spider plants in? Is it too big? Does it look too small?
How to identify the size of the pot?
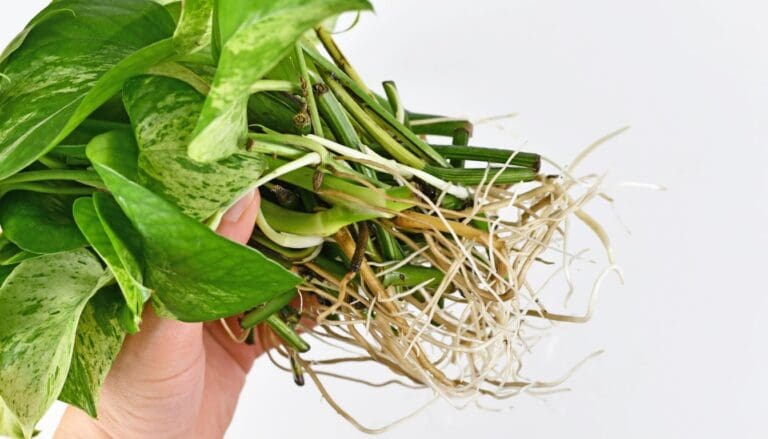
The spider plants prefer small-sized pots where it can hold the roots tightly. That means that the roots of the spider plants need to develop appropriately.
Spider plants show no signs of growth, and the color of the leaves will change to yellow if they experience stunted growth.
What is the science behind the choice of pot?
The spider plant’s roots need to develop, but it will emerge from the drainage holes once they start getting pot bound.
After a certain point in time, we will see that the plant roots do not grow further. That means that roots have become completely root-bound.
And if the roots don’t get any space to expand, it will push out all the soil, and hence there is no medium to hold water and nutrients for the plant. What will happen then? The spider plant will start suffering, and it will become root-bound.
Now, what happens if the pot is too big than required?
In this scenario, the roots will not be able to hold the soil well, and as a result, the plant’s growth will be affected.
There is a high chance of the plant getting overwatered when kept in a pot larger than required.
Similarly, when kept in a smaller pot, the roots will develop faster and require more space for the roots to get root bound.
Hence, always check the size of the pot.
As a general rule, for a 2-feet plant, we will need a 3-gallon pot, and for a 3-feet plant, a 4-gallon pot, and so on.
Also read: What happens when you repot a plant in too big of a pot?
The type of Water
By now, we know that the spider plant is very picky towards the water we provide to the plant.
The water we get in our house could have an excess amount of chlorine and fluoride added to it.
The chlorine is added to the water to make it drinkable. It is for human safety. However, all fingers are not the same, and it applies to the plants as well.
Some plants do not like excess minerals in the water and change the color of leaves to yellow because of water type.
It is the case with spider plants also.
How to avoid the situation?
To get rid of the excess minerals, we will follow a simple process:
- Boil the tap water collected
- Leave the water for it to get back to room temperature
- Boiling ensures that the excess minerals are removed from the water
- Once the water is at room temperature, only then water the plant
- If needed, get the water content from the local authority website
Final Words
Spider plants require minimal care, and we need not worry about the plants much. Just leave the plants after providing their requirement.
The only season to care for the plant is late winter and early spring, when the spider plants grow spider pups.
These pups grow as a full-grown spider plant if repotted in a different pot.
In our guide, we have also talked about the propagation of the spider plants.
If nothing works, then repotting the spider plant in another pot will help.
Choose a well-aerated soil with a mixture of compost and perlite/pumice.
Also, check for the drainage holes for the seepage of excess water.
If you face any issues with the spider plants, we are always available for help. Feel free to contact us!
Source: Spider Plants Introduction, Spider plant care.
Note: Some images in the articles are sourced from Reddit and Other Platforms For Reference Purpose.