How To Make A ZZ Plant Grow New Shoots?
ZZ plants have a reputation for being easygoing, but if you want them to send up fresh shoots, you’ll need to pay a bit more attention.
If your plant looks stuck or just isn’t moving, you’re probably getting a little impatient and wondering how to jumpstart things.
Fortunately, with the right light, water, soil, and a few tweaks, you can usually coax your ZZ plant into putting out new growth. I’ve noticed that small changes in care can make a surprising difference.
Most ZZs just want a good environment and a little patience before they start sprouting again.
This guide shares the steps I use to help my ZZ plants grow new shoots. Let’s get into how to adjust light, watering, feeding, and a couple of other things that tell your plant it’s time to wake up.
Please note: Simplify Plants is reader-supported. As an Amazon Associate, I earn from qualifying purchases made by our readers with no extra cost added to you all! Some links in the post are affiliate links and I get a commission from purchases made through links in the post.
1) Provide bright indirect light near an east-facing window
I’m a big fan of keeping my ZZ plants near an east-facing window. The morning sun from the east is gentle and just right for nudging out new shoots.
East windows give your ZZ about 4-6 hours of soft, bright light daily. That seems to be the sweet spot for healthy growth and encouraging new stems from those chunky rhizomes under the soil.
Quick Tip: If the light feels a bit intense on your hand, just move your ZZ 3-5 feet away from the window.
No east window? North works, but expect slower growth. South and west can be okay if you hang a sheer curtain to mellow out the sun’s bite. If you spot yellow leaves or brown spots, it’s a sign the light might be too much.
2) Repot into a slightly larger pot using well-draining peat-perlite mix
Repotting your ZZ into a new pot gives the roots a little more breathing room. I usually go for a pot just an inch or two larger than the old one. Too big, and you risk soggy soil and root rot—nobody wants that.
A peat-perlite mix is my go-to for drainage. I mix equal parts peat moss and perlite, but a cactus or succulent mix from the store works just as well. That perlite really helps keep things airy and prevents water from hanging around the roots.
When I repot, I loosen the root ball gently and fill in the sides with the mix, pressing down just enough to anchor things. I water once to settle the soil.

Quick Tip: After repotting, wait a week before watering again so any banged-up roots can heal.
Your plant might sulk for a few days. Don’t panic—that’s normal. Just let it chill in its usual spot and it’ll perk back up, hopefully with new shoots on the way.
3) Top-dress with slow-release balanced fertilizer (e.g., Osmocote 14-14-14) in spring
I like to give my ZZ a little boost once a year in spring, right when it’s gearing up for new growth. A slow-release fertilizer like Osmocote 14-14-14 is pretty much set-and-forget, which I appreciate.
I just sprinkle a tablespoon of the granules on top of the soil and gently work them in. Every time I water, the nutrients release slowly—no need to fuss with weekly schedules.
Quick Tip: Don’t go overboard—ZZs don’t need much food, and too much can burn roots or leave a salty crust.
Spring is prime time for feeding, since that’s when shoots are most likely to appear. If you’re in a mild climate, you might see some growth in winter, but most ZZs hit pause when it’s cold and dim.
I skip fertilizer in fall or winter since the plant won’t use it anyway.
4) Maintain consistent soil moisture—water when top 2 inches are dry
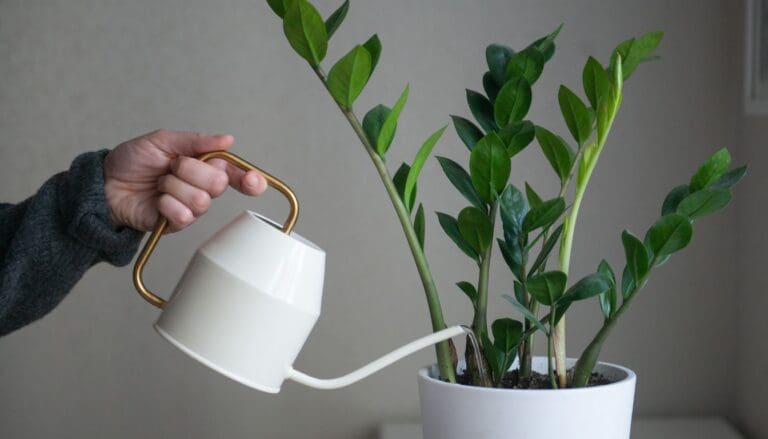
Before watering, I stick my finger about two inches into the soil. If it’s dry down there, I water thoroughly until it drains out the bottom.
ZZs store water in their roots, so they can handle drought better than soggy feet. Overwatering is a fast track to root rot, which totally kills new shoot potential. I let the soil dry between waterings instead of keeping it constantly damp.

Quick Tip: Honestly, your finger is the best moisture meter—way better than sticking to a calendar.
In summer, my ZZ dries out faster and needs more frequent watering. In winter, I might only water every three weeks. I just trust what the soil tells me.
Always make sure excess water drains away. Never let your ZZ sit in standing water; soggy soil is a recipe for dead roots and zero growth.
5) Increase humidity with a pebble tray or room humidifier
ZZs don’t mind dry air, but a bit more humidity does help them push out new growth faster. I aim for 40-50% humidity if I’m feeling ambitious.
A pebble tray is super easy. I fill a shallow dish with pebbles, add water almost to the top, and set the pot on top—just make sure the pot isn’t sitting in the water.
Quick Tip: Roots in water = rot, so keep the pot above the water line.
For more consistent results, a small humidifier near your ZZ does wonders, especially in winter when indoor air gets bone dry. I notice my plant’s stems feel firmer and new shoots show up more often.
If you see water droplets on the leaves in the morning, your humidity is probably right where it needs to be.
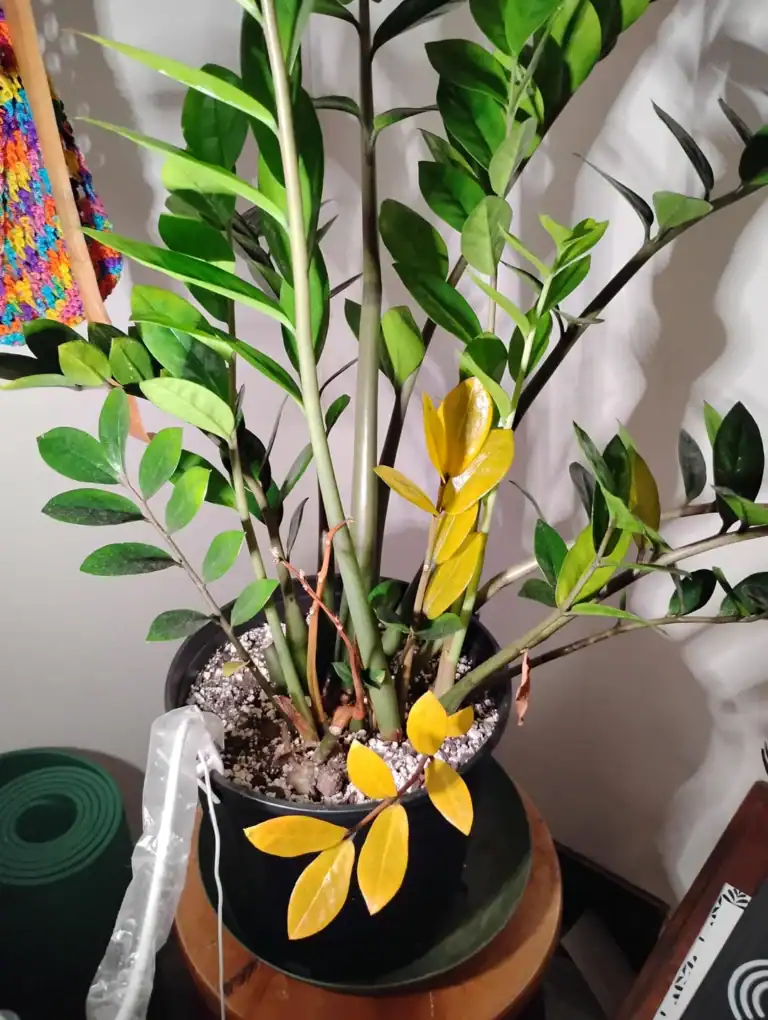
6) Trim away yellow or dead leaves to redirect energy to new shoots
When I spot yellow or brown leaves, I grab clean scissors and snip them off at the base. Dead or dying leaves just sap energy that could go into new shoots.
I always wipe my shears with rubbing alcohol before starting. No one wants to spread pests or diseases around.

Quick Tip: If a leaf is half-yellow, I take off the whole stem—it won’t bounce back, and the plant does better without it.
Yellow leaves can be caused by overwatering, but sometimes it’s just age. The outer leaves fade as the plant matures.
After trimming, I check the soil. If it’s wet, I hold off on watering and let things dry out. In cooler months or low light, my ZZ barely needs water, so I adjust accordingly.
7) Use a diluted liquid fertilizer (e.g., Jack’s Classic 20-20-20) every 4–6 weeks during growth
During spring and summer, I feed my ZZ with a diluted liquid fertilizer. A balanced formula like Jack’s Classic 20-20-20 works well—nothing fancy, just equal parts of the basics.
I always mix it at half the recommended strength. ZZs don’t need much, and too much can burn roots or turn leaf tips brown.
I skip fertilizing in fall and winter when growth slows to a crawl. It’s just a waste of nutrients and can stress the plant.
Quick Tip: If you see a white crust (salt buildup) on the soil, flush the pot with plain water every few months.
This routine helps encourage new shoots and keeps the foliage glossy. If I see yellowing or stunted growth, I back off on the fertilizer.
8) Apply a rooting hormone (e.g., RootBoost) to healthy stem cuttings to encourage new shoots
Whenever I take ZZ cuttings, I like to use rooting hormone. It’s not required, but honestly, it speeds up rooting and helps new shoots get going faster.
After cutting a healthy stem, I dip the end in rooting hormone powder. A thin coat is plenty—too much can backfire, so I tap off the extra.
Quick Tip: Look for a product with IBA (indole-3-butyric acid); it seems to work best for ZZ plants.
I pop the treated cutting into moist soil or water, depending on my mood. The hormone encourages roots to form quickly, so new shoots have a solid foundation.
If you skip this step, your cuttings might still root. It just takes a bit longer.
9) Rotate the plant 90 degrees monthly for even light exposure
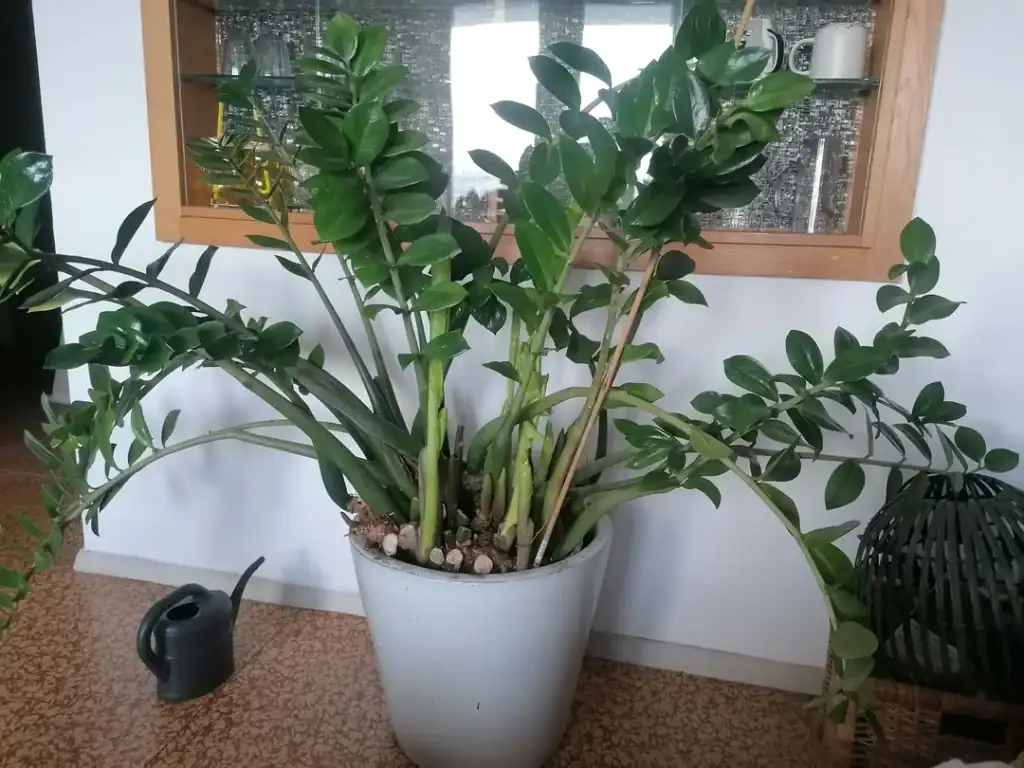
I rotate my ZZ plant a quarter turn every month so all sides get their moment in the sun. Plants naturally lean toward the light, and if you never rotate, one side will get leggy while the other stays sparse.
If I forget, my ZZ starts leaning toward the window and the shady side barely grows. Rotating helps keep things balanced and avoids that lopsided look.
I pick a day—usually the first of the month—and give it a gentle spin. It’s a small habit that really pays off.
Quick Tip: Stick a bit of tape on the pot so you remember which way you last turned it.
If your ZZ lives in low light, rotation matters even more. Every side deserves a little sunshine, right?
10) Place plant in slightly warmer spot (65–80°F / 18–27°C) to stimulate growth
ZZ plants can get a bit sluggish when things are too chilly. Honestly, when I move mine to a warmer area, they perk up and start throwing out new shoots way faster.
Aim for somewhere between 65 and 80 degrees. Rooms that are naturally cozy, like kitchens or your favorite living space, usually work well.
Just keep your plant away from heating vents or radiators. Those blasts of hot, dry air can really stress it out.
When winter rolls in and your place cools down, growth tends to crawl. If your house gets cold, just finding a slightly warmer nook can make a surprising difference.
Quick Tip: A simple room thermometer helps you check if your ZZ’s spot stays in that ideal range.
If leaves start to yellow or curl, it might be getting too hot. That’s your cue to back off a bit.
Understanding ZZ Plant Growth Patterns
ZZ plants grow from underground rhizomes that store water and energy. These chunky roots push up new stems when the conditions feel right.
Growth happens in cycles, not constantly, and quite a few factors decide how quickly those shoots show up.
What Influences Stem Development (and Why Your Plant Might Be Taking Its Sweet Time)
The rhizome is where all the magic happens. This potato-like root sits just under the soil and decides when it’s time to send up something new.
Once the rhizome has enough stored water and energy, it pushes out new stems from little growth points called nodes.
Light is a big deal for stem development. In my experience, ZZ plants in bright, indirect light send up new shoots more often than those left in the shadows.
They’ll survive in low light, but honestly, growth slows to a crawl.
Quick Tip: Give your plant a little spin every few weeks so all sides of the rhizome get some light.
Temperature’s important too. ZZ plants are happiest between 65-75°F.
Below 60°F, growth basically shuts down. The plant goes dormant and waits for warmer days.
Watering plays into this as well. Too much water rots the rhizome, but not enough and it can’t store the resources it needs.
Recognizing Healthy Versus Stunted Growth (What Normal Really Looks Like)
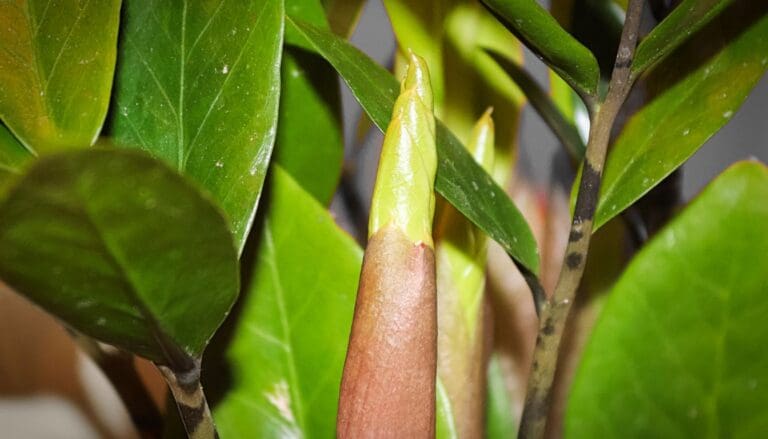
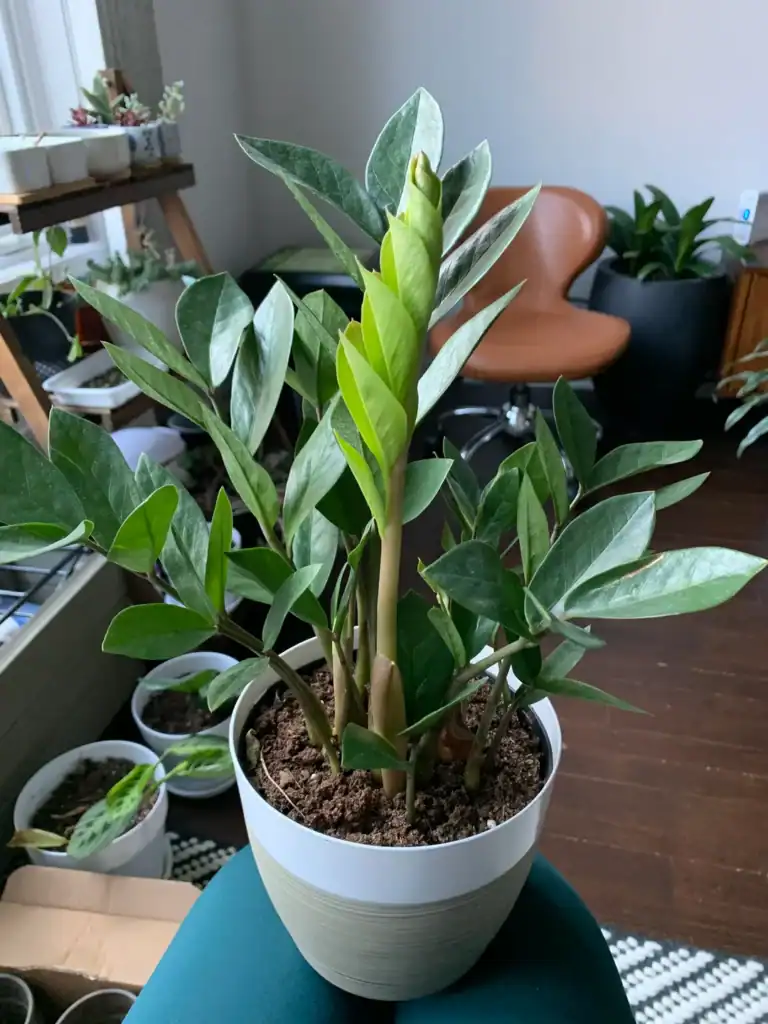
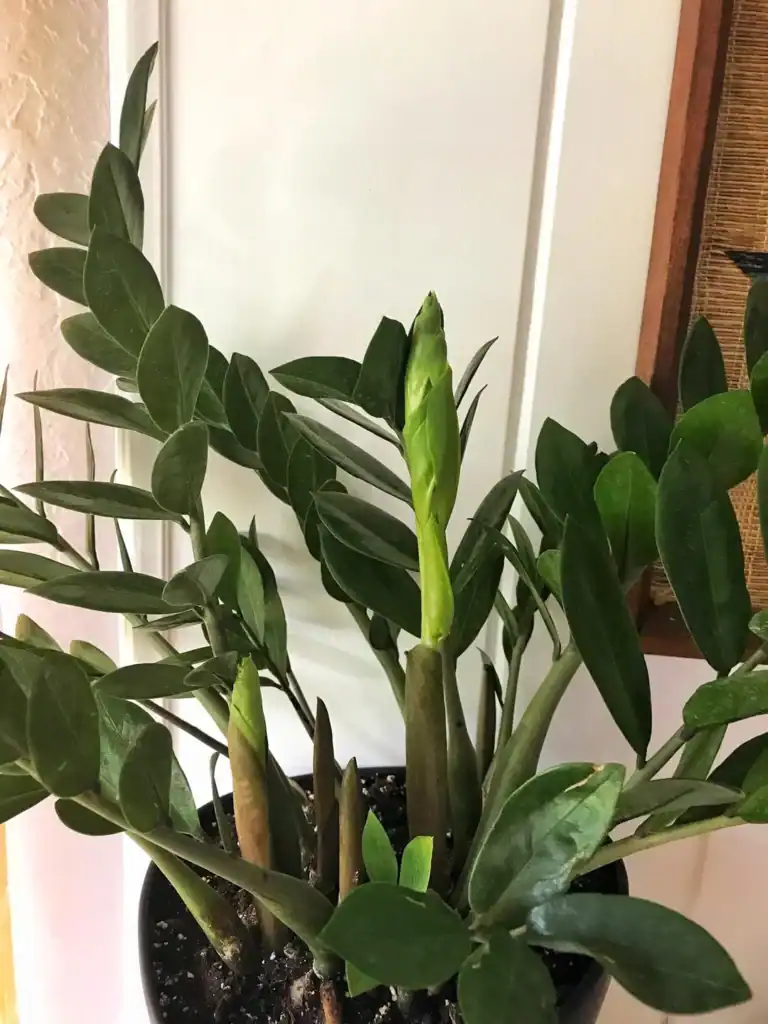
Healthy new shoots pop up as tight, pale green spears—almost like little asparagus. Over a couple weeks, they slowly unfurl and darken to that classic glossy green.
The stems should stand up tall and feel sturdy. Each new shoot usually grows from a different point, which is why you’ll see stems at different heights.
Stunted growth is pretty obvious. The shoots come up thin and weak, sometimes flopping over or just staying pale. Sometimes they’ll turn yellow, which usually means the rhizome isn’t getting enough light or nutrients.
Quick Tip: If new shoots stay under 6 inches or look yellow, double-check your watering and maybe move the plant closer to a window.
Brown tips or crispy edges on new leaves? That usually means inconsistent watering or maybe salt buildup from tap water or over-fertilizing.
Environmental Factors That Encourage New Shoots
ZZ plants need the right light and climate to put out fresh growth. Getting these basics right is the difference between a thriving plant and one that just sits there.
Optimizing Indoor Lighting (Without Burning Those Glossy Leaves)
In my experience, ZZ plants grow new shoots quickest with bright, indirect light most of the day. Near an east-facing window is perfect since the morning sun is gentle.
You can also set them a few feet back from a south or west window if you’ve got curtains to filter the light.
Direct afternoon sun is a no-go—it’ll scorch the leaves and halt new growth. If you see leaves yellowing or getting brown patches, that’s your sign to move the plant back.
Quick Tip: Rotate your ZZ plant a quarter turn each week to keep light even on all sides.
Low light won’t kill your plant, but it’ll slow shoot production to almost nothing. I’ve seen ZZs survive in dim corners for ages without a single new stem.
If you don’t get much natural light, a grow light about a foot above the plant for 10-12 hours a day works surprisingly well.
| Light Level | New Shoot Growth |
|---|---|
| Bright indirect | Fast (multiple shoots per season) |
| Medium indirect | Moderate (1-2 shoots per season) |
| Low light | Very slow or none |
Humidity and Temperature Considerations (The Comfort Zone Your Plant Craves)
ZZ plants are most active with temperatures between 65-75°F during the day. They can handle up to 85°F, but growth slows if it gets too hot.
Anything below 55°F? Shoot development stops, and the rhizomes might even get damaged.
I always keep mine away from cold drafts in winter. Summer air conditioning vents can also mess with them by creating temperature swings.
The nice thing is, ZZ plants aren’t picky about humidity. Average household humidity between 30-50% is just fine for new growth.
I don’t mist or use a humidifier, and my ZZs still send out new shoots.
Quick Tip: Don’t let your plant sit near heating vents or radiators—they create hot, dry air pockets that aren’t great for growth.
If you live somewhere super dry (under 25% humidity), you might see slower growth. A pebble tray can help a bit, but honestly, keeping your watering consistent matters more for ZZs.
Frequently Asked Questions
ZZ plants might stop growing because of low light, cramped roots, or if watering isn’t quite right. Adjust the basics and new shoots usually show up within weeks or months.
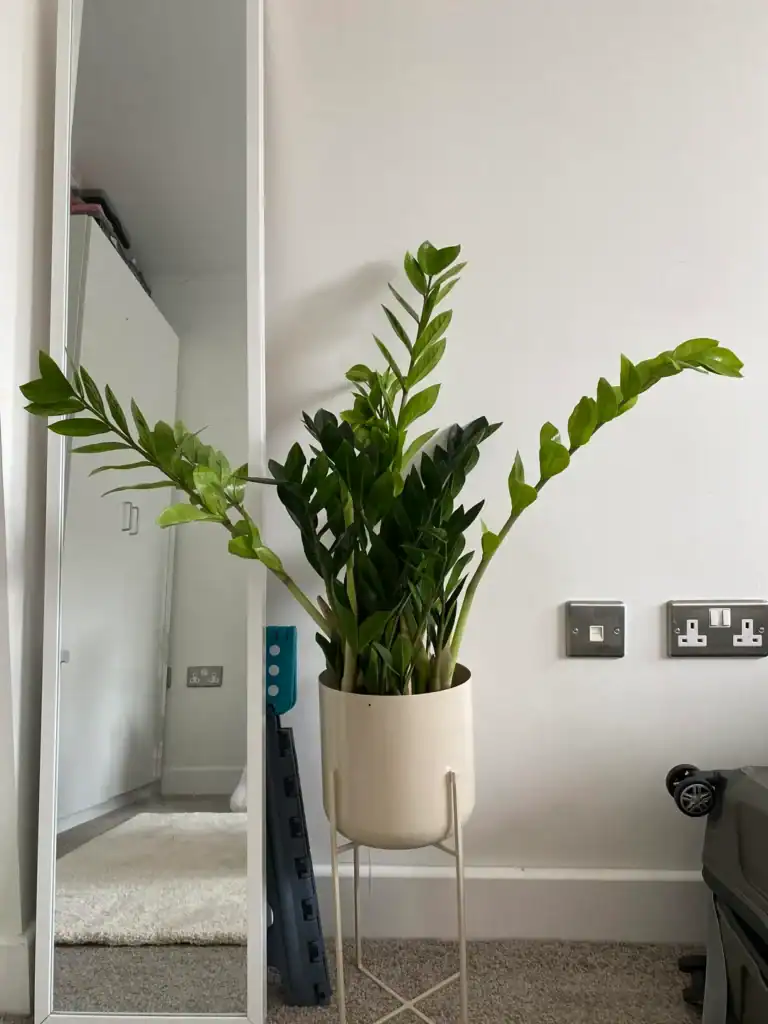
Why isn’t my ZZ plant putting out any new shoots even though it looks healthy?
Sometimes a ZZ plant looks fine but just refuses to grow. If it’s stuck in the same pot for years, roots can fill up all the space and there’s nowhere left for new rhizomes to spread.
Low light is another big culprit. ZZs survive in dim corners, but they won’t really grow unless you give them more brightness.
Cold temps below 60°F can also make them go dormant. I’ve had plants just sit all winter and only wake up once spring hits.
Quick Tip: If you see roots poking from the drainage holes, it’s time to repot into a slightly bigger container.
What light levels help a ZZ plant produce new growth indoors without burning the leaves?
I always try to keep my ZZs near east-facing windows for bright indirect light in the morning. It’s enough for growth without risking leaf burn.
A few feet back from a south or west window with sheer curtains works too. North-facing windows? Usually not bright enough for real growth.
Quick Tip: If the light feels dim to you, it’s probably too dim for your plant.
How often should I water a ZZ plant to encourage new shoots without causing root rot?
I only water when the top couple inches of soil feel bone dry. For me, that’s usually every two to three weeks in spring and summer when the plant’s growing.
In fall and winter, I cut back to once a month or even less. Overwatering is the fastest way to rot those chunky rhizomes and stop new growth.
You want consistent moisture during the growing season, but never soggy soil. A pot with drainage holes helps a ton.
Quick Tip: Stick your finger in up to the knuckle—if the soil still feels damp or cool, just wait a few more days.
What’s the best soil and pot size for stimulating ZZ plant shoot growth without stunting roots?
I go with a well-draining mix—equal parts peat and perlite is my favorite. It holds just enough moisture for the roots but doesn’t get waterlogged (which ZZs hate).
When repotting, pick a pot only one or two inches wider than the old one. Too big, and the soil stays wet too long, which isn’t great for roots.
Terra cotta pots are awesome since they let extra moisture evaporate. Plastic pots are fine, just be careful not to overwater.
Quick Tip: If water pools on the soil surface instead of soaking in, your mix is too dense—add more perlite or sand.
Can fertilizing help my ZZ plant grow new shoots, and what type should I use to avoid overfeeding?
Fertilizer helps if you use it during the spring growing season. I like a slow-release balanced fertilizer like Osmocote 14-14-14, just sprinkled on top.
One light dose in early spring gives your plant nutrients for months without burning the roots. ZZs don’t need heavy feeding like some tropicals.
If you’re using liquid fertilizer, dilute it to half strength and only use it once a month during spring and summer. Skip it completely in fall and winter.
Quick Tip: If leaves turn yellow after fertilizing, you probably overdid it—flush the soil with plain water and take a break from feeding for a while.
How long does it usually take for a ZZ plant to send up new shoots after repotting or dividing the rhizomes?
Most of the time, I notice new shoots starting to poke through the soil around four to eight weeks after repotting, but only if it’s the growing season.
The plant needs a little while to settle its roots into that fresh soil before it decides to spend energy on new growth.
If you repot in fall or winter, honestly, you probably won’t see any shoots until spring finally rolls around.
Temperature and light matter a lot more than just the act of repotting itself, which is easy to overlook.
After dividing rhizomes, each piece might need two to three months before you spot any new shoots.
Smaller divisions? They usually take even longer since they just don’t have as much stored energy to work with.
Quick Tip: Don’t freak out if nothing seems to be happening—ZZ plants are famously slow compared to, say, pothos or philodendrons. Patience really does pay off here.
Note: Some images in the articles are sourced from Reddit and Other Platforms For Reference Purpose.