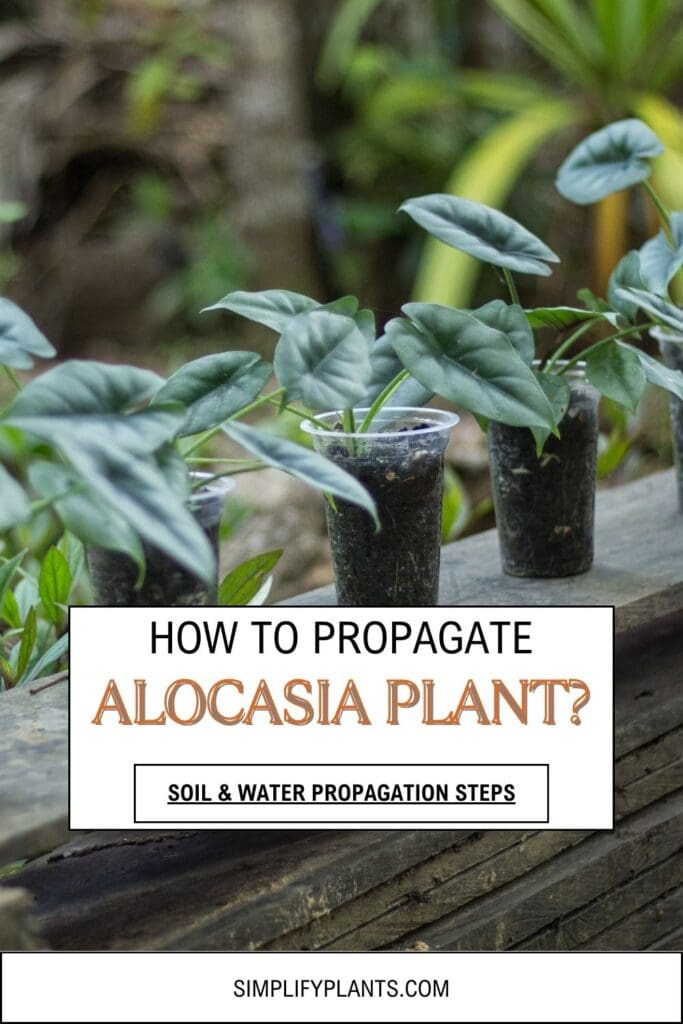
How To Propagate Alocasia Plant? (Soil & Water Propagation Steps)
Propagation is a great way of getting more plants from your existing plant for free. Some plants shoot out new stems, and some, like Alocasia, grow bulbs at their roots. Propagating more Alocasias from the existing ones saves you from spending more money to buy new plants.
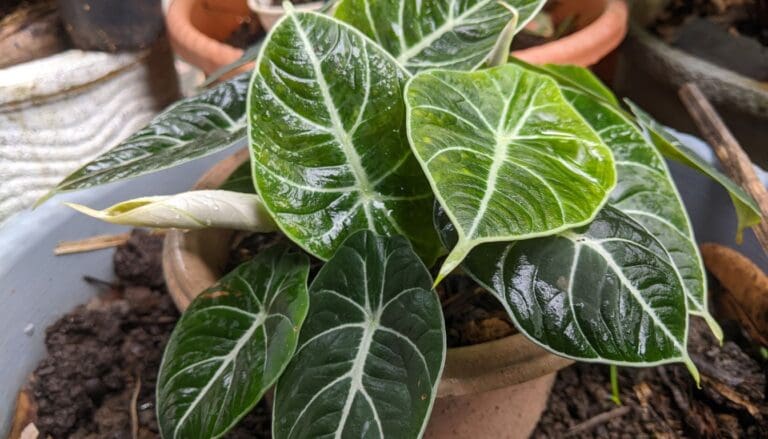
Alocasia grows from rhizomes under the ground, and the best way to propagate the Alocasia plant is by dividing them. When you dig up the soil, you will find corn-like rhizomes from which the plants grow, and you can separate these to propagate your Alocasia both in soil and water.
Some plant owners think propagating Alocasia is critical, but you will understand it’s quite easy if you know the correct procedure. In this article, I will discuss the process and the tips you should follow to propagate your Alocasia successfully.

Please note: Simplify Plants is reader-supported. Some links in the post are affiliate links and I get a commission from purchases made through links in the post.
What is the best time to propagate Alocasia?
The best time to propagate Alocasia is spring and early summer because this is the growing season of Alocasia.
The extreme heat of mid-summer can be equally frustrating for your Alocasia.
During such seasons, propagation can put the plant under stress.
In the winter season, Alocasia goes dormant, meaning it ceases to grow because it is a tropical plant and cannot tolerate the harsh winter cold.
So if you try to propagate it during the winter, you will lose the plant because it cannot grow during this period.
However, with the advancement of spring, Alocasias come back again ad start growing vigorously.
This is the right time for you to propagate more plants from your mature Alocasia.
This time around, it is pleasant and mild, and the Alocasia grows swiftly during this time.
So the plant finds it easy to handle the propagation and shows growth from the propagated parts.
Now let us discuss the steps and procedure for propagating your Alocasia correctly.
How to propagate an Alocasia plant?

The best propagation method for Alocasia is via division.
Dividing the Alocasia is possible because of the root structure’s clumping or rhizomatous (spreading via underground stems) nature.
Accomplishing division is relatively simple, and it helps to turn an overcrowded plant into two or more plants.
Though plant owners think dividing the Alocasia is a tricky job, you will be surprised to see it is quite easy and simple if done correctly after understanding the entire procedure.
Many plant owners wonder if they can propagate Alocasia by cuttings.
Leaf or stem cuttings, which are popular ways of propagation, may not be successful for Alocasia.
Because Alocasias grow only from the root bulbs, you have to remove the plant from the soil and take out the bulbs to propagate the plant.
Post-propagation care will determine how successful the newly plated divisions will be.
Proper watering is important since newly divided Alocasia is susceptible to root rot and diseases.
Make sure you only pull out the big enough corn to propagate about the size of peanuts.
The smaller the corn is, the longer it takes to show roots and the higher the chances of rotting and death.
If you plan to separate the baby plants from the mother plant, you must make sure the mother plant is healthy.
You should not propagate if you see any signs of disease in the plant-like discoloration, brown, yellow, or black spots, weak-looking plants, droopy or wilted leaves, etc.
Give the plant time to heal first, then you propagate.
Because propagation gives stress to the plant, your plant needs to cope with that stress.
It is best not to disturb an already stressed plant.
If you want to save your plant, you must try every other way first before deciding to propagate.
If you see your plant has stopped growing, not giving out new leaves, the soil is getting dehydrated quickly, and roots are beginning to show outside at the bottom and on the surface, you can think of propagating to divide the plant.
Before beginning the propagation process, first decide whether you want to propagate it in water or soil.
How to propagate Alocasia by division?
Dividing the Alocasia is simple and requires only a few minutes, a big container, and some soil.
Let us check the requirements quickly before beginning the soil propagation process.
Supplies required:
- A small pot
- Sharp shears or knife
- Newspaper or a big tub to keep the uprooted plant and soil so that the place does not get messy with the soil.
- Fresh potting soil
- Water to moist the soil
- A healthy, thriving Alocasia
- Disinfectant
Soil propagation
- Find an open spot where you can propagate your Alocasia. It is best not to do it inside the rooms as it can get messy. You can do it on your balcony, patio, or yard.
- Next, disinfect the pruners or shears. This prevents the unnecessary transfer of bacteria during the propagation.
- Inspect your Alocasia thoroughly. Make sure the Alocasia is a mature, healthy plant without diseases.
- A mature Alocasia will develop multiple clumps and have an extensive root system.
- With a shovel, carefully dig around the mother plant that you will divide, remove it, and lift it off the ground. You can do this by rolling the pot to its side and slowly pulling out the root ball.
- Use a sharp knife to loosen the soil around the roots and corns (bulb-like structure). Be careful not to damage the Alocasia plant during this process.
- If the root feels too compact, you can soak the entire root ball in a bucket of water to loosen it up.
- There should be many tubers underneath the ground. Find a clump with a few corns and gently pull apart the mass.
- Use sharp shears or knives to separate the roots and corns if the mass is too dense and compact to pull apart. Each of these tubers will grow into a new plant. This particular separation part is crucial and critical, and you have to be careful. You can cut the sections with sharp, sterilized shears or by your hand.
- Choose a healthy, matured corn for propagation.
- Put the mother plant back into the soil.
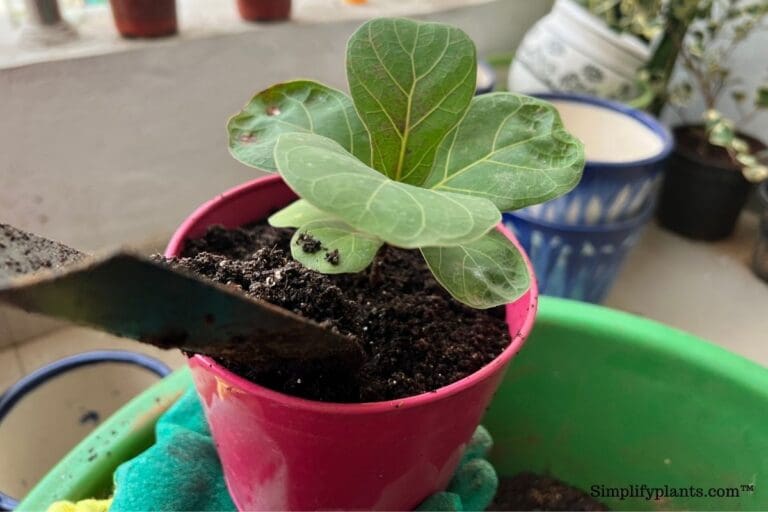
- Plant the newly divided clumps into fresh soil in small pots. Don’t plant them any closer than 3-6 inches away from each other. Put the corn and add soil all around them, leaving a few inches of space on top of the pot.
- Water the newly planted clumps well until it runs out of the bottom hole.
Post propagation care
- Do not expose the newly potted tubers to extremely high or cold temperatures.
- Make sure your Alocasia tubers are never bone dry. Always keep the soil moist but never soggy.
- Water the baby Alocasia only when the soil dries out. Put your finger inside the soil to check the moisture level.
- Keep the plant away from direct sunlight in an area with plenty of indirect light and air.
- Do not fertilize this baby’s Alocasia for a few months, as that might burn the roots because the plant remains very sensitive during this stage.
- The mother and baby plants might go under stress from the propagation leading to wilted leaves. So expect a couple of weeks before the plant shows any new growth.
Best soil type to propagate your Alocasia
Alocasia prefers well-draining soil that can hold moisture without being waterlogged.
Loamy soil mixed with perlite provides sufficient drainage and nutrients.
Sandy soil may drain too quickly, and clayey soil can be too compact and retain excessive water.
A mixture of potting soil, perlite or sand, and coco coir or peat does well.
This mix ensures the soil doesn’t dry out too fast or slow while providing a good environment for root expansion.
Water propagation
Some plant owners feel propagating Alocasia corns in soil takes a lot of time and patience and involves a bit of hassle because you have to keep an eye on the soil.
So another way to propagate Alocasia is with the help of water.
This is an easier and quicker way of propagating Alocasias.
Growing Alocasia in water is the easiest and most decorative way of propagating and showcasing this beautiful houseplant without handling messy soil.
Alocasias are moisture-loving plants that grow in moist rainforests.
So your Alocasia is perfectly capable of growing in water as well.
The roots need oxygen and nutrients to grow, but they get that in water.
Once the Alocasia has rooted in the water, you can shift the plant to the soil, or if you want, you can continue growing it in water.
Supplies required:
- Clean bowl or vase (glass preferably, as it helps to see the progress of the roots)
- Sharp pruning shears or knife
- Disinfectant
- Distilled water (using rainwater or river water is recommended. If you do not have that, then use RO water. If you use tap water, then allow it to sit for 24 hours)
Steps to propagate your Alocasia in water:
- Remove the mother plant from the soil.
- Loosen the root ball and shake off the extra soil.
- Divide the bulbs from the roots of the mother plant.
- Wash the corn well to make sure there is no soil off the roots
- Find a glass bowl or vase to see the roots progress.
- Fill up the container with filtered or distilled water.
- These corns are placed in shallow water (filtered water is preferred over tap water), and then a dome or cover gets placed over it to seal the moisture inside.
- You can get a plastic bag to cover the corn as it locks moisture.
Post propagation care
- Keep changing the water whenever you see it getting dirty or yellow. Stagnant water can also be the breeding ground for insects and algae. So keep the water clean at all times.
- Keep the propagated plant in a place that receives bright indirect light but not any harsh sunlight.
- Never use tap water as it contains many harmful minerals that can ruin sensitive bulbs.
- A special trick here that some plant owners have seen results is that you should leave the tip of the corn above the water to let it breathe.
- After a few weeks, the tip starts to get longer, and roots begin to grow on the sides of the corn.
- The growth of the first leaf may take between 1-4 months, depending on the health of the corn.
- Do not transfer to the soil until you see the first leaf and the roots get pretty long.
- While transferring to the soil, keep the soil moist, and the humidity around the plant should be high.
Final words
Alocasias are beautiful tropical plants that plant lovers add to their collections to increase the aesthetic value of their homes. However, since it might be expensive, many do not want to buy more than one plant.
By following the above procedure and propagation tips, you can get multiple Alocasia plants without spending extra money. Remember to propagate Alocasia by dividing the baby plants from the mother plant and not by taking a leaf or stem cutting.

Reference: Alocasia sanderiana, Alocasia micholitziana.
Recommended Garden Supplies
| Product Image | Our Recommended Gardening Supplies | Check Offers! |
|---|---|---|
Top Top
Top
Top
Top
Top
Top
Top
Top | rePotme Houseplant and Tropical Classic Potting Soil Mix | Check Offer On Amazon |
 Top
Top
Top
Top
Top
Top
Top
Top | Espoma Organic Indoor Plant Food | Check Offer On Amazon |
 Top
Top
Top
Top
Top
Top
Top
Top | GooingTop LED Grow Light 6000K Full Spectrum Clip Plant Growing Lamp | Check Offer On Amazon |
 Top
Top
Top
Top
Top
Top
Top
Top | Soil Moisture Meter | Check Offer On Amazon |
 Top
Top
Top
Top
Top
Top
Top
Top | Govee Hygrometer Thermometer, Bluetooth Enabled! | Check Offer On Amazon |
 Top
Top | LEVOIT Humidifiers for Large Room(Best For Plants) | Check Offer On Amazon |
 Top
Top
Top
Top
Top
Top
Top
Top | Upgraded DIY Automatic Drip Irrigation Kit, 15 Potted Houseplants Support | Check Offer On Amazon |
 Top
Top
Top
Top
Top
Top
Top
Top | Stainless Steel Heavy Duty Gardening Tool Set | Check Offer On Amazon |
 Top
Top
Top
Top
Top
Top
Top
Top | Bonide Insecticidal Soap | Check Offer On Amazon |
 Top
Top
Top
Top
Top
Top
Top
Top | Bonide 32 oz Spray Neem Oil for Organic Gardening | Check Offer On Amazon |
 Top
Top
Top
Top
Top
Top
Top
Top | Garden Safe Fungicide | Check Offer On Amazon |


