Old Moss Pole Looking Bad? 10 Tips To Swap It Safely Without Harming Your Plants
Your climbing plant’s been loving its moss pole for months, but now the pole looks crusty, smells weird, or feels like it could topple over any day.
The good news? You can swap out a sad moss pole without wrecking your plant’s roots or stems, as long as you do it right.
Most of us worry we’ll hurt our favorite climbers during the switch. But honestly, it’s not as hard as it sounds.
A failing moss pole can actually hold your plant back. Once the moss breaks down or gets gross, it stops supporting those aerial roots and can even bring problems to your plant.
Knowing when to replace it—and how to do it safely—keeps your Monstera, Pothos, or Philodendron happy and climbing.
This guide covers spotting warning signs, removing the old pole without a meltdown, picking a solid replacement, and making sure your climber settles into its new support.
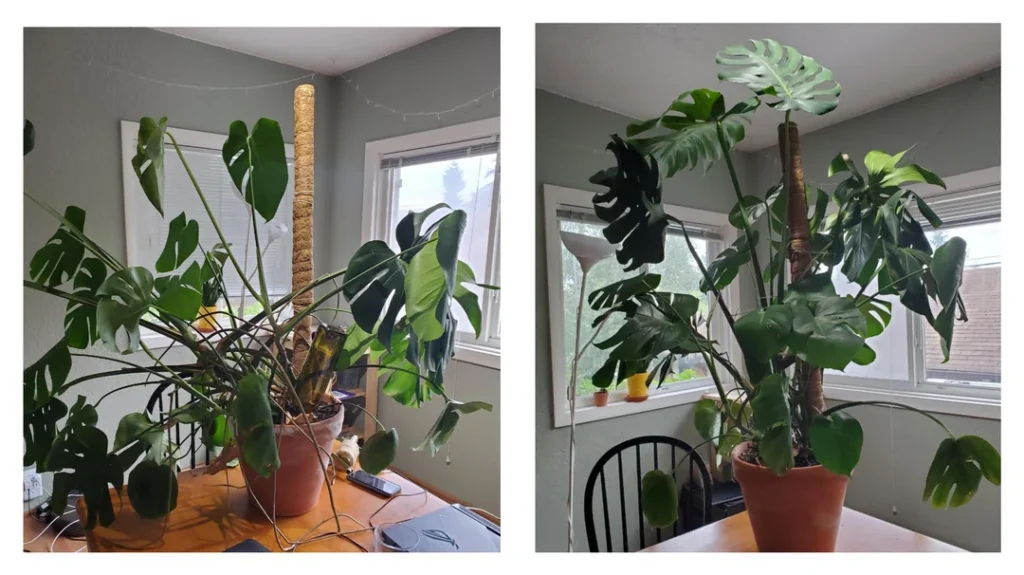
There are also tips to help your new pole last way longer than the last one.
Please note: Simplify Plants is reader-supported. As an Amazon Associate, I earn from qualifying purchases made by our readers with no extra cost added to you all! Some links in the post are affiliate links and I get a commission from purchases made through links in the post.
Why and When to Replace a Moss Pole
A moss pole breaking down puts your climbing plants at risk and limits their growth potential. You’ll want to watch for certain warning signs and know what happens if you ignore them.
Signs Your Old Moss Pole Needs Replacing (and What They Mean for Your Plant)
If your moss pole shows visible mold, black spots, or feels slimy, that’s a red flag. Moisture’s probably caused some rot inside the structure.
Sometimes the moss just looks flat, gray, or has bare patches where it’s totally worn away.
Try gently pushing on the pole. If it wobbles at the base or leans, the internal support is probably toast.
Check where your plant attaches to the pole. You might see aerial roots struggling to grip or even pulling away.
Climbers like Monsteras and Pothos need a textured surface to really hang on.
The moss can also start falling off in chunks, especially if the ties or mesh have broken down from all the watering and humidity. Once that moss layer thins out, your plant loses its main climbing surface.
Quick Tip: If more than 30% of the moss is looking rough or missing, it’s time to start planning for a replacement.
Risks of Keeping a Deteriorating Support (Don’t Let This Happen)
A weak moss pole can actually collapse under the weight of mature plants. If that happens, you risk breaking stems or damaging those gorgeous fenestrated leaves you’ve been waiting for.
Rotting poles can harbor bacteria and fungi. These nasties spread to your plant’s roots and stems, and suddenly you’re dealing with root rot or stem infections—way harder to fix than just swapping out a pole.
Your plant can also stop growing upward if the support fails. Climbers need vertical support to develop bigger, more mature leaves. Without it, you’re stuck with smaller, juvenile growth.
Quick Tip: A failing pole stresses your plant more than the temporary hassle of replacing it.
Benefits of Upgrading Your Plant’s Climbing Aid (What You’ll Actually Notice)
Fresh moss poles give your plant a clean, textured surface for aerial roots to grab. This leads to stronger attachment and better nutrient absorption. You’ll probably notice more vigorous growth in just a few weeks.
New poles hold moisture better, which epiphytes love—it’s closer to their natural conditions. Healthier leaves and brighter color are often the result.
A sturdier structure means your plant can keep growing bigger leaves without the pole bending or breaking. Plus, swapping poles is a chance to redirect any wild vines back into the shape you want.
Prepping for a Safe Moss Pole Swap
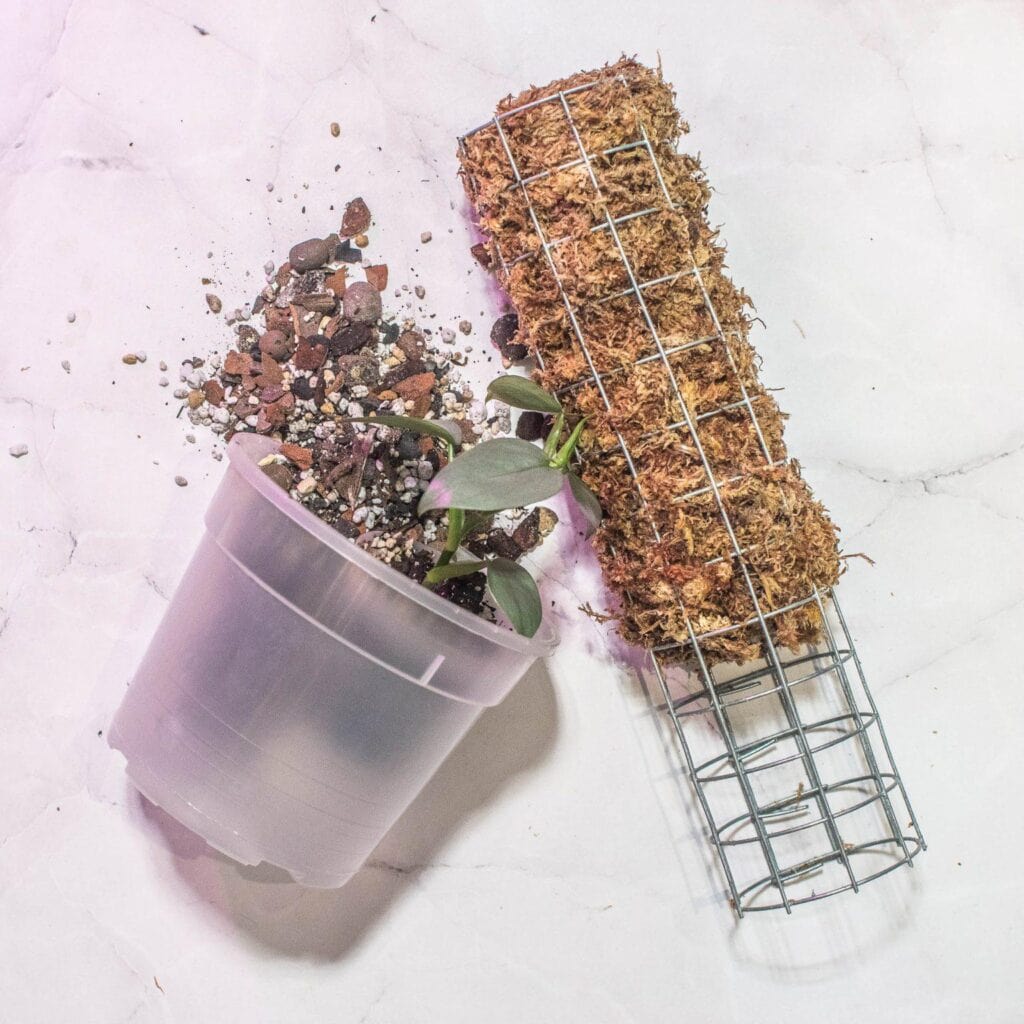
Before you start yanking out the old pole, it’s smart to check your plant’s condition and get your workspace ready. Having the right tools on hand makes everything smoother for you (and your plant).
Assessing Root and Plant Health First (Because a Weak Plant Won’t Bounce Back)
Take a look at your plant’s leaves and stems first. If you see yellow leaves, brown spots, or droopy stems, your plant’s already stressed. In that case, maybe wait a week or two until it perks up before you mess with the pole.
Next, check the roots by gently tilting the pot and peeking at the drainage holes. Healthy roots are white or tan and feel firm. If they’re black, mushy, or smell bad, you’ve got root rot to deal with before worrying about the moss pole.
Feel the soil, too. If it’s bone dry, water your plant a day before the swap—flexible roots are way less likely to snap when untangling from the old pole.
Quick Tip: If your plant’s pushing out new leaves, wait until those finish unfurling. They’re extra delicate during that stage.
Gathering the Right Tools and Accessories (So You’re Not Scrambling Mid-Swap)
You’ll want plant ties or plant clips to secure stems to the new pole. Soft ties like velcro strips or twine are much gentler than wire. Grab a few extra clips—you’ll probably use more than you expect.
Clean scissors or pruning shears are a must. You might need to trim dead roots or snip off stubborn old ties.
A spray bottle with water is handy if you’re working with a sphagnum moss pole. Damp moss is way easier to work with, and you’ll avoid snapping aerial roots. Really, don’t skip that step.
Lay down an old towel or plastic sheet to catch soil and water. This can get messy, especially if roots are wrapped tight around the pole.
Quick Tip: Wipe your scissors with rubbing alcohol between cuts to avoid accidentally spreading bacteria or fungus.
Choosing the Best Replacement Pole (Not All Poles Are Created Equal)
A coco coir pole works for most climbers like pothos and philodendrons. The rough surface gives roots something to grip, and these poles last longer than plain wood. Plus, they hold moisture better.
Sphagnum moss poles are the go-to for humidity lovers like monsteras. The moss stays damp and encourages roots to dig in, but you’ll need to mist it regularly so it doesn’t dry out.
Pick a pole at least 6 inches taller than your old one. Plants grow faster than you think, and you don’t want to be doing this again in a few months. A coir pole with a stake already attached is a real time-saver.
Match the pole’s thickness to your plant. Heavy vines need a sturdy 3-inch pole, while smaller plants do just fine with a 2-inch one.
Quick Tip: Skip painted or treated poles—chemicals can leach into the soil and mess with your plant’s health.
Creating the Ideal Workspace (Because Your Kitchen Table Isn’t Always the Best Spot)
Set up near a sink or outside where cleanup’s easy. If you’re indoors, a garden bench top or sturdy table with a waterproof cover will save you some headaches. Soil and water always seem to go everywhere.
Good lighting is a must. You need to see the roots clearly to avoid tearing them when removing the old pole. A bright window works, or just bring over a lamp if it’s dim.
Keep your tools, new pole, and ties within reach. Stopping mid-swap to hunt for scissors leaves your plant exposed longer than it should be. Lay everything out first.
Work at a comfortable height so you’re not hunched over. Seriously, back pain makes this feel like a much bigger job than it is.
Quick Tip: Have an extra pot or bucket handy to gently hold stems while you deal with the roots. It helps prevent accidental breakage.
Step-by-Step: Removing the Old Moss Pole
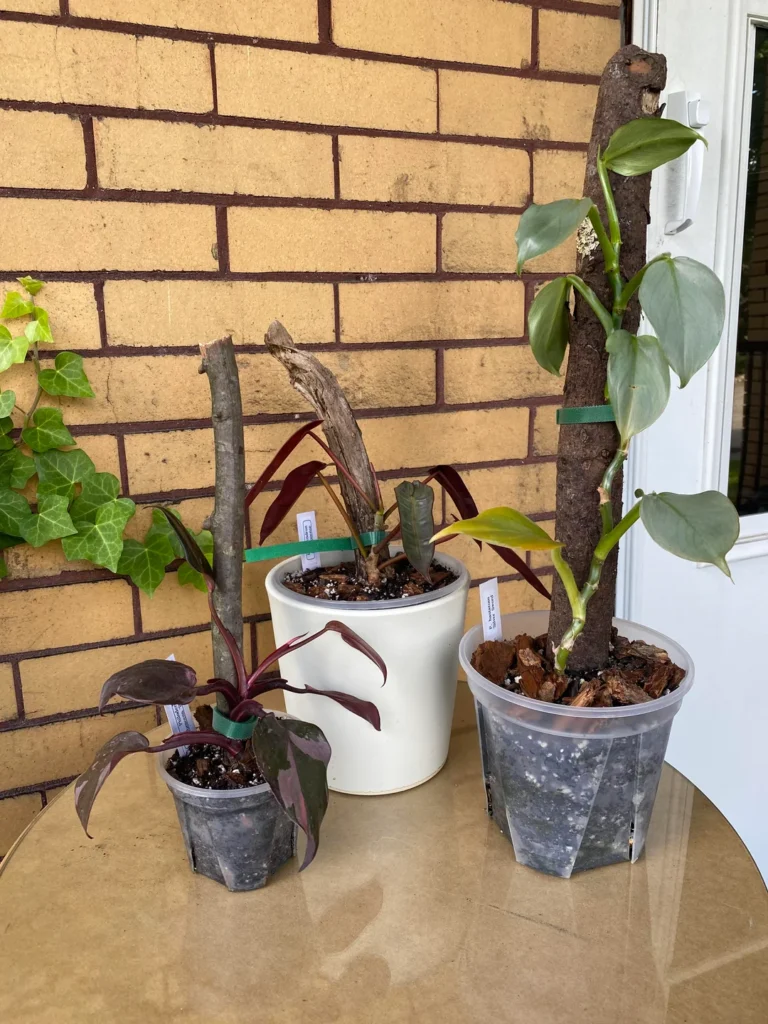
Taking out an old moss pole takes patience and a gentle hand. You’ll need to work through plant ties, untangle aerial roots, manage any root disturbance, and tidy up the mess afterward.
Detaching Plant Ties and Clips Carefully (So You Don’t Snap Those Stems)
Start by finding every tie and clip holding your plant to the old pole. Some are tucked under leaves or behind stems, so check closely. Use scissors or your fingers to loosen velcro ties, twist ties, or plastic clips.
Cut through any stubborn ties instead of pulling. Yanking can snap stems or scrape bark, especially if a tie’s been on for ages.
Work from the top down so the plant doesn’t suddenly collapse and stress the lower stems. Support heavy sections with one hand as you go.
Quick Tip: Keep a little bowl nearby for old ties and clips so they don’t end up lost in the soil or on your floor.
Separating Aerial Roots from the Pole (Without Breaking Those Clingy Roots)
Aerial roots love to grip moss poles, and older ones can really latch on. Don’t just yank the plant away. Gently wiggle each root loose, working from the tip toward the base.
If roots have grown into the moss or coir, use your fingers to peel back the material. A dull butter knife can help nudge stubborn roots free without cutting them.
If a root just won’t let go and looks like it’ll snap, it’s okay to trim it with clean shears. Plants grow new aerial roots all the time, so losing one or two isn’t the end of the world. Just don’t cut off a thick, main root if you can help it.
Quick Tip: Mist the aerial roots before you start—damp roots are more flexible and less likely to crack.
Handling Root Disturbance (When Things Get Messy Below the Soil)
The base of the moss pole usually sits deep in the soil, and pulling it out will disturb some roots. Water your plant a day before—moist soil lets the pole slide out easier than dry, packed dirt.
Wiggle the pole gently back and forth to loosen it. If it’s really stuck, use a hand trowel to dig around the base for more space. Try not to slice through any major roots.
Some soil will fall away from the root ball, and that’s fine. Just don’t shake off all the soil or you’ll stress your plant. If you accidentally expose roots, tuck them back in with fresh potting mix right away.
Quick Tip: If your plant’s in a super tight pot, you might have to unpot it completely to get the old pole out safely.
Cleaning Up After Removal (Because Old Moss Bits Get Everywhere)
Once the pole’s out, you’ll probably find bits of moss or coir on your plant and scattered in the soil. Pick off any big chunks stuck to stems or leaves—these can hold moisture and cause rot if left behind.
Check the soil surface and remove any debris that fell during the process. Old moss can go moldy if it stays damp in your pot.
Look over your plant for any broken leaves or stems. Trim off anything obviously damaged. If the leaves got dusty, just wipe them down with a damp cloth.
Give the area around your pot a quick sweep or vacuum. Those little moss bits seem to get everywhere, don’t they?
Quick Tip: This is a good time to check for pests that might’ve been hiding around the base of the old pole.
Choosing and Installing Your New Support
The right pole material, sizing, and attachment make a difference in how well your plant grows up in the months ahead. Every choice affects moisture, root development, and overall stability.
Comparing Sphagnum Moss, Coco Coir, and DIY Options to Find Your Best Match
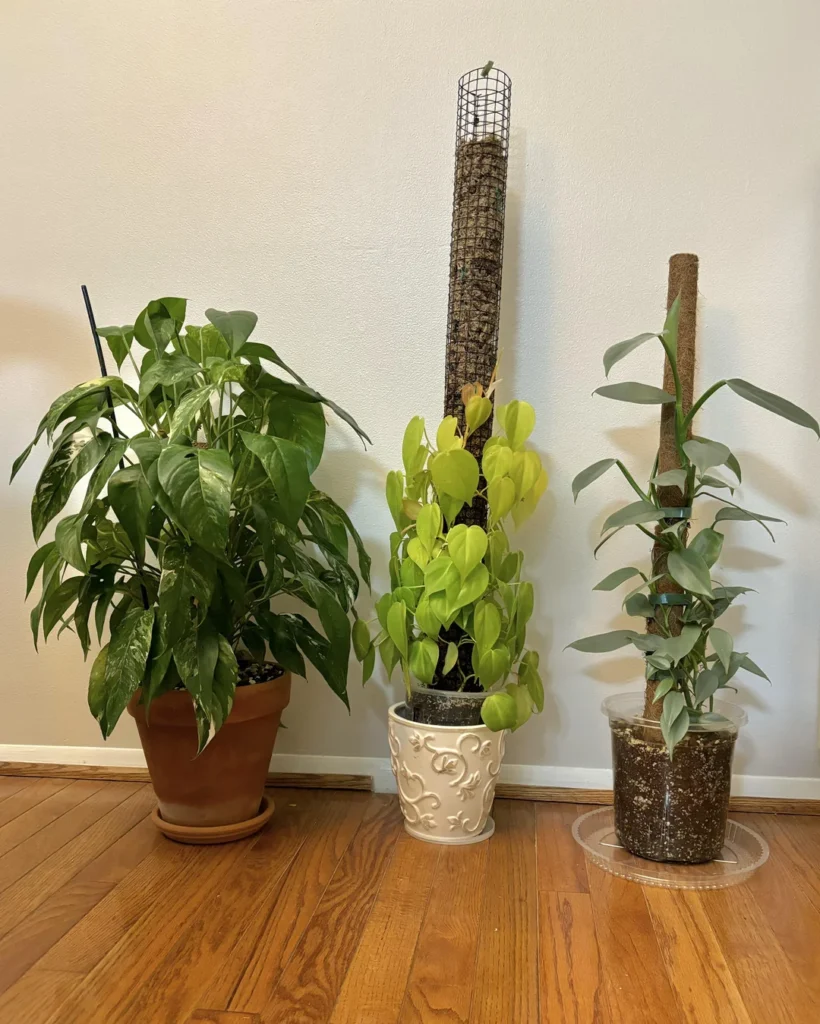
Sphagnum moss poles keep moisture longer than anything else I’ve tried. They’re a dream for monsteras or pothos with tons of aerial roots that crave humidity. The catch? In homes with dry air, they dry out faster and, honestly, they’re kind of pricey.
Coco coir poles are a solid middle ground. Coir resists mold better than sphagnum and still gives roots something to grab. They’re cheaper, last longer, and don’t break down as quickly. If you forget to mist here and there, coco coir is pretty forgiving.
DIY moss poles let you tweak the height and thickness to fit your plant. Wrap chicken wire around a PVC pipe and stuff it with either sphagnum moss or coco coir—works great for those tall or awkwardly shaped pots. Just double-check that your mesh is fine enough so the filling doesn’t spill out everywhere.
Quick Tip: Give your pole a squeeze—if water pours out, it’s too wet and you risk rot.
Sizing and Placing the Replacement Pole for Maximum Stability
Pick a pole that’s at least 18 inches taller than your plant’s current height. Plants shoot up fast with good support, and you don’t want to be swapping poles again in a few months.
Push the pole about 3-4 inches into the soil, close to the main stem but not touching it. If you run into roots, just nudge the pole to the side instead of forcing it. The base needs to feel solid—no wobbles.
For heavier plants, go for a pole that’s at least 1.5 inches thick. Skinny poles bend and can pull away from the edge of the pot. Place the pole on the side where most of the vines are already growing so you don’t have to twist stems across the pot.
Quick Tip: Mark your pole with tape at the depth you want before sticking it in. Makes it way easier to get it right every time.
Attaching Vines and Aerial Roots for Best Growth and Healthy Climbing
Press aerial roots right up against the pole. They need contact to really latch on and start growing into the moss or coir. No aerial roots yet? They’ll pop up once the vines touch something moist and inviting.
Use soft ties or jute twine to secure stems every 4-6 inches. Skip wire or anything too tight—it’ll dig in as the stems get thicker. Try a figure-eight loop: one loop around the stem, one around the pole. Simple and gentle.
Mist the pole daily for the first couple of weeks. This helps the aerial roots anchor and tells the plant it’s time to climb. Once the roots are attached, you can ease up to misting 2-3 times a week.
Don’t try to force vines in directions they clearly don’t want to go. Let them follow their natural path and gently guide them toward the pole. Bent or twisted stems tend to sulk and might even drop leaves.
Quick Tip: Attach stems starting from the bottom and work your way up. Gravity’s your friend here—it helps keep things in place while roots do their thing.
Best Practices to Encourage Climbing & Healthy Roots
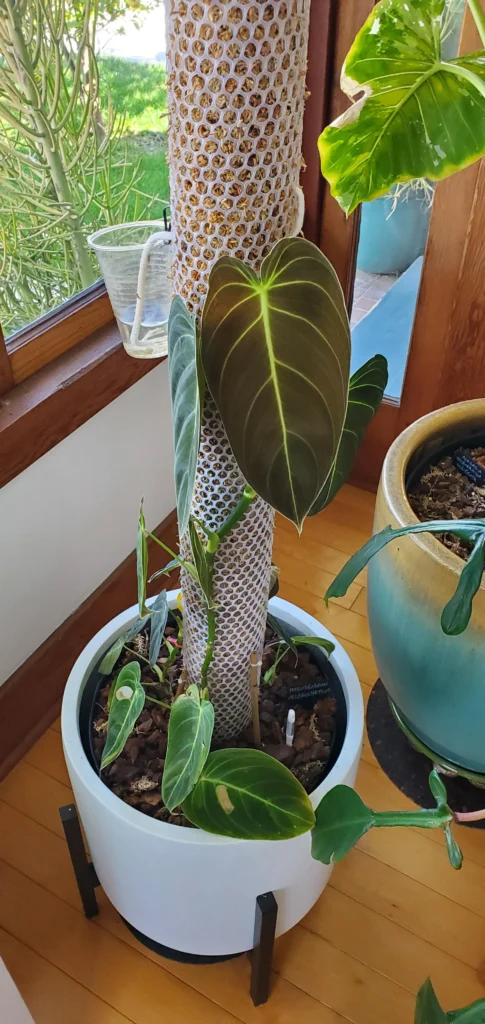
Getting your plant to climb a new moss pole takes patience and a bit of finesse. You’ll want to guide stems gently, use supports that won’t hurt them, and give everything a little time to settle.
Training the Plant Up the New Pole (Without Wrestling Your Monstera)
Start by gently pressing aerial roots onto the moss pole. They naturally want to grip, so putting them right on the moist surface helps them grab on faster. Don’t bend them sharply or force them into weird angles.
Work from the bottom up when attaching stems. Secure the lowest growth point first, then move higher. This gives your plant a stable base and keeps it from leaning or pulling away from the pole.
Quick Tip: Mist the moss pole daily for the first two weeks—it really helps aerial roots attach.
If your plant has fenestrated leaves, angle them outward instead of pressing them flat against the pole. That way, they’ve got space to grow and air can move around each leaf. You might find yourself rotating the pot a bit to get the best look.
Check your ties every few days. Stems can shift as they grow, so you might need to adjust or add more ties higher up.
Using Plant Ties and Clips Safely (So You Don’t Strangle Your Plant)
Pick soft plant ties—velcro, foam, or stretchy fabric are all good. Avoid wire or anything stiff that could cut into stems as they thicken. Plants grow fast, and something that feels loose today might be way too tight in a month.
Leave about a finger’s width of space between the tie and the stem. You want support, not a squeeze. The tie should hold the plant in place but not dig in or leave marks.
Plant clips are handy for smaller stems or leaves you want to train upward. Snap them onto the pole first, then gently tuck the stem in. Space clips every 4 to 6 inches along the pole.
Quick Tip: Go for green or brown ties—they blend in and are barely noticeable once your plant fills out.
Check all ties every three to four weeks. Loosen or swap out any that look tight or leave marks. This is especially important in spring and summer when growth really takes off.
Maintaining Plant Stability During Adaptation (The Awkward Adjustment Phase)
Your plant needs about four to six weeks to get its aerial roots firmly attached to the new pole. During this time, it might look a bit wobbly or lean—totally normal.
Keep the pot in the same spot while it’s adapting. Moving it around can throw off the plant and slow things down. If you have to move it, try to keep the same angle and light exposure.
Water consistently, but don’t go overboard. Too much or too little water will slow down root development, including those aerial roots you’re hoping will grab the pole. Check the top inch of soil and water when it’s dry.
Quick Tip: If the pole wobbles, push it deeper into the pot. A steady pole makes everything easier.
Watch for new growth reaching toward the pole. That’s your sign the plant is settling in. Once you spot fresh aerial roots aiming for the moss, you can relax a bit on the daily checks.
Caring for Your New Moss Pole: Watering and Maintenance
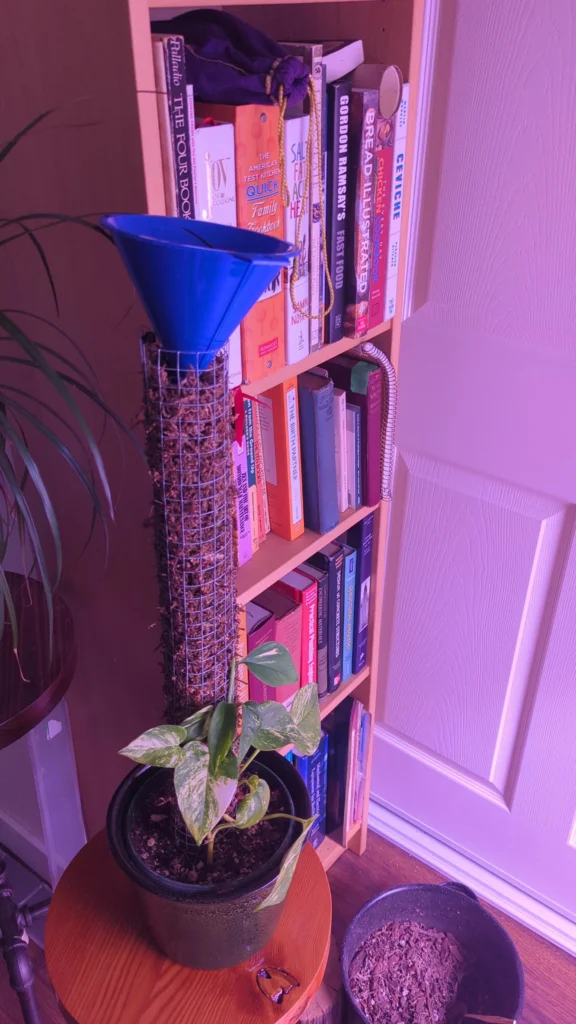
Your new moss pole needs regular moisture and a little attention to stay healthy and support your climbing plants. Keeping it damp, watching for issues, and refreshing the material now and then will help your setup last for years.
How and When to Water Your Moss Pole (And Why Dry Moss Won’t Help Your Plants)
Watering a moss pole isn’t quite the same as watering the soil. The sphagnum moss needs to be lightly moist so aerial roots can actually use it.
Use a spray bottle or a small watering can to mist the pole every 2-3 days. You want it damp, not dripping or bone dry. If you squeeze it and water runs out, that’s too much.
Quick Tip: Check your moss pole when you water your plant—if it looks pale or feels crispy, time to mist.
Plants in bright, warm rooms dry out faster than those in cooler spots. You might need to water daily in summer or near a sunny window. In winter, every 4-5 days usually does the trick.
The soil and the moss pole dry at different rates, so always check them separately.
Preventing Rot and Mold Growth (Because Nobody Wants Fuzzy Surprises)
Too much moisture is an open invitation for mold and rot. If your pole stays soggy, you’ll probably see fuzzy white or green patches, or maybe get a whiff of something musty.
Good air circulation is key. Don’t wedge your moss pole in a tight corner or crowd it with other plants. A small fan can help, especially if your space is humid or it’s the middle of summer.
Quick Tip: Spot mold? Spray with diluted hydrogen peroxide (1 part peroxide to 3 parts water) and let it dry out fully.
Pay attention to the base of the pole where it meets the soil. That spot tends to stay wet longer and is usually where rot starts. If the moss there turns dark brown or black and feels slimy, trim away the bad part.
Refreshing Substrate for Longevity (When Your Moss Needs a Pick-Me-Up)
Sphagnum moss breaks down over time, even with good care. After a year or so, it might look compacted, thin, or just fall apart when you touch it.
No need to toss the whole pole every time. You can peel away the old moss on the outside and wrap fresh sphagnum around the pole, tying it on with twine or fishing line. If the pole itself is still sturdy, this works great.
Quick Tip: Soak new sphagnum moss in water for about 10 minutes before wrapping—it’s way easier to handle and sticks better.
If the pole feels wobbly or the moss just won’t stay put, it’s probably time for a full replacement. You can reuse the stake if it’s still in good shape—just strip off all the old stuff first.
Frequently Asked Questions
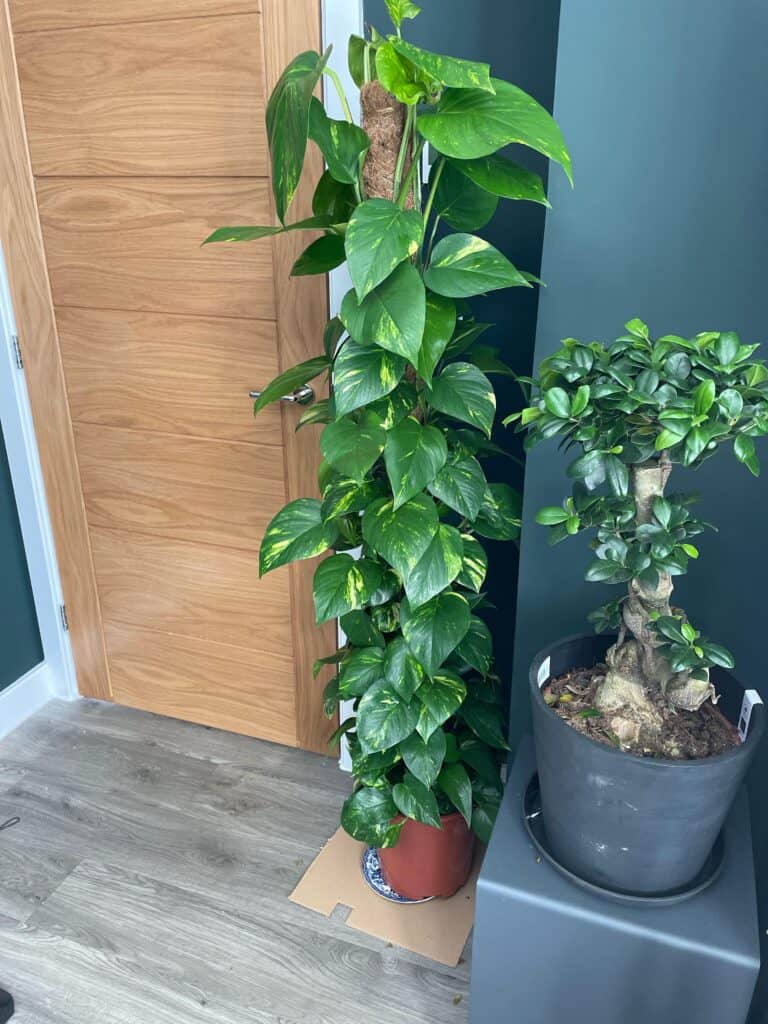
Knowing when to replace a moss pole and how to make the switch can save your climbing plants from a lot of stress. Here are some answers to the most common questions about deterioration, safe removal, timing, root care, and picking a new support.
How can I tell if my moss pole has gone bad or is just drying out?
If it’s just dry, the moss will feel crispy and look light brown. A good soak should bring it back.
But if your pole has black spots, smells musty, or you see mold on the surface, that’s bad news. The structure might feel soft or crumbly if you press it. White fuzzy stuff or tiny bugs crawling around? Time to act.
Always check the base of the pole at the soil line. That’s where rot usually starts.
Quick Tip: Give it a sniff near the soil—healthy moss smells earthy, while rotten stuff smells sour or, honestly, like mushrooms.
What’s the safest way to remove a plant from an old support without damaging the roots?
Water your plant a day before you plan to switch poles. Damp roots bend more easily and are less likely to snap.
Unwind any ties or clips from top to bottom. That way, you aren’t tugging on growth that’s still attached below. For roots that have grown into the moss, mist them well and gently work them loose with your fingers.
Don’t yank or force anything. If a root is really stuck, just leave it and cut that part of the old pole away with clean scissors.
Quick Tip: If you can, have a friend hold the plant steady while you work. It’s so much easier with two sets of hands.
When is the best time to swap a support so my plant won’t go into shock?
Spring and early summer are ideal for switching poles. Plants are growing fast and bounce back from stress much better.
Try not to swap supports in winter—most houseplants are resting and might drop leaves if disturbed.
If you’re in a warm zone where growth happens year-round, you’ve got more wiggle room. Just aim for a time when your plant is actively putting out new leaves.
Quick Tip: Wait until you see fresh leaves unfurling before making the switch—that’s your green light.
How do I keep aerial roots attached and happy while changing supports?
Mist aerial roots well before you start. It makes them more pliable and less likely to snap.
As you move each root to the new pole, press it gently into the moss and secure it with soft ties or twine. Don’t tie too tightly or you’ll damage the roots.
Keep misting the roots daily for the first two weeks after the swap. That helps them grab onto the new surface and start growing again.
Quick Tip: Use green garden tape or jute string for holding roots in place—they’re soft and won’t cut into delicate growth.
What type of new support should I choose for my plant’s size and growth style?
Try to match the pole height to your plant’s current size, but add about two feet for future growth. If the pole’s too short, you’ll probably find yourself swapping it out again before you know it.
Got a heavy climber, like a big Monstera? You’ll want a thicker pole—one with a solid PVC or wooden core feels a lot sturdier. For lighter vines, though, slimmer poles or coco coir stakes usually do the trick.
Think about how your plant actually climbs. Does it wrap itself around stuff, or does it just kind of lean and hope for the best?
Wrapping plants are fine with smoother poles, but if you’ve got a clinger with aerial roots, it’ll appreciate something textured—like moss or coco fiber—to grab onto.
Quick Tip: If your plant’s already three feet tall (or taller), you might want to look into an extension pole system. That way, you can just add height later instead of starting over—makes life a bit easier, honestly.
How can I prevent mold, pests, or rot from coming back on the new support?
Let your new pole dry out completely between mistings. If it’s always damp, mold is basically inevitable.
Take a good look at how you’re watering the pot. When soil stays soggy, that moisture just climbs the pole and causes trouble.
Honestly, make sure your pot has proper drainage holes. Only water when those top couple inches of soil actually feel dry to the touch.
Keep the air moving around your plant—a small fan on low is usually enough. Still air just seems to invite fungus and pests, doesn’t it?
Quick Tip: Before you install your new pole, wipe it down with diluted hydrogen peroxide (one part peroxide to three parts water). That should zap any spores hanging out on the surface.
Note: Some images in the articles are sourced from Reddit and Other Platforms For Reference Purpose.