How To Save Calathea From Root Rot? (Early Signs, Causes & Solution)
Root rot is a widespread problem found in Calathea and more or less all houseplants. If treated within time, Calathea can be saved from the damage of root rot. But, if you continuously ignore the signs, you will end up with a wilting calathea.
So, in this article, we will learn how to save calathea from root rot.
The primary cause of root rot in Calathea is overwatering. When Calathea shows early root rot signs, you need to fix the problem immediately. To fix root rot in calathea, reduce the water supply, stop fertilizing the plant, examine the roots for possible damage, and repot the plant if necessary.
This article will allow you to understand and identify the different symptoms of root rot and how you can save your Calathea plant from the same. We will also discuss some preventive measures against further root rot in the Calathea.

Please note: Simplify Plants is reader-supported. As an Amazon Associate, I earn from qualifying purchases made by our readers with no extra cost added to you all! Some links in the post are affiliate links and I get a commission from purchases made through links in the post.
What is root rot?
Before learning the signs, causes, and treatment of root rot, let us learn about root rot.
Root rot is a disease caused in the plants mainly due to overwatering, inadequate drainage, and fungal infections. As the name suggests, the roots will start rotting due to their prolonged stay in the water.
The roots become waterlogged due to excess water supply.
An anaerobic environment is formed in soggy conditions and the pathogens of this disease attack and damage the tissues of the plant’s root system. These pathogens gradually make their paths towards the stems.
When a plant suffers from root rot, it becomes challenging to bring it back to normal health.
If the root rot turns severe and gets worse day by day, it can even kill the plant. The only way to save your Calathea from such unfavorable conditions is through prevention.
Different signs of root rot in Calathea
Saving Calathea from root rot is easy if you start treating it when you discover the early signs.
Your Calathea will tell you which root rot stage it is in by showing the different signs. Let us find out the signs and identify them.
Early signs

When the issue just hits your plant, you will find the early signs in your Calathea. Generally, the early signs of root rot are soggy and smelly soil, stunted growth, yellow leaves, or brown tips and edges of leaves.
If your plant seems dehydrated with drooping leaves, it is also a sign of root rot.
Stunted growth: Constant watering will reduce the plant’s ability to absorb water and slow down its growth.
The excessive water deposit in the root system will result in root rot. This happens more during winters when the plant remains dormant.
Yellow leaves: Yellow leaves can indicate various problems in Calathea. Other than root rot, yellow leaves can be an indication of a lack of nutrients.
But, identifying yellow leaves as a sign of root rot is easy. The whole leaf will rapidly start turning yellow and wilt.
Along with that, you will find that some leaves have brown tips and edges. These are signs that your plant has root rot.
Wilted leaves: When the Calathea is dehydrated, the leaves will start wilting or drooping.
After the rotting starts, few roots remain healthy to make up for the moisture loss through photosynthesis and transpiration. The leaves slowly lose turgidity and start wilting.
Advanced signs

If you are not serious about the early root rot signs, you will soon see your Calathea getting worse.
Your plant will reach the advanced stage of root rot, and it would be a tough job for you to revive it.
Bad smell from the soil and roots
When the roots of your Calathea remain in the water for a long time, they start rotting. If kept like this for more extended periods, the roots will decay and release a foul smell from the soil.
The smell will come from the bacteria present in the roots and soil thriving in the anaerobic environment.
If the smell grows stronger day by day, the situation turns to a worse condition. It will be tough to fix the situation.
Black spots on the leaf surface
When the root rot spreads, it slowly damages the plant cells, and the plant loses its inability to absorb the soil’s oxygen, water, and nutrients. This damage gradually moves to the stems and leaves.
Ultimately, your Calathea will have black spots all over the leaves, accompanied by yellow rings around those spots.
Black and mushy roots
A healthy root is white or light yellow and firm. An infected root will be dark brown, black and soft, and mushy. This indicates that your plant has root rot disease.
While fixing root rot, you will have to remove these infected roots from your plant to prevent the infection from further spreading.
The plant goes beyond saving
If still, you are ignorant about your plant’s health, all the roots will gradually turn black and decayed.
Without any healthy roots, Calathea will stop absorbing any water or nutrients from the soil and die due to dehydration, lack of nutrients, and unhealthy roots.
Even though in the previous two stages, you can save your Calathea by propagation. But, in this stage, even propagation won’t bring back your plant.
Causes of root rot in Calathea
Now that you are known to the different signs of root rot, it is time to know the different causes behind such a nightmare in your Calathea plant.
Overwatering

This is the primary cause behind root rot and comes first on the list. It happens when you water frequently and don’t allow the plant to dry out before the next watering.
Another situation when you overwater your plant is during the winters.
In the winters, the plants stop growing and become dormant. Watering the plant too often during winters will also cause overwatering because the dormant plant won’t accept much water.
Calathea fails to absorb the excess water. This reduces the chances of oxygen reaching the plant’s root system. Excessive water and less oxygen will suffocate the root system and kill the plant.
Fixation:
- First, water your plant once a week to keep the soil evenly moist all the time.
- Keep checking the moisture level.
- Cut back the frequency during winters.
- Allow the soil to dry before watering – water your calathea when the top 2 inches of the potting soil dries out. You can either use a moisture meter or poke your finger to feel the soil’s dampness.
Also read: How Often To Water Calathea? (A Complete Calathea Watering Guide)
Poor drainage
Good drainage is an essential factor in preventing root rot. You need to make sure that your Calathea pot has suitable drainage holes to flow out excess water.
If the water doesn’t drain out of the drainage holes, it can cause root rot.
The potting soil you use for your Calathea should also support proper drainage.
Extremely compact soil not allowing air circulation or water to drain out of the soil will cause root rot.
Fixation:
While selecting a pot, make sure that it has suitable drainage holes. If not, drill and make the holes.
Ensure that the potting mix is good in drainage. The potting mix should be made such that it can hold moisture and, at the same time, drain excess water.
Using perlite or compost can improve the drainage in your soil.
Also read: What Kind Of Soil Is Best For Calathea? (Best Soil Mix For Calathea)
Oversized pot
When the pot of your Calathea is bigger than the plant, it will have more soil which will take forever to dry out after watering. This will keep the roots wet for prolonged periods and can cause root rot.
Fixation:
You should always choose a pot that ideally matches your plant size. If you want a pot for repotting, select 1-2 inches bigger in diameter pot.
Also read: What happens when you put a plant in too big of a pot?
Fungal infections
Many fungi can attack Calathea – Cercospora, Bipolaris, Botrytis, Fusarium solani, Pythium rot, Phytophthora, etc.
When they attack your plant, overwatering the plant will progress to root rot more quickly. Due to excess water, the fungus spores present in the soil will start germinating and damage the roots of the Calathea.
Fixation:
Fixing fungal infections can be tricky. First, you need to remove the infected parts from the plant.
Then you have to use anti-fungal sprays to treat the infection. You might have to repot if the condition is severe.
Low temperature

Exposing the Calathea to cold drafts will increase the chances of root rot in your plant.
You should remember that Calatheas are tropical plants, and they enjoy growing under warm weather conditions. They are sensitive to cold temperatures.
When you water the plant, the low temperatures won’t allow the soil to dry out completely.
The plant slows down its growth, and water remains deposited in the soil. Remaining wet for long can trigger root rot.
A situation like this – cold drafts, constant watering, soil not drying, again watering – will promote root rot in your Calathea plant.
Fixation:
Do not keep your Calathea near any cold air vents, like air conditioners. If there are cold winds outside, move your plant new feet away from open windows.
To prevent cold drafts, maintain a temperature ranging between 65-80°F. Reduce watering sometimes if needed.
Also read: What Temperature Can Calathea Tolerate? (Ideal Temperature Range)
Watering in winters, i.e., during dormancy
As Calathea is a tropical plant, they prefer a warm climate. During winter, the plant will slow down its growth and become dormant. In such conditions, they will neither accept any fertilizer nor much water.
The plant does not use any energy to absorb water. Watering the plant will only increase the chances of root rot.
Fixation:
As a general rule, you should reduce the watering frequency to half compared to summers or springs. Water the plants once every 2-3 weeks or only when the leaves are wilting.
Also read: How Often To Water Calathea? (A Complete Calathea Watering Guide)
Over-fertilization

Excessive fertilization will trigger and increase the chances of root rot in your Calathea plant. This is primarily noticeable during winters when the plant is dormant.
Being dormant, the plant doesn’t grow much and thus doesn’t use its energy to absorb nutrients.
Fertilizing during this time will only accumulate fertilizer on the soil. Slowly the fertilizer will scorch the roots of the plant and promote fungal infections.
Fixation:
Generally, Calathea should be fertilized every 2-4 weeks during the growing season between March and October.
Avoid fertilizing during the winters. Use ingredients like peat moss or compost fertilizer to make the potting soil nutritious.
While using fertilizers, make the solution by diluting ½ the recommended formulation on the labels.
Also read: Should I Fertilize Calathea? (How Often+Best Fertilizer)
How to save Calathea from root rot?
It is crucial to save your Calathea from root rot beforehand. You should try taking steps when you notice the early signs of root rot.
Root rot will reduce the supply of water, energy, and nutrients. Fixing the problem before it reaches the advanced stage will revive the plant back to its healthy state.
Here are 10 simple steps you can follow to save your calathea from root rot:
Stop watering your calathea
The first step to save your Calathea from root rot is to stop watering the plant immediately. Continuing to water the plant will only tend to intensify and increase the problem.
Inspecting the roots

If you want to confirm the root rot problem, take the plant out and inspect the roots. Check for the healthy roots and the infected roots.
The healthy roots are white and firm, while the infected ones will have a dark brown or black and feel soft and mushy. The roots and soil will release a very foul smell.
Clean the roots
As the fungus and bacteria thrive well in an anaerobic environment created in the soil, you should remove infected soil entirely from the roots.
Either with hand or brush, carefully remove the maximum amount of soil from the roots.
Now, rinse the roots gently to get rid of any leftover soil. With rinsing, some extremely mushy roots will come off quickly.
Now you will be able to see the condition of the roots more clearly.
Trim the infected roots and other parts

Now that all the roots are visible after rinsing, remove the affected ones. This will prevent the further spread of root rot. Use a disinfectant pruner and make a clear cut.
Carefully remove all the infected black roots without leaving any damaged roots behind. Don’t harm the healthy roots and the root ball.
If the root rot is only halfway, only prune the rotten part with half-inch overlap to prevent further infection.
Before dealing with the roots, prune off the affected leaves and stems.
You should prune the brown leaves, black spots, yellow leaves, or infected stems from the plant. Pruning the infected parts will prevent any further spreading of the disease.
Disinfect with hydrogen peroxide
After trimming, to sanitize the roots, mix 1 part of 3% Hydrogen Peroxide with 2 parts of water. Use this diluted solution to disinfect the remaining healthy roots.
This will ensure that all the bacteria and pathogens causing root rot disease are dead.
If you do not have hydrogen peroxide, you can try using bleach. Mix 4 to 6 drops of bleach with 1 quarter of water and apply it.
Allow the roots to dry a little while you prepare a new potting mix for re-potting. But don’t dry them too much.
Prune some existing leaves

This should be done only when necessary, which will arrive when most roots are affected and need to be pruned off.
If the maximum number of roots needed to be pruned off, you will also have to remove maximum leaves to maintain a proper balance, even if it means pruning off good leaves.
Lesser roots won’t give good support to a big plant with many leaves.
For example, if you had to prune 1/3rd of the roots, you would have to trim 1/3rd of the leaves from your Calathea.
Repot the plant
Now it is time to repot the plant and use a new pot instead of the old one. The old one might still be infected.
Moreover, a new pot will give more space to Calathea for flexible root growth. Use a pot 1-2 inches wider than the existing one. Sanitize the pot before transplanting.
You can try using porous pots as they will wick away moisture quickly and prevent overwatering or root rot to some extent. The pot should have enough drainage holes.
Use fresh potting mix for repotting. Make sure to use ingredients that will improve drainage. Materials like peat moss, coco coir, perlite, and vermiculite will help in improving drainage and aeration.
Fill half the pot with the potting soil; plant your Calathea in the middle with actual depth.
Fill the surrounding with the remaining medium. Press gently but not too hard. Water the plant a little only to keep the soil moist.
Once you start seeing new growth, start watering usually.
Care after repotting

Your Calathea might get shocked after transplanting and last for some days. Don’t panic.
Keep taking care of the plant, and do not stress it. Once the plant gets adjusted to its new ideal growing conditions, it will be back again.
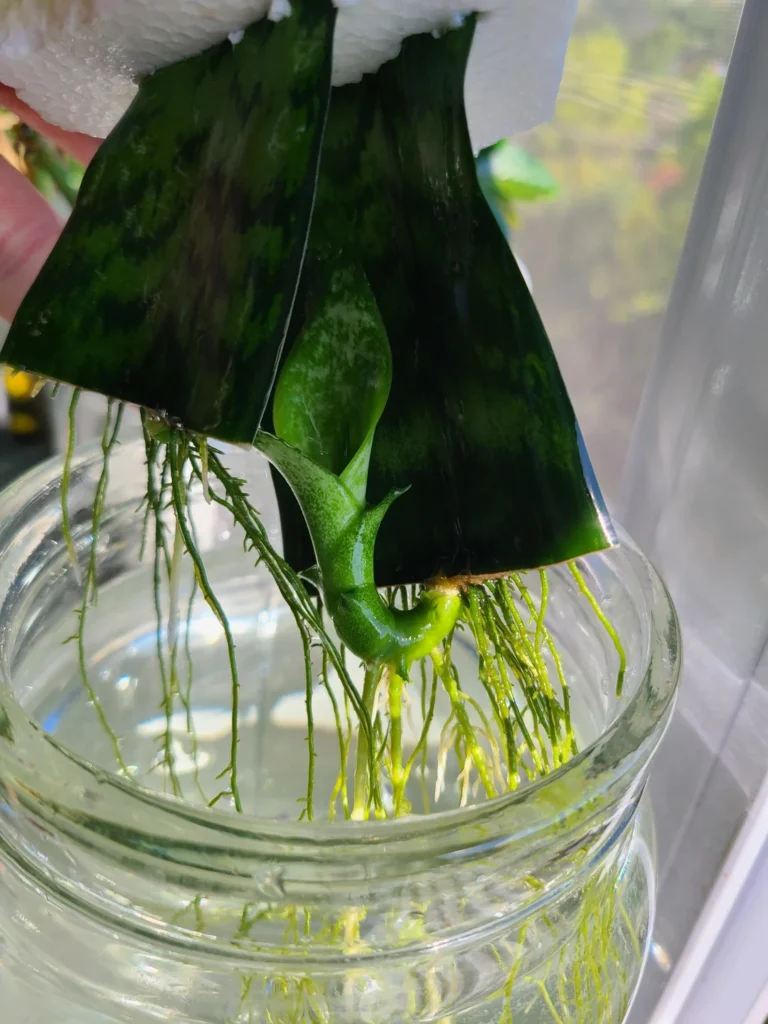
Propagate Calathea
This is the last resort when your Calathea becomes impossible to save because very few roots remain healthy.
In such conditions, you have to propagate them by the source of division.
Choose the divisions with healthy roots and propagate them in soil or water to get more new and healthy Calathea.
Chemical and organic treatment
As root rot is a disease caused by pathogens and fungus, using fungicides will treat your Calathea from root rot.
Chemical treatment is not the first option. When the conditions become severe, you should try the chemical ones.
Use a copper-based fungicide and mix 2 tablespoons of it with 1 gallon of water for performing a drenching treatment.
Before you start the chemical treatment, you should try using some organic fungicides:
- Cinnamon
- Charcoal
- Chamomile
They are very good and effective organic fungicides, and their anti-fungal properties will last for years.
How to prevent root rot in Calatheas?

- Avoiding overwatering is the first and foremost thing you should consider. Water when the top 2 inches of soil dries.
- Cut back the amount and frequency when the calathea is dormant in winters.
- Use the appropriate potting medium for Calathea, which can drain excess water and also retain moisture.
- Make sure the pot has drainage holes.
- Using porous pots like terracotta can save your plant from any further root rot.
- Aerate the soil to allow the passing of air and oxygen. This will encourage fast drying of the soil.
- Make sure that the plant gets enough bright indirect sunlight.
- Ensure that your plant is not exposed to low temperatures and receives enough humidity.
- For preventing root rot, try sprinkling cinnamon powder to prevent fungus growth.
- Add hydrogen peroxide in your watering can and water your plant to kill bacteria or fungus, add extra oxygen to the soil, and promote root growth.
- Last but not least, avoid over-fertilizing. Use fertilizer every 2-4 weeks during its growing season and avoid during winters.
Final words
Root rot is a crucial problem in the Calathea plants, and it needs to be fixed within time, or else your plant can end up dying.
Try to take action when Calathea shows the early signs of root rot. Fixing the problem and saving the plant to bring it back to normal will become easy.
The best way to save your Calathea from root rot is through prevention. Try following the preventive measures to keep your plant strong and healthy, and safe from root rot.
Source: NCBI, University of Florida, Wikipedia, Growing Indoor Plants with Success, Agriculture, and Natural Resources, University of California, Missouri Botanical Garden.
Note: Some images in the articles are sourced from Reddit and Other Platforms For Reference Purpose.