Boston Fern Root Rot: Signs, Causes+Fix
Among all the problems a houseplant faces, root rot is one of the most difficult. Root rot is a disease that affects the plant’s roots when the soil is waterlogged for a prolonged period.
Overwatering, poor drainage system, poor aeration, and wrong potting mix can lead to root rot in Boston ferns. To fix this, take out your plant from the pot, prune off the dead and decayed roots, and repot your boston fern with fresh potting soil in a new container.
This article will explain all the possible causes, symptoms, and how you can save your Boston fern from root rot. It will also provide you with care tips to prevent root rot in your plant.

Please note: Simplify Plants is reader-supported. As an Amazon Associate, I earn from qualifying purchases made by our readers with no extra cost added to you all! Some links in the post are affiliate links and I get a commission from purchases made through links in the post.
What is root rot?
Root rot is a disease that makes the plant’s roots rot and decay.
Overwatering and poorly drained soil cause root rot in Boston ferns.
The excess moisture reduces the oxygen supply in the soil, due to which the roots will get suffocated and start to rot.
Soggy soil is ideal for fungi and bacteria to develop and spread.
The pathogens remain dormant inside the soil, and when the plant is overwatered, they become active and start damaging the root system.
The healthy roots will decompose, turn brown and mushy, and gradually die.
Root rot disease can even kill your plant if its roots are not treated within time.
What are the different signs of root rot in Boston ferns?
Root rot disease is a little difficult to detect since the plant’s roots lie below the soil surface, and it is only apparent when the overall plant starts showing signs.
When root rot takes place, the roots start rotting, and then it slowly affects the plant body, causing stress, stunted growth, discolored leaves, dropping leaves, etc.
Identifying root rot is tricky since all of these signs might signify other issues in the plant.
Therefore, it is important to identify this disease in the early stages so that you can fix and save your Boston fern before it’s too late.
Let us now discuss some of the signs of the root rot in Boston ferns.
Discolored leaves

A Boston fern usually has dark green color.
But if the leaves start to change their color, something might not be right.
Initially, the leaves will turn yellow, and then they will turn brown as root rot advances.
The leaves can also turn black when the condition becomes severe.
Also read:
- Why Is My Boston Fern Turning Yellow? (Causes+How To Fix)
- Why Is My Boston Fern Turning Brown? (Possible Causes+Fix)
Stunted growth
If the plant is experiencing root rot, it won’t show any new growth.
Root rot will make the roots weak, due to which they are unable to take up the essential nutrients and moisture from the soil that which plant needs for growth.
Without sufficient food, the plant will become weak and will stop growing.
Also read: How Fast Does Boston Fern Grow? (+Boston Growth Rate)
Wilted plant

Root rot will damage the root system, which will restrict its function.
The roots fail to provide sufficient moisture and nutrients to the plant, which in turn causes the leaves to wilt to retain the remaining water left in them.
The leaves will not wilt in the early stages of root rot.
But it can happen as the stage advances.
If you notice wilted foliage, take the Boston fern out of the pot and examine the roots to check for root rot.
Foul-smelling soil
If the plant’s roots stay in water for a long time, they will start to decay and emit a bad smell.
The bacteria thriving in that anaerobic environment are responsible for the pot’s smell.
If the smell grows stronger, the situation is getting more alarming.
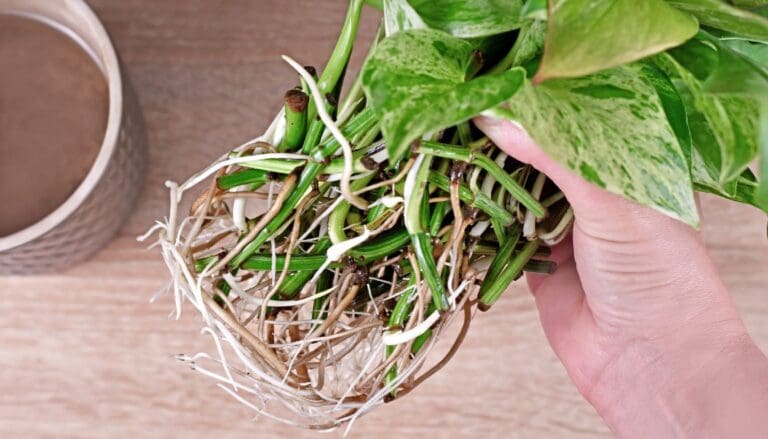
Rotten roots
When Boston ferns are healthy, their roots are white and have a crisp texture.
But if the plant is undergoing root rot, the roots will turn dark brown, black and mushy, and soft.
They lose their turgidity and become fragile, and can easily break with the slightest touch.
If you notice such a sign, then prune the infected roots from your plant to prevent the further spread of this disease.
What are the causes of root rot in Boston ferns?
Now that you are aware of the different signs of root rot, it’s time to learn about the possible causes of this problem in your Boston fern plant.
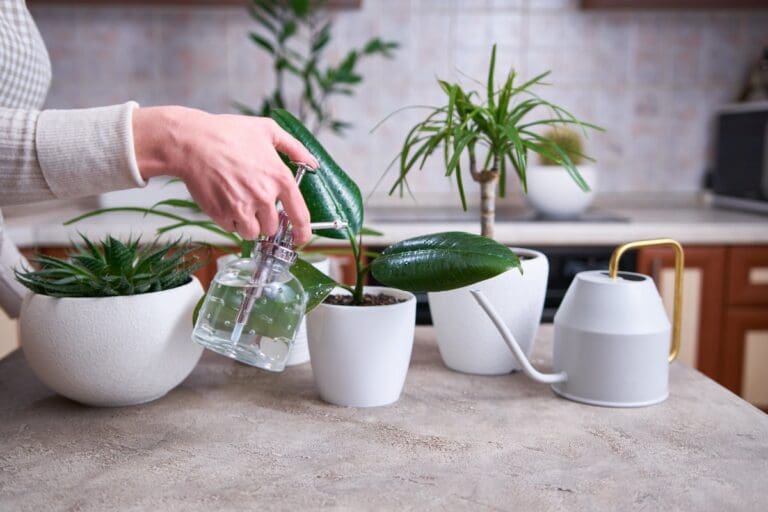
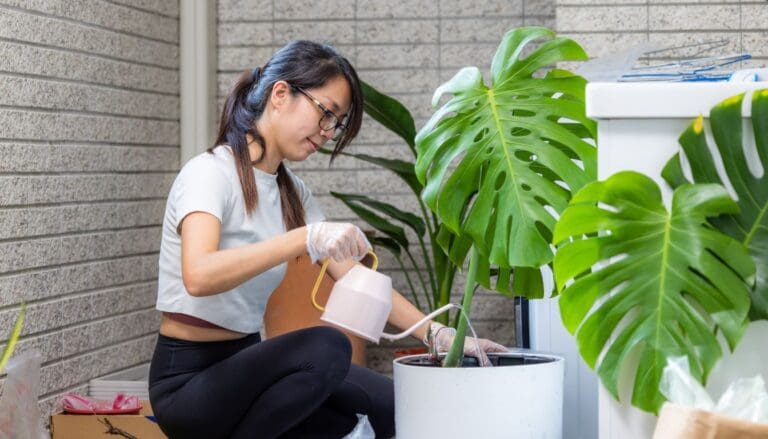
Overwatering

The primary cause of root rot in Boston ferns is overwatering.
It occurs when you frequently water the plant and do not allow the soil to dry out before the next watering.
The soil for Boston ferns should be moist, well-draining soil, and not soggy.
Without checking the soil’s moisture, continuous watering will not let the soil dry out.
Hence the soil will stay waterlogged for a prolonged period.
The excess moisture will block the oxygen flow, and the roots will fail to breathe and suffocate.
They will become fragile and won’t be able to supply nutrients and moisture to the plant.
Such damaged roots are easy targets for pathogenic infections, and they will further encourage the process of root rot.
Overwatering situations can also occur if you water your plant during winter.
The plant stops growing as it is their dormant season.
Frequently watering during winters will cause an overwatering issue since a dormant plant will not accept so much water.
Also read: How To Water Boston Fern? (How Often, How Much & More)
Poor drainage system
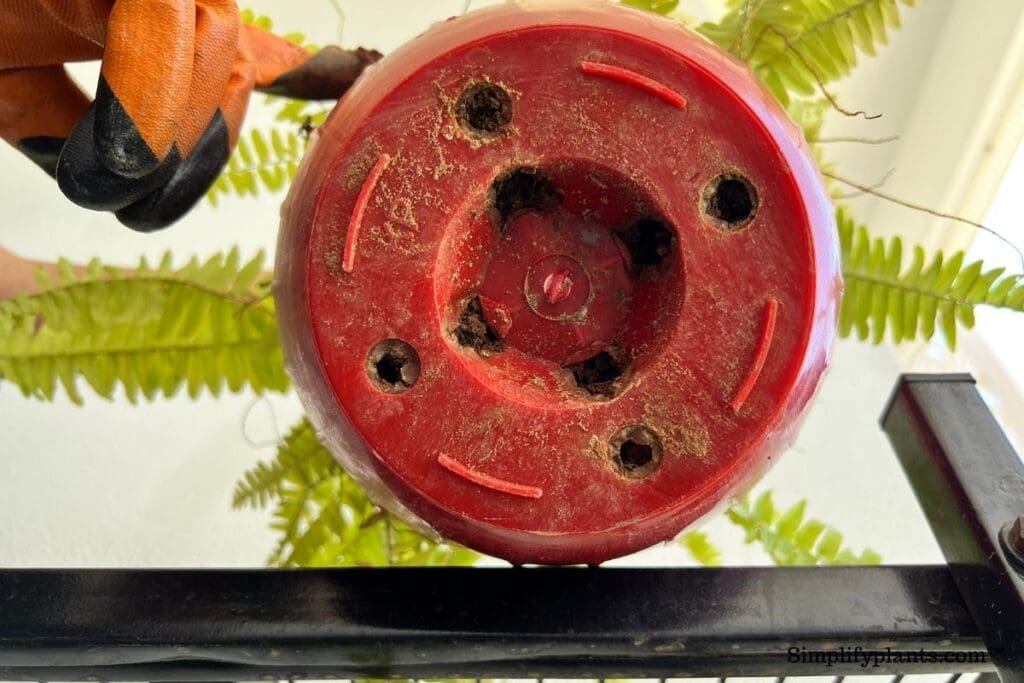
A well-draining soil and a pot with drainage holes are two crucial factors preventing root rot.
Root rot will occur if the plant doesn’t have a proper drainage system.
If you use poorly drained soil, it will hold the excess water and remain soggy.
This marshy and damp soil will become ideal for growing infection, leading to root rot.
And if you use a pot with no drainage holes, then the excess water won’t drain out and stay inside the pot, which causes the soil to stay wet for a longer time.
This situation will cause overwatering and root rot.
Also read: What Kind Of Soil For Boston Fern? (Ideal Soil Mix+How To Make)
Wrong pot size
Boston ferns have a shallow root system, so you should choose a compact pot for growing them.
But choosing a pot that’s too small won’t allow proper air circulation to the roots.
The roots will get suffocated inside the pot and will start to rot.
Also, a small pot will hold less soil.
So, fewer nutrients will be available to the plant for growth.
Also, choosing an excessively large pot will hold more soil and water and make the roots vulnerable to root rot.
Also read: What Kind Of Pot Is Best For a Boston Fern? (Size, Material & More)
Fungal infections
Boston ferns can suffer from pathogenic infections in an unsuitable environment.
Pathogen (fungal or bacterial) problems can occur if your plant is overwatered.
Fungi need a moist environment for germinating, and soggy soil is ideal for their growth.
They will weaken and damage the roots system, making them vulnerable to root rot disease.
The pathogens responsible for root rot in Boston ferns are Pythium, botrytis, Phytophthora, etc.
Low temperatures

Boston fern prefers a temperature range between 60-75°F.
The plant’s growth will slow down if the temperature falls below its tolerance level, making it prone to diseases.
If you keep your Boston ferns under low temperatures, the soil will take more time to dry out.
This problem can mainly occur during winter when the temperature drops drastically, ideal for pathogen-spreading diseases like root rot or stem rot.
Also read: Boston Fern Temperature Tolerance: +Ideal Temperature
Low light

Boston ferns prefer to grow in bright indirect light.
Exposing these plants to low light conditions for a prolonged period will cause them to suffer from various problems.
If the plant receive doesn’t have enough light, the soil will take more time to dry out, due to which it will stay wet for a longer time.
This condition will attract pests and diseases to the plant leading to root rot problems.
Also read: What Kind Of Lighting Does A Boston Fern Need?
Poor ventilation
Boston ferns need proper ventilation for quick evaporation of water from the soil.
Poor airflow will not let the soil dry out quickly, and watering such soil can harm plant roots leading to root rot problems.
This situation will often occur if you group your Boston ferns with other houseplants, leading to poor ventilation around the plant.
Overfertilization
Most plant owners add excess fertilizers to their Boston ferns, thinking that it will provide ample nutrients to the plant.
But they forget that these fertilizers contain chemicals, and too much of them can scorch their plant’s roots.
Excessive fertilization will lead to salt build-up in the soil, stressing your plant’s roots.
This often leads to root rot.
This problem mainly takes place during winters.
The plant remains dormant and doesn’t show any growth; thus won’t accept fertilizers.
Fertilizing the plant during such time will burn its roots and promotes pathogen growth.
Also read: Should I Fertilize My Boston Fern? (Ideal Fertilizer+When & How Much)
Contamination
If you use tools that are not disinfected before and after use, they might contain pathogens that can enter your plant and infect its roots.
In some cases, you may buy plants already infected with root rot, so you should inspect them first.
Also, if you use contaminated soil for your Boston ferns, they will get root rot.
This problem can occur when using garden soil as it contains pathogens that will hamper your plant’s roots.
So always use a fresh potting mix while repotting your plant.
How to fix root rot in Boston ferns?

Once you have identified root rot, you need to understand the condition of your Boston fern to find whether you can cure it or not.
To determine this, inspect the condition of the roots.
If you notice that all of the roots have turned mushy and black, it’s too late to cure the plant.
But if you notice a few whitish crispy roots, then it indicates that some roots are still healthy, and you can give it a try to save them.
To treat root rot, you need to repot your plant in a fresh potting mix and new pot after disposing of the damaged roots.
Boston ferns are easy to maintain plants, so you need to understand and practice some rules to fix their root rot.
Let’s now look at the steps you need to follow to fix the root rot problem in Boston ferns.
Step 1: Inspects the root system of your Boston fern.
First, check the root condition by removing the plant from its pot.
Wash the roots in clean running water, making it easier to distinguish between healthy and damaged roots.
If you notice that some of the roots are rotten and others are still healthy, then you have a chance to save your plant.
Once you find out the uninfected sections, proceed to the next step.
Step 2: Prune the damaged roots with clean tools

You need to be mentally prepared to cut portions of your favorite Boston ferns in this step.
To save your plant from root rot, you may need to prune a larger part of the root system.
To begin the process, sterilize the scissors with rubbing alcohol solution and then cut off the mushy and brown roots, separating them from the healthier roots.
Step 3: Prune back the affected leaves and parts
Once you have cut the roots, it’s time to prune the plant to reduce the pressure from the roots.
Prune back the yellow leaves and all other affected parts from the plant.
Pruning will reduce stress from the newly trimmed roots.
Avoid cutting too many leaves, which will hamper their light absorption and photosynthesis processes.
Step 4: Disinfect the pot
Before repotting the plant, you must ensure that the pot is clean and sterilized.
This is an important step.
Wash the pot in clean running water and then put it in a bleach solution for 10-15 minutes to kill all the remaining pathogens.
Mix 80% water and 20% bleach to prepare the bleach solution.
Step 5: Use fungicide solution on the plant
Before repotting, you need to ensure that your plant is free from pathogens.
Therefore, you should disinfect your plant with a high-quality fungicide.
- Fill water in a bucket and mix half a tablespoon of fungicide.
- Dip the plant in the solution for 10 to 15 minutes to eliminate the pathogenic infections.
- Take the plant out of the solution and keep it outside for some hours so that it dries quickly.
You can use Hydrogen peroxide, chamomile, or cinnamon fungicides for the plant.
Do not take the fungicide in large quantities as it will phytotoxicity the plant, so use it in the correct quantity.
Step 6: Repot your Boston fern
Take a well-drained, well-aerated, loamy soil that is porous for the plant.
You need to be careful while repotting the plant since it is in a weaker state.
Ensure that the pot has draining holes to drain out the excess water.
Also, it should be two inches larger than the previous pot.
The pot should be porous to allow air circulation to the roots.
For repotting:
- Fill the pot with 2 to 3 inches of soil.
- Hold your Boston in one hand and put it in the center of the new pot, on top of the potting soil.
- Cover the root ball with the soil about 1 inch from above.
- Adjust the soil in the base of the pot if needed. The depth in which you planted your fern should be the same as you planted it in the previous pot.
- Tap the pot from the sides to ensure no air pockets are left and water the soil thoroughly.
Step 7: Observe your Boson fern regularly and provide it with ideal growing conditions
To ensure quick recovery, you need to keep a constant check on your plant.
Provide your Boston ferns will all the basic growing requirements like proper watering, light, etc.

Let us look at some care tips to keep the plant healthy and disease-free.
| Factor | Care Tips |
|---|---|
| Light | Keep your Boston fern in a place where it will receive bright, indirect light. Don’t expose it to direct sunlight. Keep it |
| Water | Water the Boston fern when the top few inches of soil feel dry. You can use a moisture meter to check this. |
| Temperature | Maintain temperatures between 60-75°F for your plant. |
| Humidity | Maintain humidity level above 50% for the plant. Get a humidifier device to regulate humidity around the plants. |
| Fertilizer | Do not fertilize when your Boston fern is in the recovery stage. Continue fertilizing the plant once you notice some growth. Use a liquid fertilizer with an NPK ratio of 20:10:20. Do not fertilize during the autumn and winter season. |
| Aeration | Make sure that the surrounding region around the plant is well ventilated. |
| Repotting | Repot the plant every 2-3 years in a fresh soil mix and new pot. |
Reference: University of Florida, The University of Arkansas Division, Texas A&M University System, The University of Georgia, University of New Hampshire, Wikipedia, The Royal Horticultural Society.
Note: Some images in the articles are sourced from Reddit and Other Platforms For Reference Purpose.