10 Propagation Ideas to Expand Your Houseplant Collection for Free
I’m always on the lookout for ways to grow my houseplant collection without shelling out cash. It’s just so satisfying to use propagation to multiply my favorite plants right at home.
There are plenty of simple tricks I use to help my plant family grow. Anyone can try these—honestly, you don’t need to be a plant expert.
Please note: Simplify Plants is reader-supported. As an Amazon Associate, I earn from qualifying purchases made by our readers with no extra cost added to you all! Some links in the post are affiliate links and I get a commission from purchases made through links in the post.
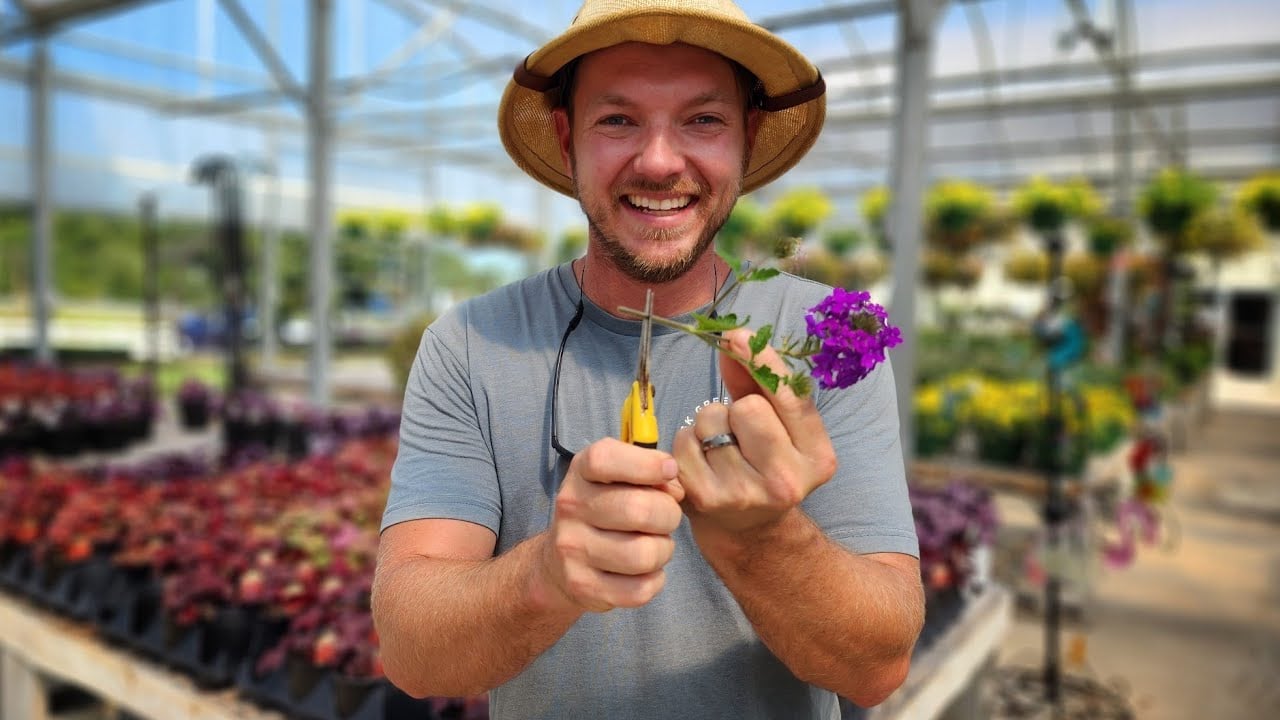
1) Stem cuttings propagation
Stem cuttings are probably my favorite way to grow new plants for free. I just snip a healthy stem from a mature houseplant, making sure there are at least a couple of leaves on it.
I always remove any leaves near the bottom. That keeps the cut end tidy and gives new roots space to pop out.
Sometimes I dip the cut end in water or root hormone powder—supposedly it helps roots grow faster. If I don’t have any hormone, I just use water and hope for the best.
I usually stick the cutting in a glass of water, making sure only the bottom of the stem is submerged. The leaves should stay dry. I put the glass somewhere bright, but definitely not in direct sun.
After a week or two, I start seeing little roots appear. Once they’re about an inch long, I move the cutting into a pot with soil.
I water the new plant and keep an eye out for fresh growth. It’s honestly pretty exciting to watch a new plant start from just a little cutting.
Some of the easiest houseplants for stem cuttings, in my opinion, are pothos, spider plant, and coleus. They seem to root super quickly.
You don’t need fancy tools for stem cuttings. I use scissors, a glass, water, and a bit of patience—nothing complicated.
Sharing extra cuttings with friends is half the fun. My plant collection keeps growing, and I barely spend a dime.
2) Leaf cuttings for succulents

It blows my mind how easy it is to get new succulents from just one leaf. This works great with jade, echeveria, and sedum. It’s a simple way to fill my place with more plants.
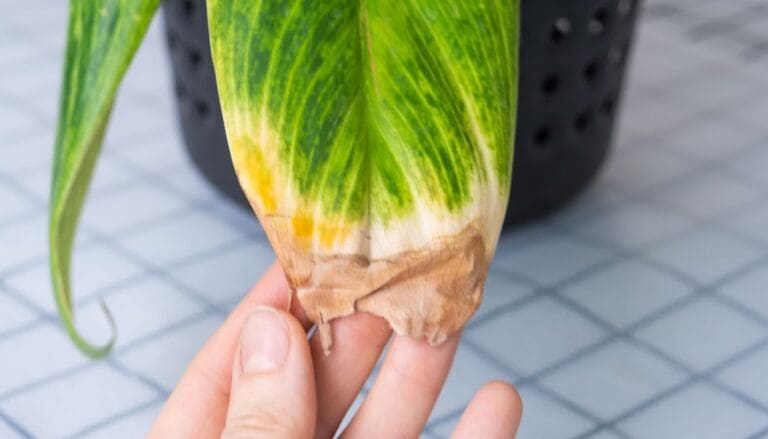
I gently twist or cut off a healthy leaf from the parent plant. I always pick a leaf that’s firm and has no weird marks or mushy spots. A clean break really seems to help with rooting success.
Then, I let the leaf sit out for a few days. The end dries up, or “calluses.” If you skip this, you risk the leaf rotting in the soil.
Once it’s callused, I just lay the leaf on top of dry potting soil. No need to bury it—just rest it on the surface. Bright, indirect light seems to work best for these new starts.
I mist the soil every so often, but I’m careful not to drown them. Some leaves take forever to sprout roots, so patience is key.
When the babies start showing up, I wait until they look sturdy before transplanting. That way, each new succulent has a fighting chance to thrive in its own little pot.
Leaf cuttings are a super easy way for me to double (or triple!) my favorite succulents. It’s free, fun, and honestly, I end up with a bunch of plants to share.

3) Division of clumping plants

I’m a big fan of how easy it is to multiply clumping houseplants. Plants like snake plants, peace lilies, and ferns grow in clumps, so when they get crowded, I just divide them up.
I pull the plant out of its pot and shake off the extra soil. Then, I gently pull the clumps apart with my hands. Each section needs some roots and a couple of healthy leaves.
If the roots are a tangled mess, I use a clean knife or scissors to cut them apart carefully. Afterward, I plant each clump in its own pot and give them a good drink.
This method gives me several new plants for free. Plus, the original plants seem to perk up with more space. Division works best in spring or early summer, when everything’s already growing.
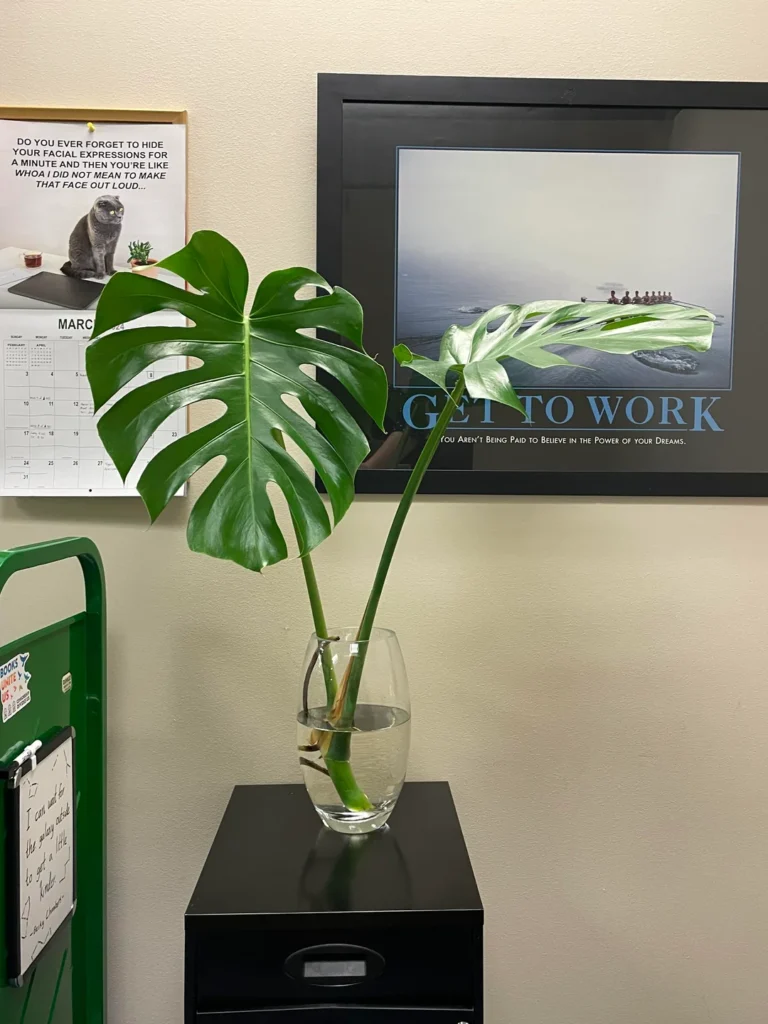
4) Water propagation for pothos

I love propagating pothos plants in water—it’s honestly one of the easiest ways to get more plants. Watching the roots grow is weirdly satisfying.
First, I snip a healthy vine just below a node. The node is where the roots will sprout, so I always make sure to include one. Each cutting should have at least one leaf and one node.
I drop the cuttings into a glass of clean water, making sure the nodes are under the water but the leaves stay dry. I use a clear glass, mostly because I like watching the roots.
The glass goes in a spot with bright, indirect light. I swap out the water every few days to keep things fresh. Little roots usually show up in a week or two.
Once the roots are a few inches long, I plant the cuttings in soil and water them well. That’s it—new pothos ready to grow.
Water propagation is so simple and it’s a great way to share plants. I almost always have a few pothos rooting in water, just in case someone wants one.
5) Air layering for fiddle leaf fig

Trying air layering on my fiddle leaf fig is a fun experiment when I want a new plant but don’t want to chop the stem right away.
I pick out a healthy branch and use a sharp knife to carefully cut a thin ring of bark off. That exposes the inside of the stem.
Then, I wrap the exposed spot with moist sphagnum moss and cover it with plastic wrap—just using tape or string to keep it in place. The goal is to keep everything moist so roots will start to form.
I check the moss now and then to make sure it’s damp but not soggy. After a few weeks, I usually spot new roots inside the plastic.
Once there are enough roots, I cut the branch below the new roots and pot it up. Now I’ve got a whole new fiddle leaf fig.
Air layering takes a little patience, but it’s a neat way to get a strong new plant while keeping the original happy.
6) Propagating from plantlets like spider plants
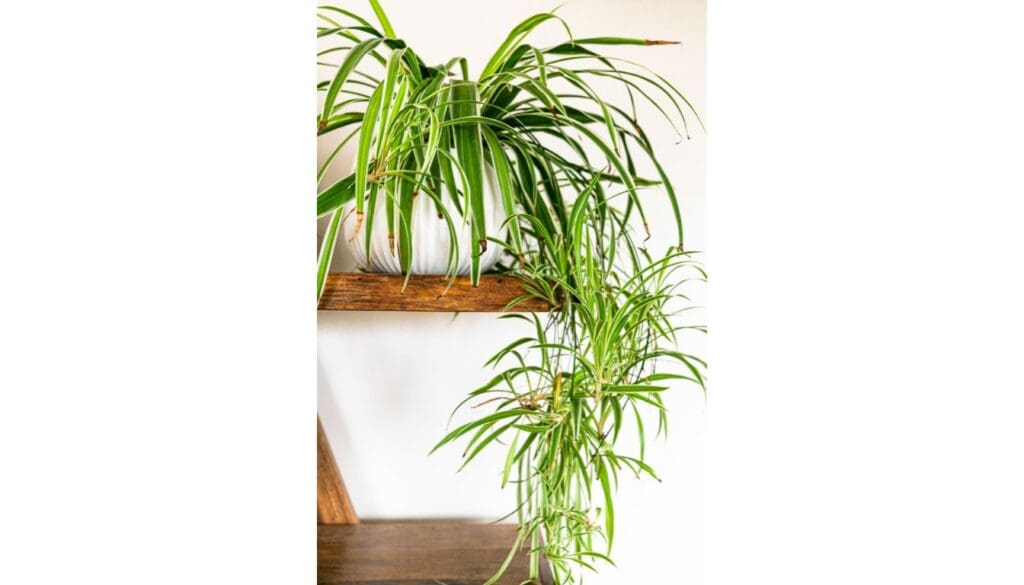
One of the easiest ways I grow my houseplant collection is by using plantlets, especially from spider plants. These plants send out long stems with little baby plants, or plantlets, at the ends. They already look like tiny versions of the main plant.
I wait until the plantlets have some roots showing. Then, I snip them off with clean scissors. If the roots are still small, I pop the plantlet in a cup of water and put it somewhere bright.
Roots grow fast in water. In just a few weeks, they’re usually big enough to pot up. I wait until the roots are at least an inch long before moving them to soil.
Sometimes, I just rest the plantlet on top of a pot of soil while it’s still attached to the mother plant. Once it roots in the soil, I snip the stem. That way, the plantlet gets water and nutrients from both the parent and the soil.
It’s a super simple way to get more plants without much work. I love giving extras to friends or using them to fill empty spots around my place. Spider plant babies really do make great starter plants.
7) Using runners from strawberry begonias
I think it’s pretty cool how strawberry begonias make it so easy to get more plants. They send out runners, which are special stems with tiny plantlets at the ends.
The plantlets look like little versions of the main plant. Once they have a few leaves and some roots, they’re ready to go.
I lay the runners on moist soil in a small pot. Sometimes, I use a paperclip to hold them in place.
Keeping the soil damp helps the plantlets root faster. I always use a pot with drainage holes so things don’t get swampy.
After a couple weeks, the plantlets usually start to root. I wait until they’re well established before snipping the runner that connects them to the mother plant.
Once the plantlet can stand on its own, I move it to its own pot. Now I’ve got a brand new strawberry begonia!
This method is quick, and the original plant doesn’t seem to mind. It’s a simple, free way to grow my collection.
8) Root cuttings for snake plants

I love how simple it is to grow new snake plants from root cuttings. Even for beginners, it’s a breeze.
I start by picking a healthy snake plant and gently digging around the base to find thick, white roots. These are the ones I need.
With a clean, sharp knife, I cut sections of root about 2-3 inches long. I make sure each piece is firm and not mushy.
I let the cuttings dry out for a day so the ends can heal. That helps prevent rot when I plant them.
Next, I plant the root pieces in a small pot with fresh, well-draining soil. I place each cutting just below the surface and water lightly.
The pot goes somewhere warm with bright, indirect light. I try not to overwater—just enough to keep the soil barely damp.
After a few weeks, new shoots usually pop up. It’s wild to see a whole new snake plant start from just a root.
Root cuttings are a budget-friendly way to grow my plant family. Snake plants are tough and usually bounce back from this process just fine.
9) Propagation from seeds of houseplants

Growing houseplants from seeds is honestly one of my favorite ways to add new plants to my windowsill. There’s just something so satisfying about watching little sprouts turn into real, thriving plants.
Seeds are usually the cheapest way to try out new varieties, too—can’t complain about that.
To get started, I grab a clean container with drainage holes and fill it up with light, sterile seed-starting mix. I press the seeds onto the surface and cover them with just a bit of soil, following whatever the packet says (sometimes I wing it, though).
After that, I mist the soil so it’s damp but not swampy. I cover the container with clear plastic wrap or a lid to trap in moisture.
Warmth and humidity make a huge difference, so I put the tray somewhere bright and warm, but avoid direct sun—learned that the hard way.
I check on it every day to keep the surface moist. Most seeds pop up in 1–4 weeks, depending on what you’re growing.
As soon as I spot green shoots, I take off the cover. That lets the seedlings get more air and light, which they seem to love.
Once they have a couple of real leaves, I move them into small pots so they can stretch out a bit. I try not to rush it—tiny roots are easy to damage.
It takes more patience than just sticking a cutting in water, but honestly, it’s so fun to see the progress. Plants like African violets or succulents can do well from seed, too.
If you want a bunch of little plants to share, this method is perfect.
10) Using offsets from aloe vera

One of the easiest ways to get more aloe vera plants is by using offsets. These little “pups” show up at the base of the main plant, and they’re basically free plants waiting to happen.
I wait until the pups are at least a couple inches tall before messing with them. Then I gently tip the plant out of its pot so I can see what’s going on with the roots.
Using my fingers, I separate the pup from the main plant. If it’s stubborn, I use a clean knife and try not to hack too much. It’s important the pup has some roots of its own.
Next, I pop the pup into a small pot with well-draining soil. Aloe vera hates wet feet, so cactus potting mix is my go-to.
After planting, I wait a few days before watering at all. This helps the roots settle and keeps rot away.
When I finally water, I go easy. A little sunshine and patience, and those pups turn into strong aloe plants. I love giving them away or just spreading them around my apartment.
Using offsets is a super easy and reliable way to multiply your aloe collection for free. Plus, you know exactly where each new plant came from.
No special tools or fancy tricks needed—just a little care.
Understanding the Basics of Plant Propagation
Multiplying my favorite houseplants is honestly pretty simple once you have the right tools and setup. Clean tools and a good environment make a world of difference for rooting cuttings.
Essential Tools and Materials
I always start with clean, sharp scissors or pruning shears for neat cuts, but a small knife is handy for thicker stems. I use glass jars or small pots for holding new cuttings—clear ones make it easy to watch roots grow.
For soil, I reach for a well-draining potting mix. Sometimes I add perlite, vermiculite, or just root in water if I’m feeling experimental.
I keep labels, rubber bands, and plastic bags close by too. Here’s my usual checklist:
- Sharp scissors or knife
- Clean jars or pots
- Fresh potting mix
- Optional: rooting hormone, perlite, or water
- Labels
I wash everything with soap and water before I start. It’s a quick step, but it helps keep my cuttings healthy.
Ideal Conditions for Rooting
Light, warmth, and humidity are key for rooting. I set cuttings in a spot with bright, indirect sunlight—direct sun just dries them out.
The sweet spot for temperature is about 70–75°F (21–24°C). If the room is cold, rooting takes forever. If my place is dry, I’ll pop a plastic bag over the pot to hold in moisture.
When rooting in water, I change it every few days—no one likes slimy water. For soil, I keep things just barely damp, not soggy.
A little extra humidity and steady warmth really get things going.
Common Mistakes and How To Avoid Them
It’s so easy to make little mistakes when you’re just starting out with houseplant propagation. The biggest issues I run into? Overwatering and picking parent plants that aren’t in great shape.
Overwatering Issues
Overwatering is probably the most common reason cuttings fail. I always check the soil before watering—if it’s still damp an inch down, I wait.
For water propagations, I swap out the water every few days so it doesn’t get gross. Leaving water unchanged can cause bacteria and fungus to grow.
Here’s a quick table I use to keep track of watering needs:
| Plant Type | Water Change (Days) | Soil Check (Days) |
|---|---|---|
| Pothos | 2–3 | 3–4 |
| Snake Plant | 5–7 | 5–7 |
| Spider Plant | 2–3 | 3–4 |
This routine has saved me from so many problems with rot and mold.
Selecting Healthy Parent Plants
I always try to start with the healthiest parent plants I can find. Strong plants make for strong cuttings that root faster and grow better.
If a plant looks wilted, has damaged leaves, or seems sick, I just skip it.
Here’s what I look for in a healthy plant:
- Firm, green leaves
- No brown spots or wilting
- No bugs or sticky stuff
I use sharp, clean scissors for taking cuttings. Dirty tools just spread problems around. Picking the right parent is honestly half the battle.
Frequently Asked Questions
I usually stick with simple, budget-friendly ways to grow my houseplant collection. Some plants root easier in water, others prefer soil, and a few are best divided at the roots.
What’s the best method for propagating African violet leaves?
I go for a healthy leaf and cut it off with a bit of stem still attached. I stick the stem in moist potting soil.
I keep the soil slightly damp and cover the pot to bump up humidity—it really helps.
Can you explain how to propagate a bird’s nest snake plant?
I cut a healthy leaf into sections, each at least 2 inches long, then plant the cut end upright in damp soil.
You’ll need patience—roots and shoots can take a few weeks to show up.
How much time is typically required for African violets to root when propagated?
From what I’ve seen, roots start forming in about 3 to 4 weeks. Sometimes it takes longer if the air is on the dry or cool side.
What are the steps for propagating a corn plant at home?
I cut a piece of stem with at least one node, then set it in water or moist soil, cut end down. Roots usually show up in 4 to 6 weeks.
When should I remove the pups from my spider plant?
I wait until the pups have a few roots and look sturdy—usually when they’ve got at least 1 inch of roots, they’re ready to go.
Is it possible to propagate a cactus in water, and if so, how?
You can give it a try, though honestly, it’s not really the ideal way. What I usually do is let the cutting dry out for a few days—don’t rush this part—then set it in a shallow dish with just the base barely touching the water.
Most folks will tell you cacti root better in soil, but hey, some people do manage to get decent roots with the water method.
Note: Some images in the articles are sourced from Reddit and Other Platforms For Reference Purpose.