How To Repot Boston Fern? (A Step-by-Step Guide)
Boston fern is a popular houseplant with evergreen fronds that make your interior beautiful. If you have a Boston fern at your home, you might be wondering how you can repot it.
You can repot a Boston fern by following these steps:
- Water your Boston fern two days before you repot it.
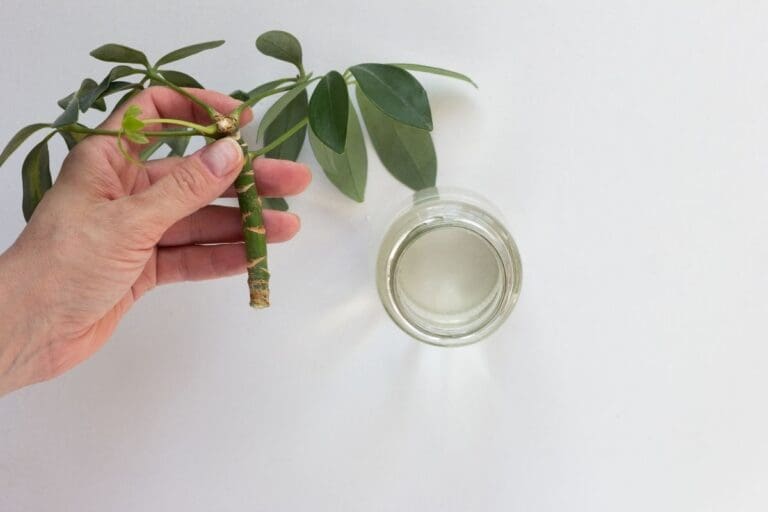
- Take it out of the pot and check the roots.
- Prune the damaged roots or untangle the roots if they appear tangled.
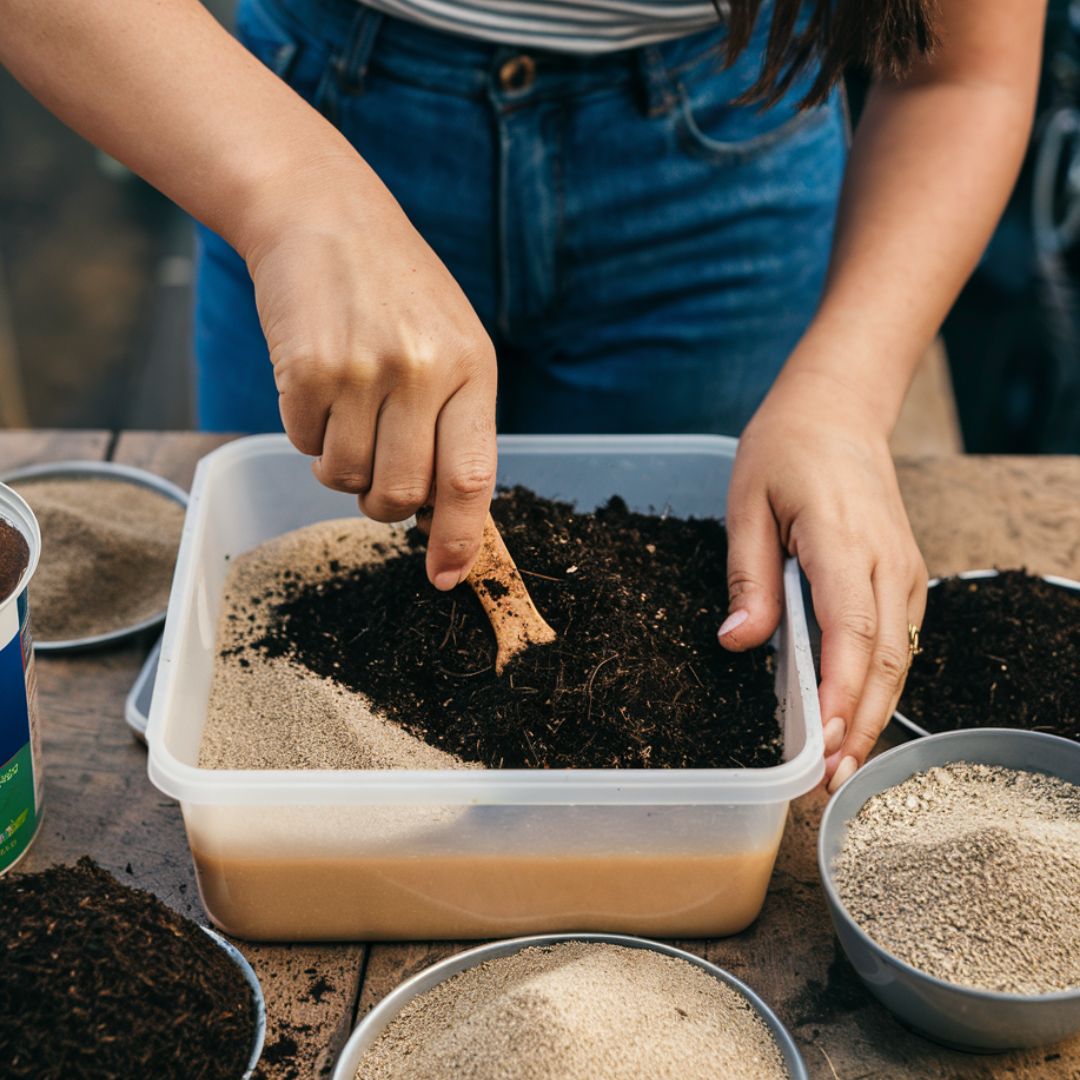
- Get a 1-2 inches bigger pot than the previous one and fill it halfway with fresh potting mix.
- Place the Boston fern in the pot and add more soil from the sides.
- Tap the pot on the sides to remove any air gaps in the soil.
- Provide proper care and indirect sunlight after repotting.
I will get into more details about repotting your Boston fern in this article. It is important to understand the right time and the correct ways to reduce the repotting stress for your plant.

Please note: Simplify Plants is reader-supported. As an Amazon Associate, I earn from qualifying purchases made by our readers with no extra cost added to you all! Some links in the post are affiliate links and I get a commission from purchases made through links in the post.
Best time to repot a Boston fern
Understanding the correct repotting time is crucial for all houseplants, including your Boston fern.
Repotting already stresses the plant as it is introduced to a new pot and fresh potting mix.
The plant must undergo the stress, recover it, and adjust to the new setting.
If you choose the wrong time to repot your Boston fern, the stress will increase as it will not get the ideal conditions for recovering that stress fast.
Since Boston fern is a tropical plant, it enjoys warm and humid conditions the most.
The spring and summer seasons are ideal for the growth of the fern, and repotting it during these seasons will help it get over the repotting stress faster.
Therefore, always consider the spring and summer seasons, especially spring, for repotting your Boston fern.
Avoid repotting it during fall or winter as the conditions are not suitable for the plant’s growth, and it will take a long time for the plant to recover from the stress.
How do you know when to repot a fern?

Like most houseplants, Boston fern will need repotting once every 2-3 years.
But, the plant also gives out signs that will tell you that it is time to repot your Boston fern.
Let’s take a look at those signs.
- Roots coming out of the drainage holes
- Roots are visible on the soil
- Roots get tangled and grow in a circular motion inside the pot
- Stunted growth
These signs tell that your Boston fern is getting rootbound.
Keeping a plant rootbound for too long is not right as it will put the plant under stress.
Therefore, you should repot your Boston fern whenever you notice the signs.
You should also repot your Boston fern if it has been overfertilized, has root rot, or any other bacterial or fungal disease that can damage the roots if you avoid repotting.
If your Boston fern has root rot, you will notice slow growth, brown and soft roots, a foul smell from the soil, and discolored leaves.
You might also notice a thin layer of salt build-up on the soil for an overfertilized Boston fern.
What soil is best for Boston fern?
The soil plays a major role in your Boston fern’s growth and health, and when you are planning to repot it, you should know the ideal soil for it.
Here are some soil recipes that will keep your Boston fern happy.
Recipe 1:
- 1 part soil
- 1 part coco coir
- 1 part perlite
- 1 part orchid bark
Recipe 2:
- 1 part potting soil
- 1 part peat moss
- 1 part sand
- 1 part perlite
What pot is best for Boston fern?

Besides soil, the next thing you need to consider is the pot.
Whenever you are repotting your Boston fern, you must get a pot that is not more than 1-2 inches bigger than the previous one.
Getting a small pot will make your Boston fern rootbound, and getting a big pot will increase the chances of overwatering.
When it comes to the material, you can choose any as long as you know the correct caring techniques of the plant according to its pot.
If you choose a terracotta pot, the plant will require more watering as the porous material will wick away moisture faster.
A plastic pot will hold water longer, so you must water your Boston fern less if you choose a plastic pot for it.
As long as you keep these basic conditions in mind and care for your Boston fern accordingly, you can keep the plant in any pot.
How do you repot a Boston fern?
Go through the steps of repotting your Boston fern so you don’t make any mistakes and the plant doesn’t go through any damage.
Supplies required:
- The Boston Fern
- Fresh potting mix
- Pruners
- Disinfectant
- Fungicide
- New pot
- Pebbles to cover the drainage holes
- Water
Step 1: Take the plant out of the pot
The first step is to take your Boston fern out of its current pot.
If the plant is rootbound, it might take time to come out of the pot.
Therefore, you must water the plant thoroughly two days before you plan to repot it.
You can hold the base of the plant and pull it gently out of the pot.
You can also hold the pot upside down to make the movement easier.
If your plant is stuck, tap the sides of the pot or run a knife along the edges to loosen the soil.
Step 2: Get ready with your pruners
After taking the plant out, you should check the roots, especially if you suspect root rot or other diseases.
Wash the roots to remove the soil and mark all the damaged or decayed roots.
Get a pair of sharp scissors or pruners and prune these roots.
Don’t forget to disinfect the pruners before and after use to avoid spreading the disease to other plants.
You can also spray a fungicide on the healthy roots before repotting.
Pruning is not always about getting rid of the damaged roots.
If you want to keep your Boston fern small and in the same pot, you must prune some roots to accommodate the plant there.
You might also need to prune some stems and fronds to keep the plant small.
Step 3: Get the new pot and fill it with a fresh potting mix

Get a new pot 1-2 inches bigger than the previous one.
Make sure the pot has drainage holes.
If it doesn’t, drill some before using it.
If you intend to use the old pot, scrub it with bleach and water.
Let it dry, and then add the fresh potting mix to it.
You can add some pebbles before adding the soil so that the drainage holes don’t get blocked easily.
You can use the above-mentioned soil recipes to prepare a fresh potting mix for your Boston fern.
Fill the pot halfway with the new soil.
Step 4: Place your Boston fern inside the pot
Take the plant and place it in the pot.
Make sure not to plant it too deep as that can cause root rot.
Try to plant the Boston fern at the same depth similar to its previous pot.
Add soil from the sides while holding the base of the plant.
Tap the sides of the pot and let the soil settle down.
Step 5: Aftercare
After you are done repotting:
- Water the Boston fern thoroughly.
- Place the newly repotted plant in a partially shaded spot with indirect light.
- Make sure the surrounding condition is warm and humid.
The plant might look stressed for a few days.
Don’t worry, and don’t bother the plant.
Leave it as is and wait for it to recover.
Taking care of a Boston fern

Let’s discuss some basic care requirements of the Boston fern that will help you avoid unwanted problems.
| Factor | Care Requirement |
|---|---|
| Light | Boston fern requires bright indirect sunlight but not direct sunlight. Use artificial lights if it is not getting enough natural light. |
| Water | Boston fern will require water every 2-3 days during the growing phase. Use a moisture meter to understand if the soil needs water. |
| Soil | A well-draining, loamy soil will be ideal for a Boston fern plant. I have mentioned some recipes above. |
| Fertilizer | You should fertilize the Boston fern with a liquid fertilizer with an NPK ratio of 20-10-20 during the growing season. |
| Temperature | The ideal temperature range for Boston fern is between 60-75°F. |
| Humidity | Don’t let the humidity levels go below 50%. Use a humidifier. |
| Winter care | Reduce watering and avoid fertilizing your Boston fern during winter. Bring it indoors to protect it from the low temperatures and cold drafts if it is outside. |
Final thoughts
Repotting the Boston fern on time will help your plant thrive. The repotting process might seem overwhelming, but you must have understood its simplicity after going through the article.
Be careful and gentle while executing the repotting process, as you don’t want to damage the delicate roots and put more stress on your Boston fern.
Note: Some images in the articles are sourced from Reddit and Other Platforms For Reference Purpose.