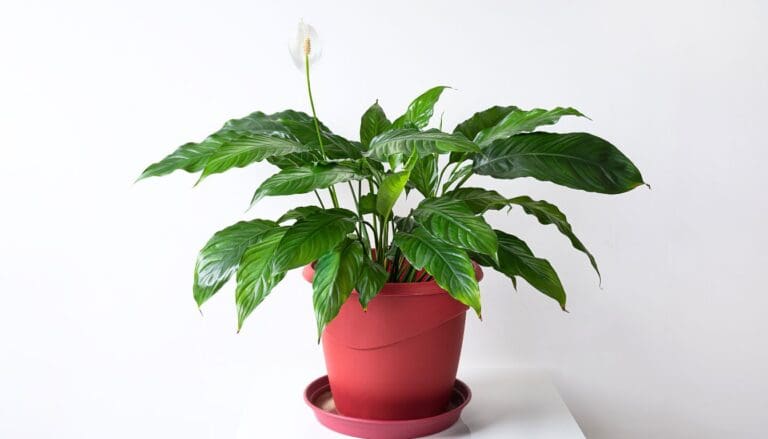
How To Propagate Pothos? (By Water & Soil)
The pothos or devil’s ivy grows quickly and is easy to be managed. This lovely indoor plant covers your entire house if allowed to grow. Pruning the pothos helps the plant with a bushier growth and keeps it healthy. The cuttings can be used for propagation. But how can we propagate pothos? Let’s find out!
Propagating a pothos involves clipping a 6 inches vine below the rooting node and planting it in a jar of water or a pot of soil. Make sure the vine has at least 4-5 leaves and at least two rooting nodes. Pothos can be propagated through the soil and water, but once rooted, it can be challenging to interchange.
Is your pothos gone to be a beast? It is the ideal opportunity to prune the plant while making new plants with the cuttings.
In this guide, we will find out about the manners in which we can propagate the pothos plant and specific tips and tricks for the propagation. Let us look at the guide. Happy propagating!

Please note: Simplify Plants is reader-supported. As an Amazon Associate, I earn from qualifying purchases made by our readers with no extra cost added to you all! Some links in the post are affiliate links and I get a commission from purchases made through links in the post.
Best time to propagate pothos
As a rule of thumb, never propagate an unhealthy plant. At the point when you realize that the plant you are going to propagate appears to be saggy, looks miserable, or leaves have earthy colored edges, or wilting leaves, never attempt to propagate the plant.
We realize that it is the best way to endure the plant, notwithstanding, the propagated plant may make due for some time, yet probably won’t prompt developing effectively.
Continuously attempt to restore the plant first, and on the off chance that we are thoroughly out of choices, keep propagating if all else fails.
Another highlight considered before the propagation is the season.
We may attempt to propagate the plant around the winters. Nonetheless, plants experience slow development during winters; thus, propagating during the winters probably is likely to fail.
The best season for propagating the indoor plants is from mid-spring to pre-fall. That is the point at which the plant encounters a superior development.
Keep in mind; tolerance is the key for propagation.
A portion of the cuttings that we have taken probably won’t experience significant development or maybe lethargic.
One needs to give the plant some an ideal opportunity to see progress and continue sustaining the plant.
Let us look at the manners in which we can propagate the pothos.
Supplied needed to successfully propagate pothos
Before we start the propagation, we have to keep a couple of things convenient for us.
To give some examples, I will initially list the items and discuss their utilization.
- A pair of clean scissors/pruners/scissors
- Disinfectant or rubbing alcohol
- Cotton balls
- Paper Clips
- Water that will be required during the procedure
- A container to keep the cutting
- Sphagnum Moss
- A mix of soil and pumice
- Some pots for the propagation
Let us initially comprehend the utilization of things.
Disinfectants are the most significant before we prune any plant.
The explanation behind this is on the off chance that the plant has any mealybugs or spider mites on it, at that point, we don’t need such an ailment or bugs getting moved to the new plant.
Henceforth, we will keep the cleaning of the scissors as the golden rule for pruning. That will assist us with evacuating the odds of any bugs getting moved to our new plant.
Presently, we will comprehend the utilization of each as we continue for the remainder of the things. In this way, let us push directly forward for the propagation procedure.
Pothos propagation steps
For the procedure of propagation, the pothos can be propagated by two of the accompanying ways;
- Water Propagation
- Soil Propagation
Let us see what happens when we follow every one of the procedures independently.
How to propagate pothos in water?
Pick a perfect spot for the process as things would get chaotic while following the propagation procedure.

1) Start by disinfecting the supplies
We will start with the cleaning of the pruners with the disinfectant. Utilizing a clean scissor is a significant advance for pruning.
On the off chance that the pruner isn’t cleaned, at that point, we may wind up with a new issue of transferring any bacteria or mites, and we don’t need that. Cleaning will dispose of the chance.
Before we start the cutting of the pothos, we should ensure certain things.
2) Clip the pothos at an appropriate point
With a single vine of pothos, we can create many cuttings. Now, how do we cut? The most crucial factor for the propagation is the roots.
How do we get the roots?
The roots are developed from the nodes. When we cut, it is suggested to cut in between the nodes. The nodes are points from where we see the growth of the leaf on the vine. We need to cut the internode.
From a single vine, we will get multiple cuttings. We need two nodes for each cutting because one node will be immersed in the water, and the other has the leaf on it.
This is all we need from a pothos vine cutting to develop a new plant. Isn’t this simple already?
Remember not to cut on the node; give at least an inch of the stem before the node.
If we cut too close to the node, there might be issues with the plant-sucking up the water. Hence, we leave about half an inch of stem on the cutting.
Now, please take all the cuttings of the vine and put them together. All of these cuttings are ready to become a new plant.
3) Look out for air roots in the vine
At some point, we will see that the plant has an air root, which is a positive sign. This will help build up the roots quicker. In any case, the air root is auxiliary; what we need is a node.
When there is an air root, it will change into a water root. There will be little roots that will rise out of the air roots. The air root expands the achievement rate for the propagation.
No, air roots don’t imply that there is an issue. We needn’t bother with the air roots; what we need is a node.
Once in a while, what we do in the wake of cutting, is that we keep the removing noticeable all around to dry out.
Yet, it is seen that the odds of progress increment if the cutting is straightforwardly embedded in the water directly after the cut.
Presently, we will utilize the container and fill it with water.
The container’s size legitimately relies upon the size of the pothos plant and the size of the cutting that we had made.
4) Fill the jar with water

Pick a container in a like manner and fill it with tap water. On the off chance that the water in your general vicinity has a lot of chlorine in it, consider heating the water and let it chill off.
When the water is filled, and the container is prepared, we will drench the cutting in the water.
5) Submerge the clipping from the node in the jar
We have to affirm that the node ought to be submerged because it is from the node that we will see the roots’ development. The node should be immersed consistently.
A significant highlight note for the consideration of the cutting is the changing of water. We have to think about changing the water in any event once every week.
6) Add some supplements in the water
It won’t be an issue that we neglect to change the water for around fourteen days, be that as it may, that may create algae growth in the water. We don’t need that.
Plants suck up supplements from the water, and the more the water is changed, the more are the odds of achievement. We can likewise change the water every day.
I do not suggest adding any kind of fertilizer to the jar. For water propagation, no fertilizer as such is required. I do have a personal homemade formula for this.
We can use eggshell water. Let me explain. Take a container and add five crushed eggshells in it. Fill it with half a mug of water and leave it for about five days.
When we change the water in our jar, throw away 1/3 of water and add the eggshell water in it. This is a type of natural fertilizer that can be used for water propagation.
7) Place the jar along with the plant at an appropriate spot
Next comes the placement of the plant. The pothos cherishes bright indirect sunlight. Hence, consider keeping the plant away from direct sunlight as it might burn the plant.
Tolerance is the way to progress. We will see the roots beginning to develop from the node. If there is an air root, at that point, we will likewise observe roots shaping into water roots.
The process of water propagation is super easy and has a high rate of success. If you try this process, there is a 99.99 % chance that you will succeed.
We ought not to repot the plant except if the roots are in any event 2 inches in length or 5 centimeters in length. We can likewise surrender it to develop over 4 inches sometime before we make the progress of repotting the plant from water to soil.
When we see that the roots are of the ideal length, it is the perfect opportunity for the repot. For this, we will take a pot, fill it with a mix of soil and pumice or soil or perlite.
8) Repot the plant when you see early root growth
Take a pot with a proper drainage system and use it for the repotting. We can also use some pebbles to help the excess water move out, and the plant does not sit on the water.
We include the mix because the soil should be clammy for in any event four to about two months, and the combination will help make the air circulation for the soil.
Expel the cutting from the water container. Check the root’s shade, regardless of whether it is white and crusty or dark and mushy. If there is no root rot, the cutting ought to be moved.
9) Continue to take care of your plant
Continue watering the pot consistently, yet check the soil first. On the off chance that it is drenched on the top, at that point, we could water following a day or two. This is because the root needs to build up the change from being water roots to soil roots.
The way to flourish the plant here is to check the watering. Never overwater the plant. The soil can’t be too wet because the roots are fragile and might create root rot.
After around two months, we will water the pothos plant ordinarily as we accomplish for any indoor plant.
We will get familiar with the repot of the pothos in the soil propagating process.
How to propagate pothos in soil?
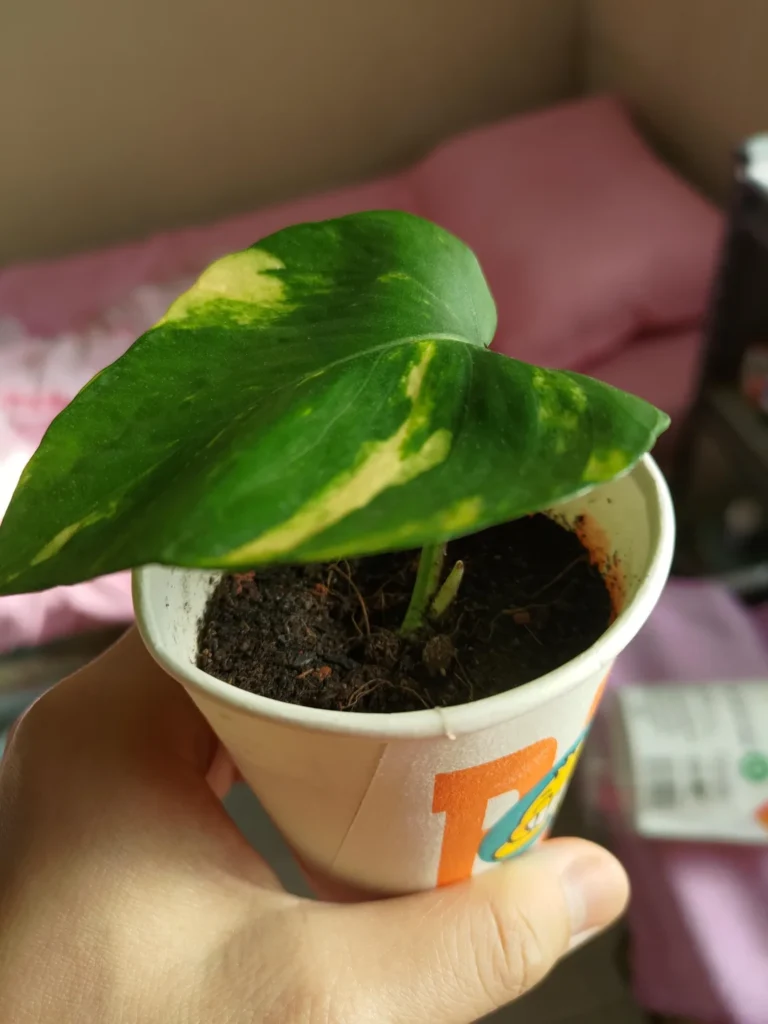
For the pothos plant’s soil propagation, we can legitimately pot the cutting into the soil instead of keeping it in water first.
Keep in mind, the way toward cutting continues as before, as depicted in water propagation. So, with that out of the way, let’s see how we can propagate pothos in soil:
- Clean your scissors, pick the vine, cut with the node.
- Here the stem where the node is will be drenched legitimately into the soil. The node is the place we will build up our roots.
- Prepare the kind of soil required for the propagation of the pothos is aerated soil, which helps in drainage. We can accomplish the air circulation by the expansion of pumice or perlite to the soil. The soil should be moist consistently.
- Take a pot, fill it with the mix of soil and pumice or soil and perlite, and water the pot.
- Ensure that the container has a decent seepage framework as the abundance of water should be depleted out of the pot.
- The size of the pot relies upon the size of the cutting that we have made. The bigger the cutting, the bigger ought to be the size of the pot.
- If the pot is excessively little than contrasted with the cutting size, the created roots may shape a covering and may hurt the roots.
- This implies we should consistently repot the plant as the root framework develops, so we don’t experience any issues with the soil taking up an excess of water.
- The following stage is the position of the pot. We will keep the plant in a suitable spot to get brilliant backhanded daylight because the leaves will pass on in direct sunlight.
Direct daylight may evaporate the water, and the plant will find it difficult to suck up the soil’s nutrients.
This plant additionally requires a great deal of moisture, subsequently make a point to splash the plant with mist water consistently. Indeed, tolerance is the key.
We can choose any of the procedures being soil or water engendering. Both the process turns out to be quite well as the pothos are anything but difficult to develop and spread.
The roots need to develop to water roots and afterward flourish for the change in soil roots on account of water propagation.
In any case, on account of soil propagation, there is no progress from water roots. Henceforth the plant will create soil roots legitimately.
Propagation without any cuts

When we have enough space to grow the plants, there is another way to grow the pothos naturally. For this process, all we need is some pots and some paper clips.
We need not make a cut for this process and just select two vines for the procedure. I have kept two vines; for example, many vines can be chosen at once.
Take two pots that are filled with a mixture of soil and pumice or soil and perlite. Make sure that the pot is watered after adding the mixture.
Keep the pots right next to the plant and make sure that one of the vines goes over the pots and touches the soil. Do the same with two different vines for both the pots.
We need to be sure that the nodes from the vine get in contact with the wet soil. We could either hope that the node touches the damp soil and develop roots.
However, that might not work out well; instead, we can use paper clips. Using normal-sized paper clips, we can pin down the vine to the soil so that the node comes in contact with the soil.
By doing this, the plant will trigger the node to start to produce roots from the nodes. Pin it down from different areas and do the same with the other pot.
Now, each pot might have two nodes or three nodes, depending on the pot’s size and the vine.
Make sure that you water the pots and keep the soil moist. Eventually, we will see the growth of roots from the nodes. After about 2-3 weeks, we might see roots of about 1-2 inches.
Once we see the roots’ growth, we can detach the new plant from the mother plant, using a pruner or scissors. We do not need the mother plant now.
This process is the natural way of growing pothos. The only thing required is the space and ensuring that we have roots before detaching from the mother plant.
Along these lines, prepare your pruners and make your pothos somewhat cheerful and reliable. Pruning enables the plant to develop better and bushier.
It likewise makes the plant more joyful—all the best with propagating your pothos.
Note: Some images in the articles are sourced from Reddit and Other Platforms For Reference Purpose.