5 Fast Fall Cleaning Tips for Plant Leaves & Pots
Fall always feels like the perfect excuse to check in on my houseplants and give them a little extra love.
Dust and dirt sneak up on leaves and pots, making everything look a bit tired.
Keeping my plants and their pots clean helps them grow better and look their best.
Just a few quick cleaning steps can really change how they look, and honestly, it doesn’t take much time at all.
Please note: Simplify Plants is reader-supported. As an Amazon Associate, I earn from qualifying purchases made by our readers with no extra cost added to you all! Some links in the post are affiliate links and I get a commission from purchases made through links in the post.
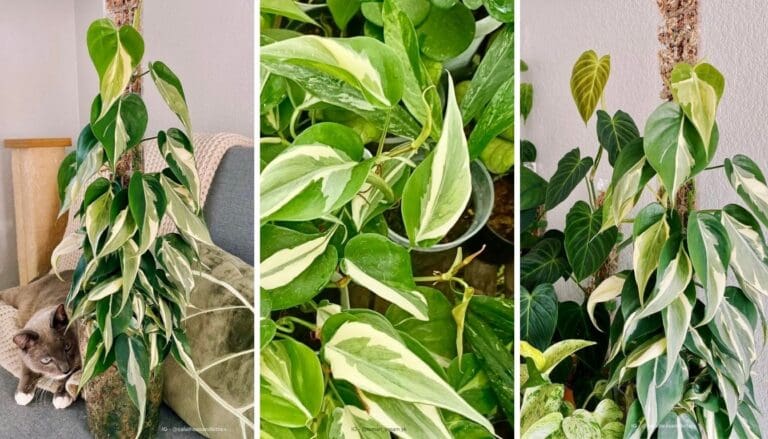
1) Wipe leaves with a damp microfiber cloth

I like to keep my plant leaves clean and shiny—especially during fall. Dust can block sunlight and mess with how well my plants “breathe.”
A simple way I get leaves looking their best is just using a damp microfiber cloth. I hold each leaf in my hand and gently wipe both sides.
I stick to water—no fancy sprays or soap—so I don’t risk hurting the leaves. Microfiber cloths are super soft, so I don’t worry about scratches.
For bigger plants, I wipe each leaf one at a time. With small, thin leaves, I just run the cloth over the tops, barely pressing.
Gentle wiping gets rid of dust, pet hair, and water spots. I check the cloth as I go and rinse it out once it’s dirty.
It’s honestly surprising how much grime comes off, even if the plants look clean at first. Clean leaves just look happier.
Wiping leaves with a damp cloth also helps me spot pests or sticky patches that might need attention. It’s quick, but it makes a difference.
2) Trim yellowing leaf edges

When I see yellow or brown edges on my plant leaves, I grab some scissors right away. Trimming those spots helps my plants look fresher.
I always use clean, sharp scissors—dirty or dull blades are just asking for trouble. I wipe them with rubbing alcohol before and after cutting.
Usually, I try to only remove the yellowed part, not the whole leaf, if most of it is still green. That way, the leaf can keep helping the plant out.
Yellow edges can mean overwatering, underwatering, or maybe too much fertilizer. Trimming gives me a chance to check the soil and rethink my care routine.
I make small, careful cuts that follow the shape of the leaf. Big, awkward snips just make things look weird.
If a leaf is almost all yellow or dried up, I cut it off at the stem. No point in the plant wasting energy on a lost cause.
I do this once a month or whenever I spot yellow tips. It’s fast and keeps things tidy.
Cleaning up yellow edges helps prevent decay and keeps bugs away. Healthy leaves make my space feel brighter, too.
New leaves get a regular check. That way, I can catch problems early.
Regular trimming is a good excuse to slow down and reconnect with my plants. It’s simple, but I swear my plants notice.
3) Use a soft brush for delicate succulents
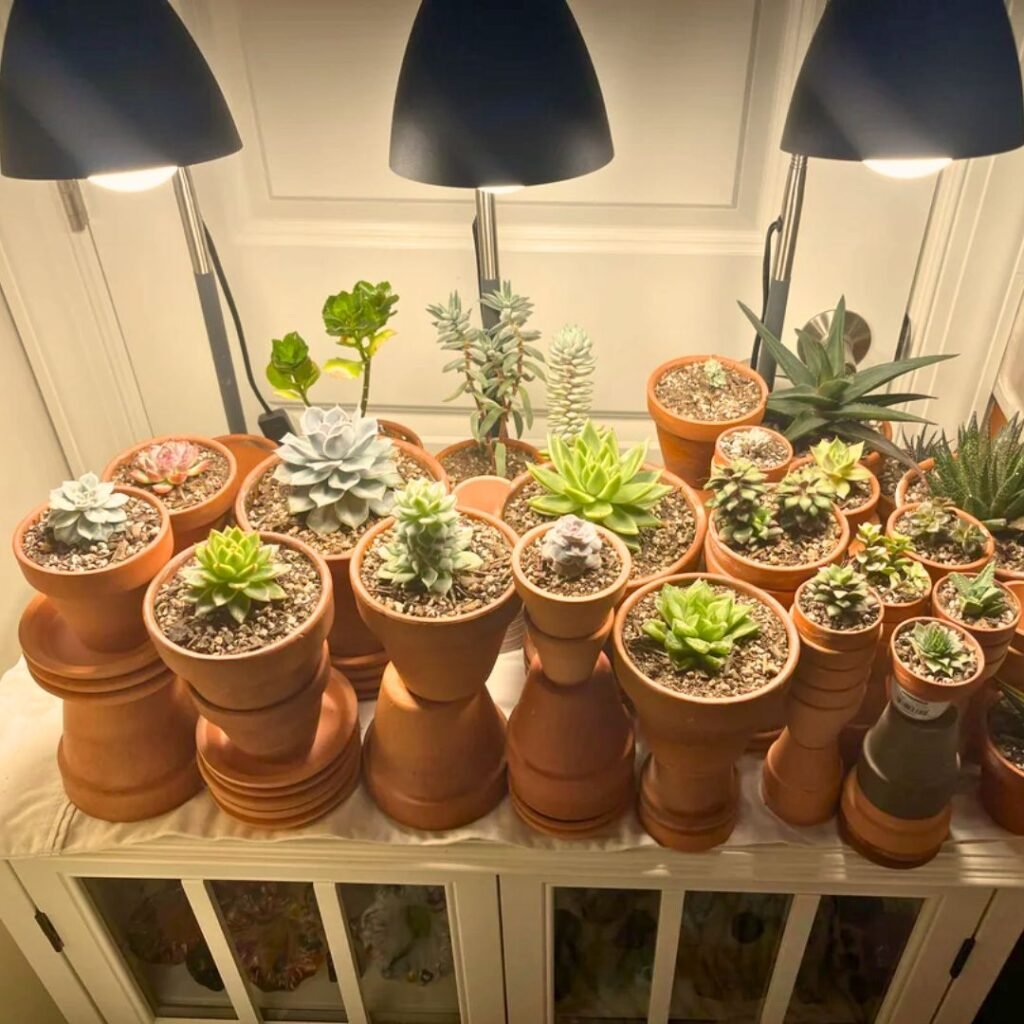
I always reach for a soft brush when it’s time to clean my succulents. Their leaves have that delicate “bloom” or waxy layer, and it’s easy to ruin if I’m not careful.
A small, clean paintbrush is perfect. I gently sweep away dust and dirt from each leaf, keeping that protective layer safe.
Wet cloths? Not for succulents. Too much water or rough cleaning can bruise or rot their leaves, so a dry, soft brush is definitely my go-to.
Patience is key. I take my time, brushing around each little crevice. For tight spots, I use a brush with softer, finer bristles.
If I spot debris stuck between the leaves, I flick it away—never force it, since those leaves snap so easily.
Brushing my succulents regularly keeps them looking sharp. Plus, it helps me spot early signs of pests or rot before anything gets out of hand.
I keep a brush just for this job. I wash it with mild soap and let it dry in the sun before using it again.
Cleaning succulents with the right brush makes the whole thing easy and safe. It’s a tiny step, but it really helps my collection thrive.
4) Remove old soil from pots
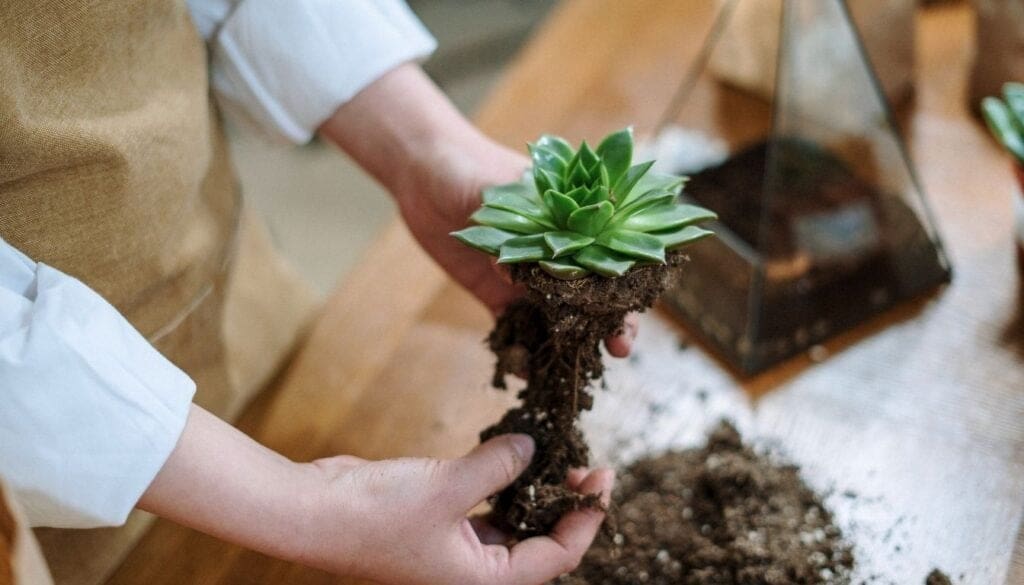
When fall rolls around, I like to remove any old soil from my plant pots. It gives me a chance to check the roots and freshen things up for healthy growth.
I gently lift the plant out, holding the base, and shake off the loose soil. If some soil sticks to the roots, that’s fine—I don’t force it.
Old soil can build up salts or hide pests. Cleaning it out heads off problems before they start. If the soil smells bad or looks moldy, out it goes.
I use my hands, a trowel, or even a fork to scoop out the dirt. For stubborn bits, I just tap the pot to loosen things up.
I always wash the pot with warm, soapy water once the soil is out. That gets rid of leftover dirt and germs.
Letting the pot dry completely is important before adding new soil and putting the plant back in. Fresh soil means fresh nutrients—my plants usually perk up after a good soil change.
Even with bigger pots, I try to do this at least once a year. It keeps old roots and pests from sticking around.
Plus, everything looks so much neater on my plant shelf afterward.
5) Apply a balanced liquid fertilizer

After cleaning leaves and pots, I always use a balanced liquid fertilizer. It gives my houseplants the boost they need for healthy growth in the fall.
I go for a fertilizer labeled 10-10-10 or 20-20-20—that just means equal parts nitrogen, phosphorus, and potassium. Works for pretty much all my common houseplants.
I follow the directions on the bottle since overdoing it can backfire. I stick to once a month—easy to remember, and it’s enough.
I mix the fertilizer with water and pour it around the base of each plant. Even coverage helps every part get nutrients.
Fall is a good time for this since plants use up nutrients faster after a busy summer. Fertilizing now gets them ready for the colder months.
I always water before and after feeding to avoid root burn. For smaller or delicate plants, I sometimes use half the recommended amount.
Gentle feeding beats overdoing it. In my experience, leaves look greener and pots stay healthier when I keep up with this routine.
I notice new growth and stronger stems if I stick with it. Repeating this every few weeks keeps my plants looking their best.
Why Fall Cleaning Matters for Plant Health

Cleaning leaves and pots in the fall helps me keep my plants strong and free from problems. Getting rid of dirt, old leaves, and germs gives them the best shot at staying healthy through the colder months.
Preventing Plant Diseases
When I clean my plant leaves and pots, I’m stopping harmful germs, fungi, and pests from sticking around. Old leaves, leftover soil, and dirty pots can hide bad bugs or disease-causing bacteria.
Some fungal spores just hang out on leaves or in old dirt. Wiping off dust and tossing fallen leaves gets rid of their hiding places.
I always clean my pots, especially when moving plants inside. Soapy water and a quick rinse take care of tiny pests or bits of dead roots.
Supporting Winter Growth
Plants slow down in winter, but they still need clean leaves and healthy roots to do well. Dust and grime block sunlight, so wiping the leaves helps them keep photosynthesizing, even with short days.
Fresh, clean pots let roots get more air. When roots have space and aren’t tangled in old roots or soggy dirt, they take up water and food better.
I always trim away dead roots and refresh the soil if it looks tired.
Eco-Friendly Tips for Disposing of Plant Debris
When I clean up my plants, I try to keep things simple and safe for the environment. These habits help my plants stay healthy and keep my home eco-friendly.
Composting Old Leaves
I toss old leaves and plant debris in my compost pile whenever I can. Composting turns dead leaves into rich soil for the garden.
I make sure the leaves aren’t moldy or diseased before adding them. I shred big leaves to help them break down faster.
If I see thick stems or branches, I chop them up to save space. I mix leaves with other scraps, coffee grounds, and veggie peels.
Don’t compost:
- Leaves with white or black spots
- Moldy branches
- Anything treated with chemicals
If I don’t have space for a compost bin outside, I use a small indoor bin. Some cities collect plant waste for composting—worth checking local rules.
Safe Pot Cleaning Solutions
When I wash dirty pots, I skip harsh chemicals. A mix of water, white vinegar, and a bit of baking soda does the trick and is safe for the environment.
Here’s a quick chart I use:
| Solution | Amounts | Use for |
|---|---|---|
| Water + Vinegar | 1 part vinegar to 3 parts water | Disinfecting and odor removal |
| Baking Soda Paste | 3 tbsp soda + 1 tbsp water | Scrubbing tough stains |
I let pots soak in vinegar water for about 10 minutes, then rinse. For tough marks, I scrub with a baking soda paste and a soft brush.
I always let pots dry in the sun—extra peace of mind.
Frequently Asked Questions
I keep my plants looking fresh by cleaning their leaves, trimming dead parts, and making sure my pots are tidy. I also use fallen leaves in my garden to enrich the soil and help my plants during winter.
What are the best ways to clean and care for plant leaves before winter sets in?
I usually wipe my plant leaves with a damp microfiber cloth to get rid of dust and any sneaky pests hanging around. For the more delicate ones—like succulents—I’ll reach for a soft brush instead, just to be safe.
If I spot yellow or crispy edges, I’ll trim them off. It just feels like a quick way to keep the plants looking and feeling healthy.
How can I naturally add a shine to my indoor plant’s leaves?
Honestly, a damp cloth does the trick for me when I want a bit of shine. Every now and then, I’ll mix in a drop of mild soap with water—but just a little.
I steer clear of those store-bought leaf shiners. They make me nervous since I’ve heard they can clog up the leaves’ pores.
What should I do with fallen leaves to benefit my garden?
I like to gather up the fallen leaves and spread them around my garden beds as mulch. It’s a simple way to protect roots from cold weather and, honestly, it’s kind of satisfying knowing they’ll break down and feed the soil.
Which techniques work best for fall clean-up in flower beds?
I go through and pull out any dead flowers, old stems, and weeds from the flower beds. Then I’ll clear out spent annuals and toss a layer of fallen leaves or compost on top—keeps the soil cozy and a bit more moist.
How can I prepare my perennials for the colder months?
I’ll cut back the dead stems and trim off any damaged leaves from my perennials. Giving them a good drink and tucking a layer of leaves or mulch around the base just seems to help.
It’s all about keeping those roots insulated from the cold, right?
Is it beneficial to put leaves in my garden over winter, and if so, how?
Honestly, I do put leaves in my garden for winter. I just spread a thick layer over the garden beds.
It works as a natural mulch—super handy. The leaves protect the soil and, as they break down by spring, they toss in some extra nutrients too.
Recommended Garden Supplies
| Product Image | Our Recommended Gardening Supplies | Check Offers! |
|---|---|---|
Top Top
Top
Top
Top
Top
Top
Top
Top | rePotme Houseplant and Tropical Classic Potting Soil Mix | Check Offer On Amazon |
 Top
Top
Top
Top
Top
Top
Top
Top | Espoma Organic Indoor Plant Food | Check Offer On Amazon |
 Top
Top
Top
Top
Top
Top
Top
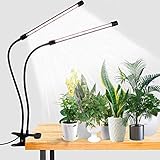
Top | GooingTop LED Grow Light 6000K Full Spectrum Clip Plant Growing Lamp | Check Offer On Amazon |
 Top
Top
Top
Top
Top
Top
Top
Top | Soil Moisture Meter | Check Offer On Amazon |
 Top
Top
Top
Top
Top
Top
Top
Top | Govee Hygrometer Thermometer, Bluetooth Enabled! | Check Offer On Amazon |
 Top
Top | LEVOIT Humidifiers for Large Room(Best For Plants) | Check Offer On Amazon |
 Top
Top
Top
Top
Top
Top
Top
Top | Upgraded DIY Automatic Drip Irrigation Kit, 15 Potted Houseplants Support | Check Offer On Amazon |
 Top
Top
Top
Top
Top
Top
Top
Top | Stainless Steel Heavy Duty Gardening Tool Set | Check Offer On Amazon |
 Top
Top
Top
Top
Top
Top
Top
Top | Bonide Insecticidal Soap | Check Offer On Amazon |
 Top
Top
Top
Top
Top
Top
Top
Top | Bonide 32 oz Spray Neem Oil for Organic Gardening | Check Offer On Amazon |
 Top
Top
Top
Top
Top
Top
Top
Top | Garden Safe Fungicide | Check Offer On Amazon |