5 Fall Projects to Make with Houseplant Cuttings
I love watching my houseplants grow, especially when I get to use their cuttings for something new.
Turning old plant cuttings into a creative project is such an easy way to refresh my home and soak up the fall vibes.
With just a few steps, I can make the most of what I already have.
Using houseplant cuttings lets me try new ideas and keeps my space lively all season long.
Please note: Simplify Plants is reader-supported. As an Amazon Associate, I earn from qualifying purchases made by our readers with no extra cost added to you all! Some links in the post are affiliate links and I get a commission from purchases made through links in the post.
1) Create a trailing plant wall with pothos cuttings

I can’t get over how easy it is to grow pothos from cuttings. These plants root quickly in water and don’t ask for much.
For a wall project, I just snip healthy cuttings with at least one node and a couple of leaves.
I pop the cuttings in glass jars of clean water and check every few days to keep things fresh. In two to four weeks, the roots are usually long enough for planting.
To make the wall, I use small wall-mounted planters or pockets and gently plant my rooted pothos cuttings in fresh potting mix. Spacing them out gives each one room to grow and trail.
Sometimes I’ll use a wooden frame or a hanging grid to show off the planters. It’s actually fun to rearrange them, and the vines end up trailing in all sorts of directions.
I keep the wall in a spot with bright, indirect light—direct sun can be harsh on those leaves. I water when the soil feels dry about an inch down.
Pothos are forgiving, so if I forget once in a while, they bounce back.
Over time, the vines get longer and start to drape down, making the space feel way greener without hogging floor space. It’s a simple way to add life to any wall with plants I already own.
Friends sometimes ask how I made my plant wall. I tell them starting with pothos cuttings keeps it cheap and easy.
It’s honestly fun to watch the vines grow and change through the fall. I like moving the planters around or swapping in new cuttings just to keep things fresh.
2) Propagate succulents in decorative terrariums

I really enjoy using succulent cuttings to start new plants in clear terrariums. It’s satisfying to watch the leaves root and turn into little plants.
Terrariums look great as a centerpiece or on a sunny windowsill.
I usually pick a clean glass container—even a recycled jar works. I add a thin layer of small rocks at the bottom for drainage.
This keeps extra water away from the roots.
Next, I add some cactus or succulent soil since regular potting soil holds too much water. The soil layer needs to be deep enough for the cuttings to rest on.
I gently press the succulent leaves or stems on top of the soil, making sure not to crowd them. Proper spacing helps the air move and gives each cutting a better shot.
Instead of drenching the soil, I just mist it once or twice a week. Succulents hate soggy soil, so I always check that the top layer feels dry before misting again.
I keep my terrarium somewhere with bright, indirect sunlight. Too much direct sun can burn them, but not enough slows things down.
A sunny room, but not right by a hot window, works well.
With a little patience, I usually spot tiny roots after about two weeks. Some cuttings will send up little new leaves once the roots are strong.
A glass terrarium makes it easy to check on the roots and soil without digging around. I like moving it to different spots in my home when I want to change things up.
Sharing extra succulent cuttings with friends or family is always a nice touch. A homemade terrarium is a simple, thoughtful gift.
It’s a creative way to enjoy plants indoors all autumn.
3) Make a hanging air plant chandelier
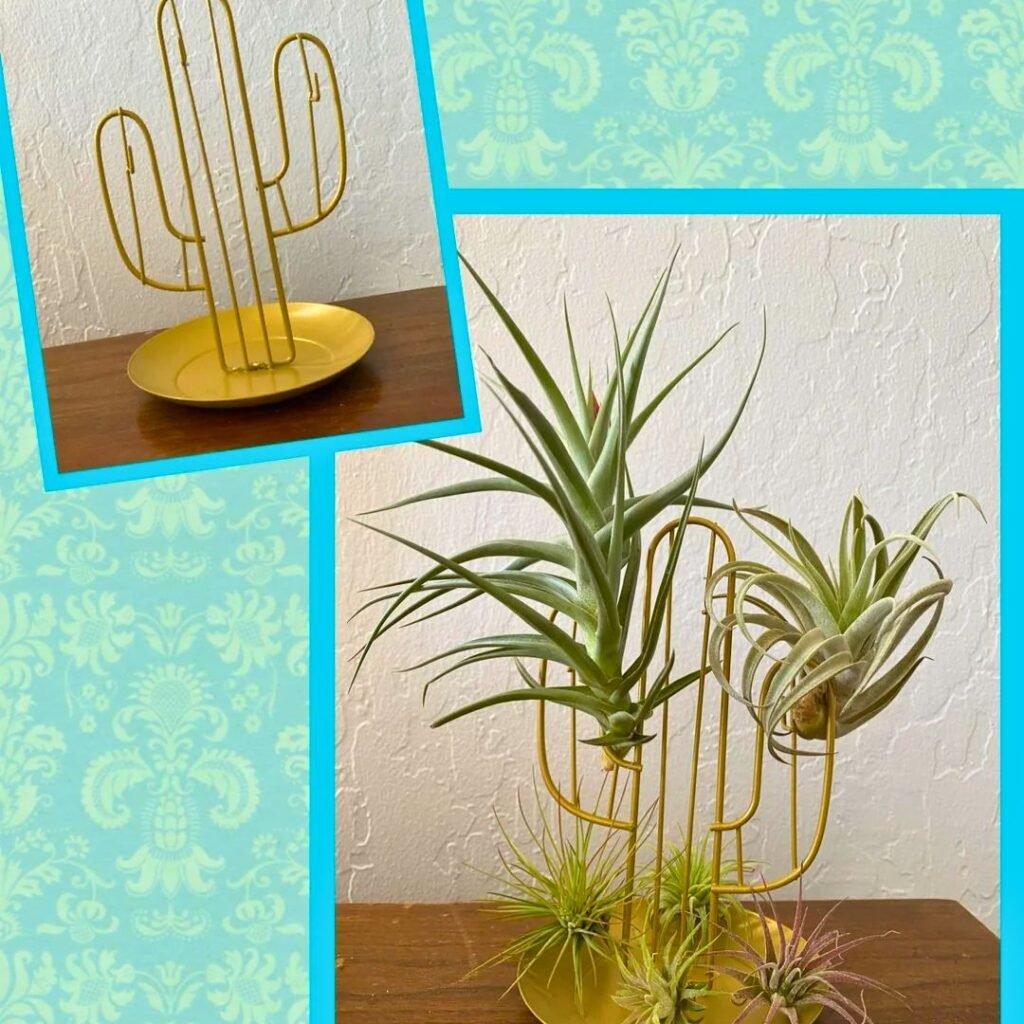
I’m a big fan of using air plants for fun, stylish home projects. Air plants don’t need soil, so I can get creative with how I show them off.
One project I really like is making a simple hanging chandelier for my room.
First, I round up a few air plants and some sturdy twine or string. I’ll use a small wire hoop or even a round stick as the frame.
All these supplies are easy to find at a craft store or online.
I tie lengths of string to the frame so each one hangs down, then carefully attach an air plant to the end of each string. Sometimes I use wire, fishing line, or even a dab of hot glue.
It’s important not to squash or damage the leaves.
When I’m done, I hang the chandelier in a bright spot, but out of direct sun. Usually, I put it near a window so the plants get enough light.
Air plants need to be misted a couple times a week to stay happy.
One reason I like this project is that it adds a touch of green to any space. Making different shapes or adding beads makes each one unique.
It’s a relaxing craft and super easy to customize.
Sometimes I give these as gifts to family or friends. It’s a fun way to share my love of plants and handmade decor.
Plus, caring for air plants is simple and doesn’t take much time.
4) Craft a centerpiece with fiddle leaf fig cuttings

I love using fiddle leaf fig cuttings to make a simple but stylish fall centerpiece. Their big, glossy leaves look great on any table.
First, I snip a few healthy cuttings from my fiddle leaf fig. Each piece should have at least one leaf and a bit of stem.
I place the cuttings in a clear vase with water. Sometimes I toss in a few small stones at the bottom for decoration.
The green leaves are so bright and fresh, especially in a glass vase.
If I want more color, I’ll mix in a few branches with red or orange leaves. It adds a warm fall touch and keeps things easy.
These centerpieces last for weeks. I just change the water every few days to keep them looking good.
Friends sometimes ask where I got such a nice decoration. They’re surprised when I say I made it myself with simple cuttings.
Anyone can do this at home. It doesn’t cost much and the project is actually fun.
All I need are a few cuttings, a vase, and some water.
This idea works for dining tables, coffee tables, or even desks. The green leaves bring life to any space without taking up much room.
I also like that I can use the cuttings to grow more plants later. After the season, I’ll often plant them in soil to start a new fiddle leaf fig.
5) Grow an indoor herb garden from basil cuttings

Basil is one of my favorite herbs to grow indoors. Fresh basil smells amazing and adds tons of flavor to dishes.
I start by snipping a healthy stem from my basil plant, about 4 to 6 inches long with several pairs of leaves. I remove the lower leaves, leaving just a few at the top.
Next, I put the basil cutting in a glass of water. I make sure only the stem is underwater and set the glass on a sunny windowsill.
After about a week, I usually see tiny white roots at the bottom of the stem. Once the roots are at least an inch long, I plant the cutting in a small pot with fresh soil.
It’s important to keep the soil damp, but not too wet. I water when the top feels dry and make sure my basil gets plenty of sunlight—about six hours a day.
If I want more basil plants, I just repeat the process with new cuttings. I like to mix regular basil with purple or Thai basil for variety.
Growing basil from cuttings is a simple way to start an indoor herb garden. I love picking fresh leaves whenever I cook.
It makes my kitchen smell great, and meals taste even better.
Indoor basil grows well on most windowsills. I often share extra cuttings with friends and family so they can grow their own herbs too.
It’s fun to watch the plants grow, even as the weather outside gets cooler.
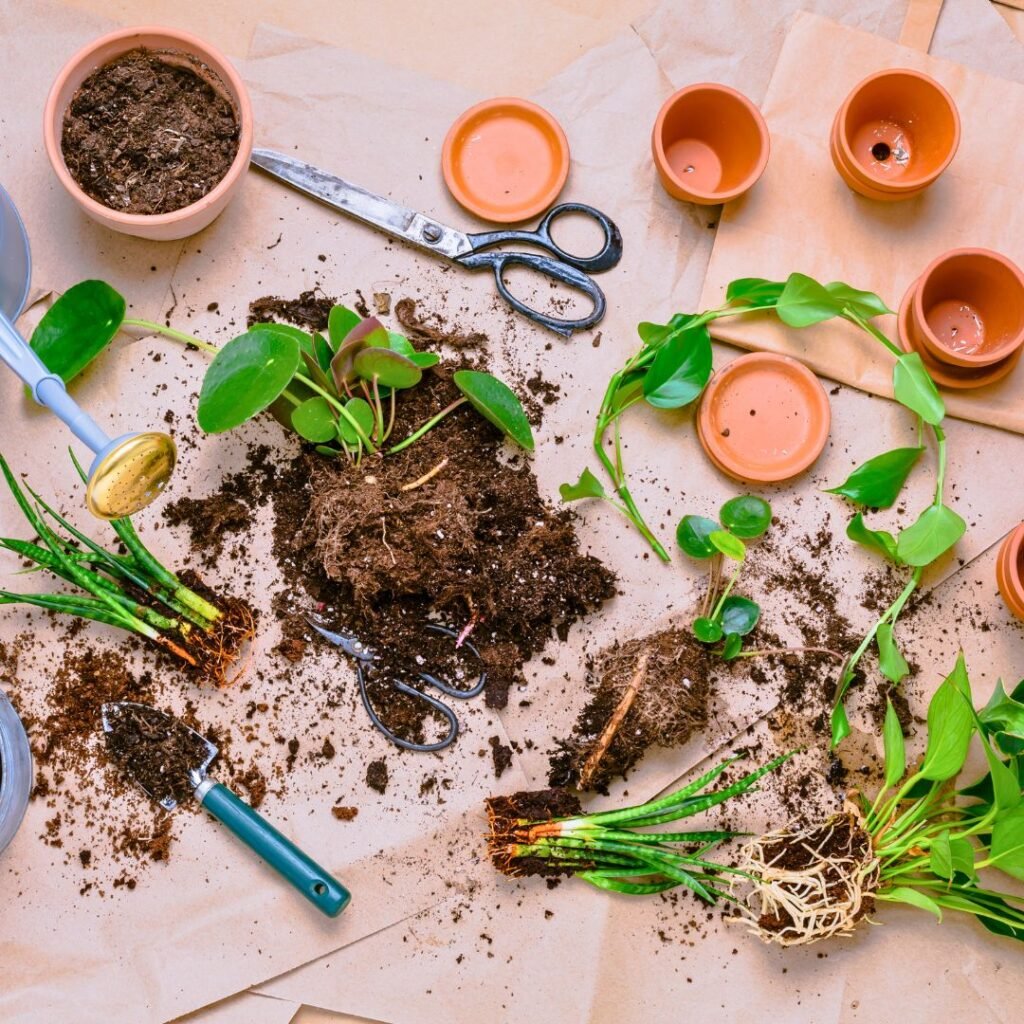
Getting Started with Houseplant Cuttings
Having the right tools and knowing which cuttings work best for fall really makes things easier. Starting off on the right foot just sets me up for healthy new plants.
Choosing the Right Tools
Using the proper tools helps me avoid damaging my houseplants. I always use clean, sharp scissors or pruning shears.
A dull blade can crush stems, making rooting harder. Before taking a cutting, I wipe my tool with rubbing alcohol to keep my plants safe from germs.
I also keep small glass jars or cups ready for rooting cuttings in water. For soil propagation, I use clean pots and fresh potting mix made for houseplants.
A spray bottle helps me keep the soil moist, but not soggy. I label my cuttings so I don’t forget which plant is which.
Here’s what I gather before I start:
- Clean scissors or pruning shears
- Glass jars or cups
- Pots with drainage
- Fresh potting mix
- Labels or markers
- Spray bottle
Best Types of Cuttings for Fall
Some houseplants root better than others, especially in fall. I focus on plants that are still actively growing but not stressed from summer heat.
My favorites are:
- Pothos
- Spider plant
- Philodendron
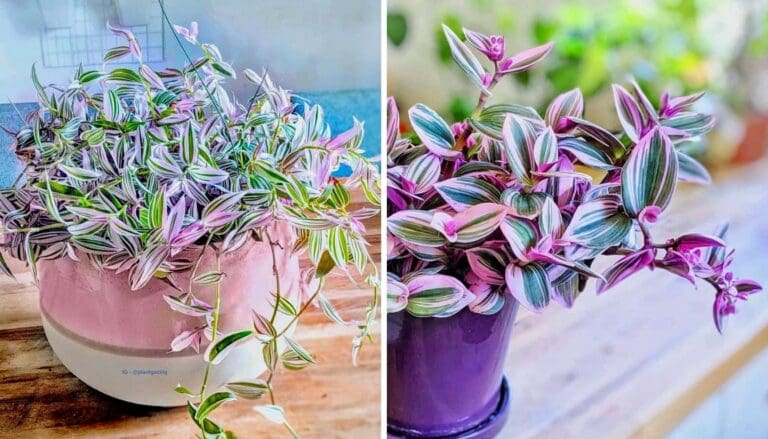
- Tradescantia
- Peperomia
These plants root easily in water or soil. I avoid plants that need a lot of warmth or bright sun to root, since fall days get shorter and cooler.
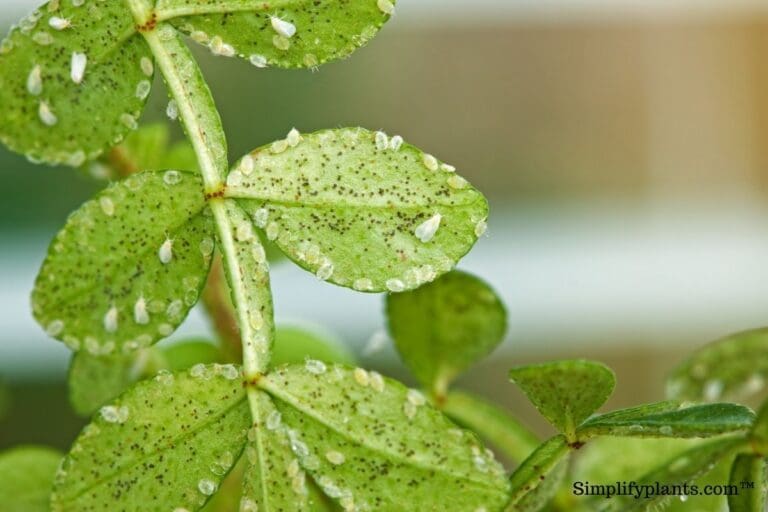
I pick healthy, pest-free stems with at least one leaf and one node (where roots grow).
If I use water rooting, I change the water every few days to keep it fresh. For soil cuttings, I gently press the node into moist soil and place the pot where it gets bright, indirect light.
That way, my cuttings have the best chance to grow strong roots.
Troubleshooting Common Propagation Issues
When I start propagating houseplants, problems can pop up. Root rot and slow growth are two issues I see sometimes, but there are ways to handle them.
Dealing with Root Rot
Root rot is a big problem for cuttings in water or soil. It usually happens if things stay too wet or water sits too long.
I look for these signs:
- Brown, mushy roots
- A bad smell
- Drooping leaves
If I notice these, I remove any affected roots with clean scissors and rinse the cutting in fresh water.
Then, I change the water more often—about every 2-3 days—or use well-draining soil. I always make sure the container is clean before starting over.
Keeping things clean and not overwatering helps me avoid most rot problems.
Encouraging Healthy Growth
I want my cuttings to grow strong roots and sprout new leaves. Bright, indirect light is my go-to—direct sun just seems a bit harsh, but too little light and they barely budge.
I keep things cozy, aiming for around 65-75°F (18-24°C). It really seems to help roots develop faster.
When it comes to food, I hold off on fertilizer until I spot some fresh leaves. Too much, too soon? That can really mess with those fragile roots.
I like to check each cutting for signs of growth—firm stems, maybe a little green tip poking out. Once the roots are a few inches long, I’ll pot them up.
Honestly, just being patient and gentle makes a world of difference.
Frequently Asked Questions
I get asked a lot of the same things about starting houseplant cuttings. Here are some answers, straight from my own plant experiments.
What are the easiest houseplants to propagate in water?
I’d say pothos, philodendron, and monstera are almost foolproof. They root fast in water and don’t ask for much.
Spider plants and coleus are also super easy—just a glass of water and off they go.
What are some creative projects for using houseplant cuttings?
I’ve tried making a trailing plant wall with pothos cuttings. It’s surprisingly fun.
Growing succulents in glass terrariums or putting together a centerpiece with fiddle leaf fig cuttings is a nice way to switch things up.
For something a bit different, I’ve used air plant cuttings for a hanging chandelier. And if you like herbs, basil cuttings are perfect for starting a little indoor garden.
How can I propagate indoor plants successfully?
I always go for clean, sharp scissors when taking cuttings. Each piece needs at least one leaf and a node—otherwise, it’s just not going to work.
After that, I stick them in clean water or damp soil and find a spot with bright, indirect light. Swapping out the water every few days really helps keep things healthy.
What materials do I need for propagating plants from cuttings?
I usually grab clean scissors and a few small jars or glass containers.
Sometimes I’ll use potting soil and small pots, or just stick with a cup of water. If I’m feeling creative, I’ll go for decorative glass terrariums or even use wire to hang the cuttings.
Can I sell houseplant cuttings, and if so, how?
You can, as long as your cuttings are healthy and pest-free. I always check local rules and plant seller groups online just in case.
A lot of folks use Etsy or local markets. Careful packaging is a must—no one wants a squished plant in the mail.
Why is plant propagation important?
Propagation lets me grow new plants for free. Plus, I get to share them with friends, which is honestly one of the best parts.
It’s a great way to preserve rare plants, too. And let’s be real—saving money and cutting down on waste by reusing what I already have at home just feels good.
Note: Some images in the articles are sourced from Reddit and Other Platforms For Reference Purpose.