7 Ideas to Turn Old Teacups into Cute Planters for a Charming Home Garden
I love finding new ways to reuse things around my home, especially when it comes to old teacups. There’s just something about turning forgotten items into something beautiful and useful.
Giving old teacups a second life as planters is a simple and creative way to add personality to my space. It’s easy, fun, and it lets me bring some greenery into any room—what’s not to like?
Please note: Simplify Plants is reader-supported. As an Amazon Associate, I earn from qualifying purchases made by our readers with no extra cost added to you all! Some links in the post are affiliate links and I get a commission from purchases made through links in the post.
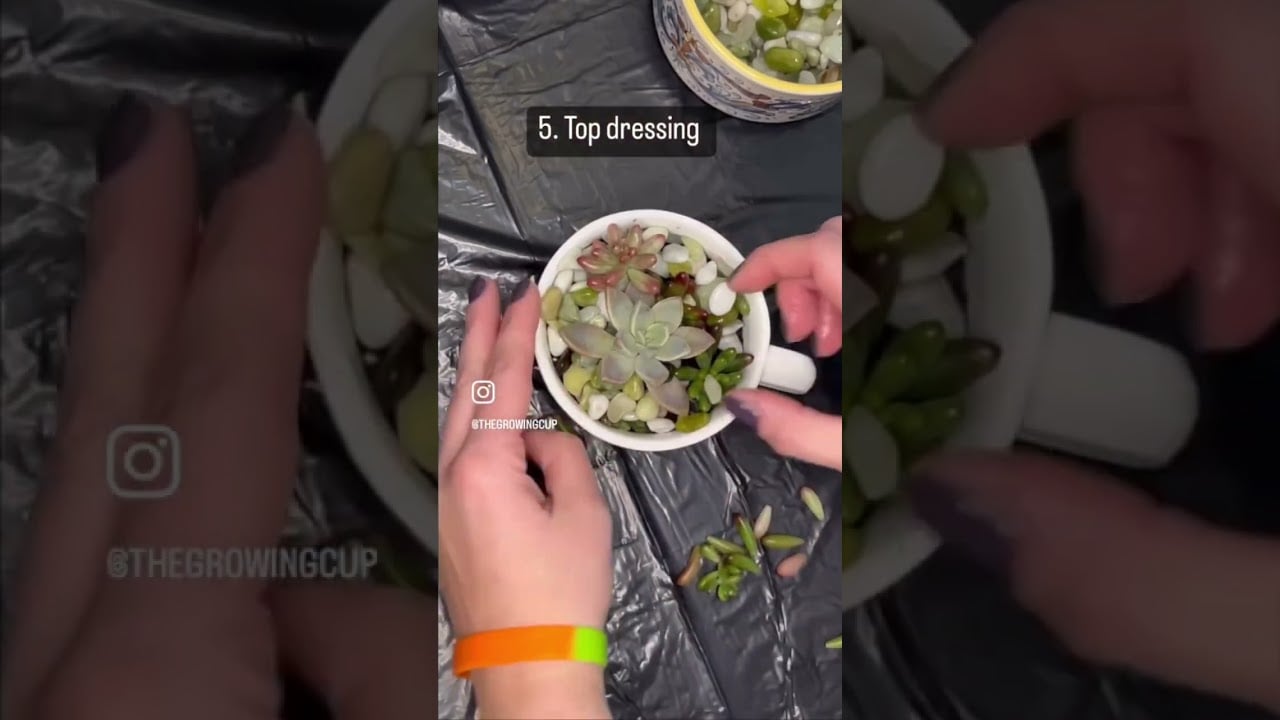
1) Fill with succulent soil and plant small succulents
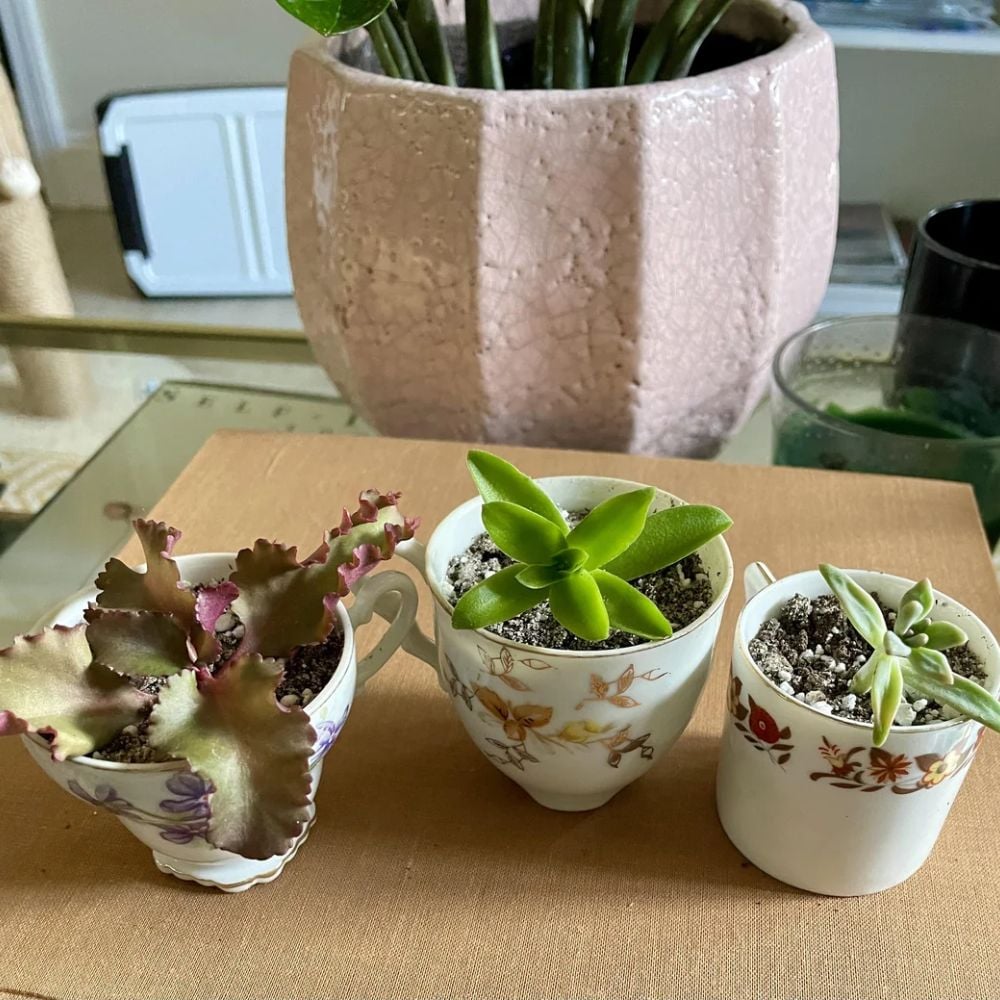
When I find an old teacup, the first thing I do is give it a good cleaning. I want a fresh start for my new plant friend.
Succulents like good drainage and don’t need a lot of water. I usually grab some succulent soil from a garden store—it keeps roots happy and helps prevent rot.
I fill the cup about three-quarters full, leaving some space at the top. Next, I gently tuck a small succulent into the dirt.
Sometimes a spoon helps to scoop soil around the roots. I try not to pack the soil too tightly—succulents like to breathe, after all.
It’s important not to overwater. I add just enough water to moisten the soil.
If there’s no hole in the cup, I add even less water so my plant doesn’t sit in soggy soil. These little teacup planters look nice on a windowsill or desk.
I love how easy they are to care for. They also make cute gifts for friends or family.
I sometimes add a few pebbles or tiny stones on top of the soil. It gives the cup a finished look and keeps the dirt from spilling out.
2) Create a mini herb garden with thyme or mint
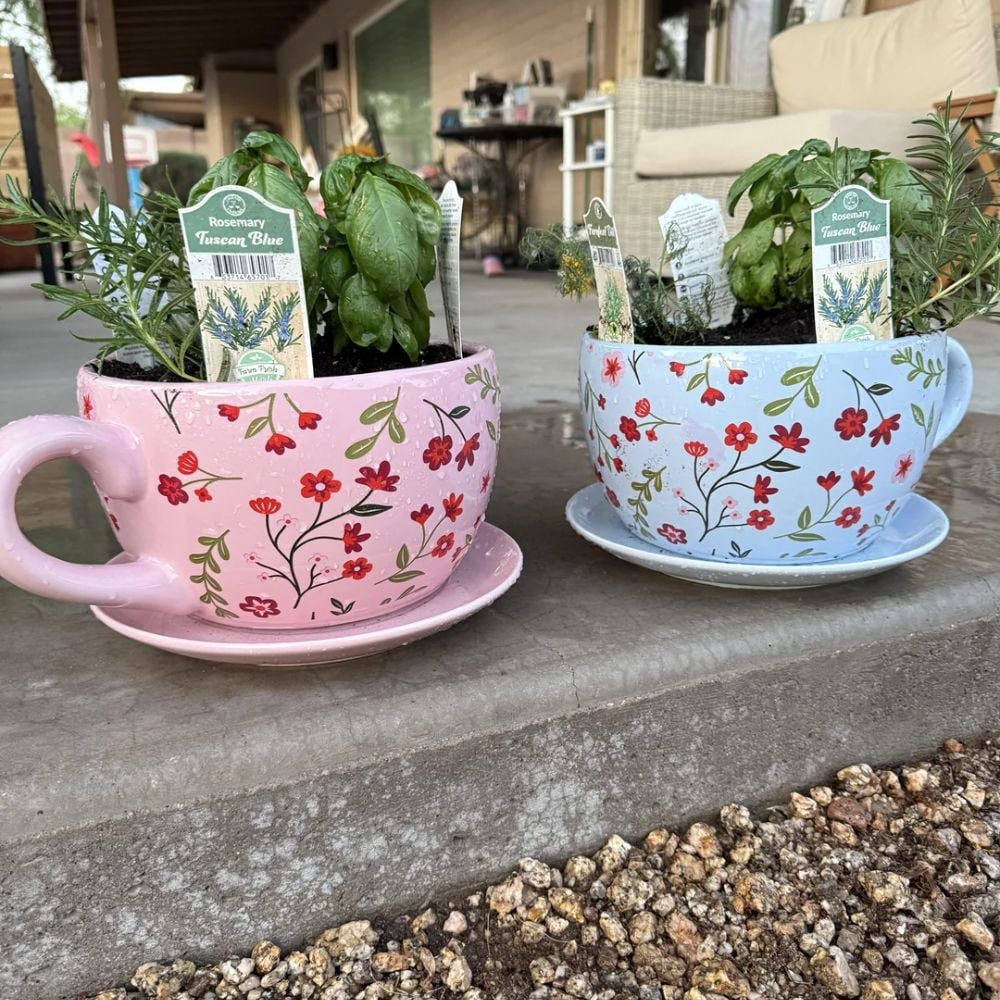
I love growing my own herbs, and using old teacups makes it even more fun. Thyme and mint are perfect choices because they’re small and easy to care for.
They don’t need much space, so a teacup is just the right size. First, I fill my teacup with a bit of potting soil—good soil means healthy, happy herbs.
I like to pick thyme or mint because both do well indoors. I gently press the seeds or a small plant into the soil.
I water them lightly, keeping the soil damp but not too wet. A teacup doesn’t have much room, so I’m careful not to overdo it.
Placing the teacups on a sunny windowsill works great. My herbs get all the sunlight they need.
I check the soil every few days and water only when it feels dry. Watching green herbs sprout in a little teacup just makes me smile.
Plus, I can snip a few leaves whenever I want to add fresh flavor to my food. If I want to mix things up, I sometimes plant both herbs together.
They look cute and smell nice side by side. With just a few steps, my old teacups get a new life as a herbal garden.
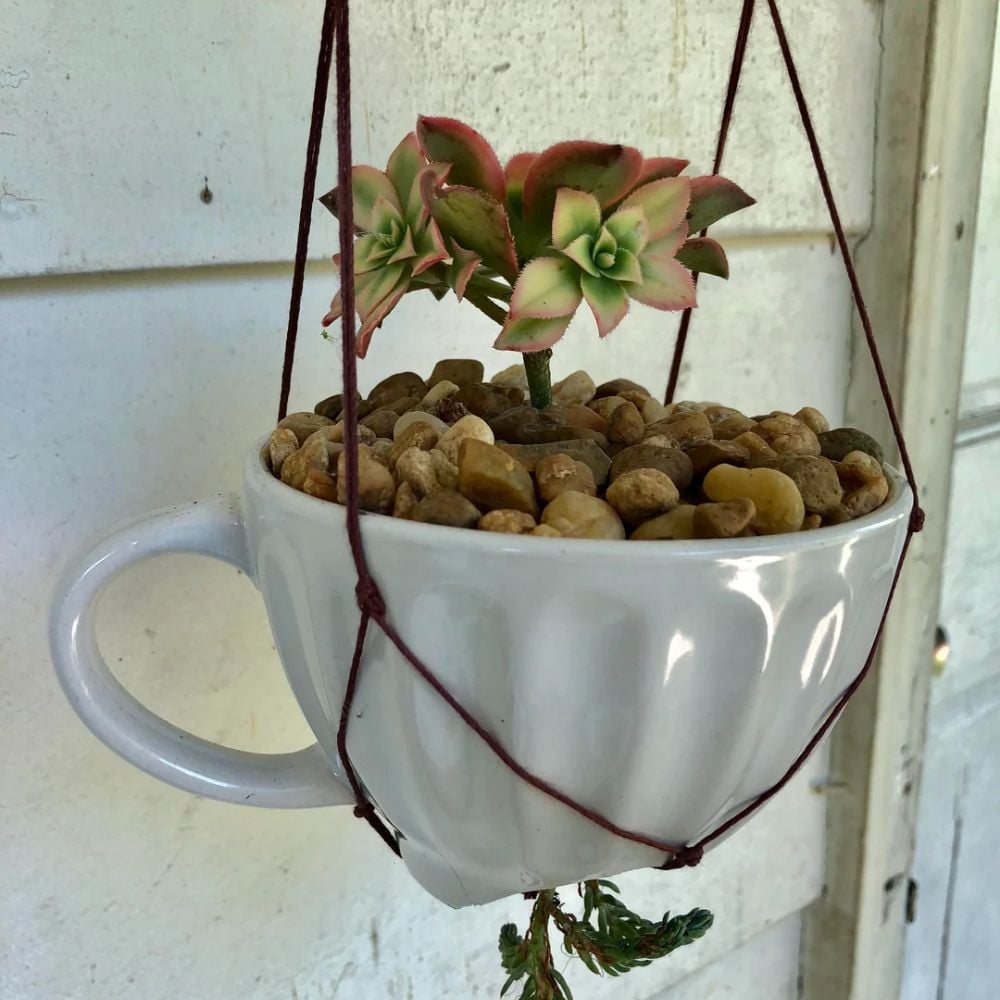
3) Use as a base for air plants with decorative stones

I love how easy it is to use old teacups as homes for air plants. No soil is needed, which means less mess for me!
First, I pick simple stones or colorful pebbles. I put a small layer of these stones in the bottom of my teacup.
This adds color and helps keep the air plant healthy. Next, I gently set my air plant right on top of the stones.
Air plants don’t have roots in the soil, so they get all their water from the air. I mist them with water about two or three times a week.
Teacups come in so many designs. This helps me match my plants to any room in the house.
Sometimes, I add small shells or glass beads for extra personality. It’s a fun way for me to show off my style while caring for my plants.
Air plants in teacups make great gifts for friends and family. They’re small, low-maintenance, and look charming on shelves or desks.
If I want to change things up, it’s easy to move air plants from one teacup to another. I find this handy when I update my room decor or just want a fresh look.
4) Make a fairy garden with tiny figurines and moss
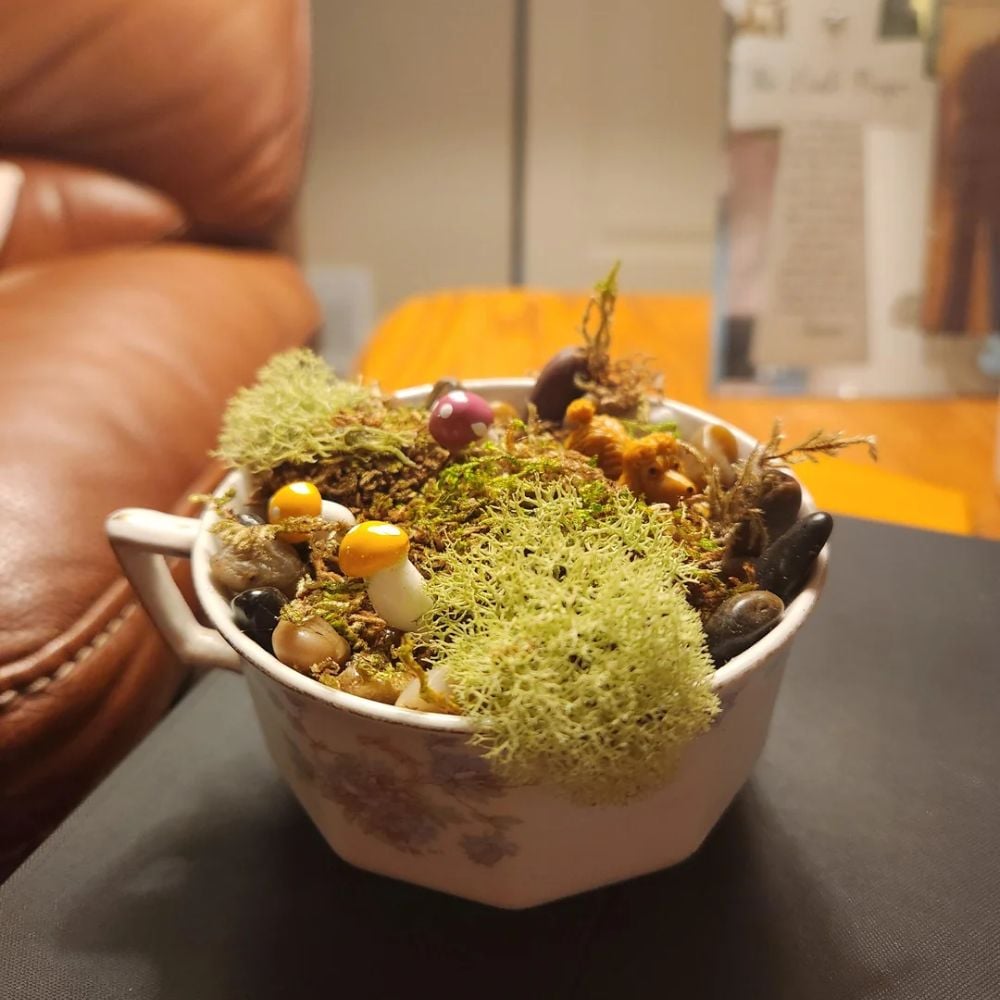
I love turning old teacups into tiny fairy gardens. It’s simple and honestly pretty fun.
First, I fill the bottom of a teacup with a bit of gravel or small stones for drainage. Then, I add a layer of potting soil on top.
I press down gently to make it even. Next, I cover the soil with a soft layer of moss—moss gives the garden a bright, green look and it’s easy to find at most garden stores.
After that, I pick out some miniature fairy figurines, tiny animals, or even a little fairy door. I place them carefully on top of the moss.
Sometimes, I add little pebbles as a path or use twigs to make a tiny fence. Arranging the pieces is my favorite part.
I move them around until the garden looks magical. If I want, I can plant a small succulent or two as well.
A fairy garden in a teacup can sit on a windowsill or desk. I make sure to mist the moss lightly with water every few days to keep it healthy.
It always makes me smile when I see my little fairy scene. Making these fairy gardens is a great way to recycle teacups and add some charm to any space.
It’s also a creative project I can finish in less than an hour. Plus, they’re cute as gifts or for brightening up a room.
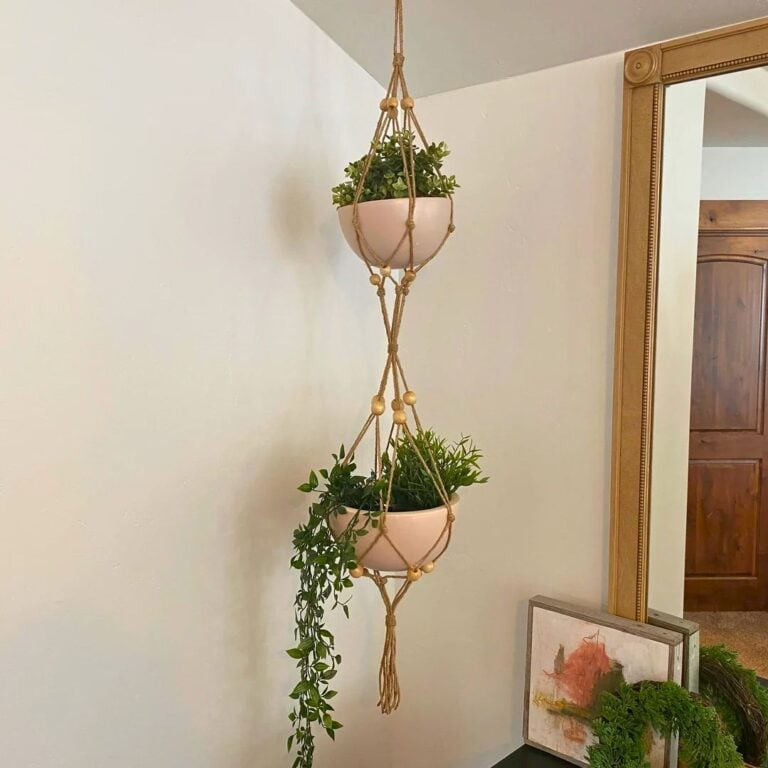
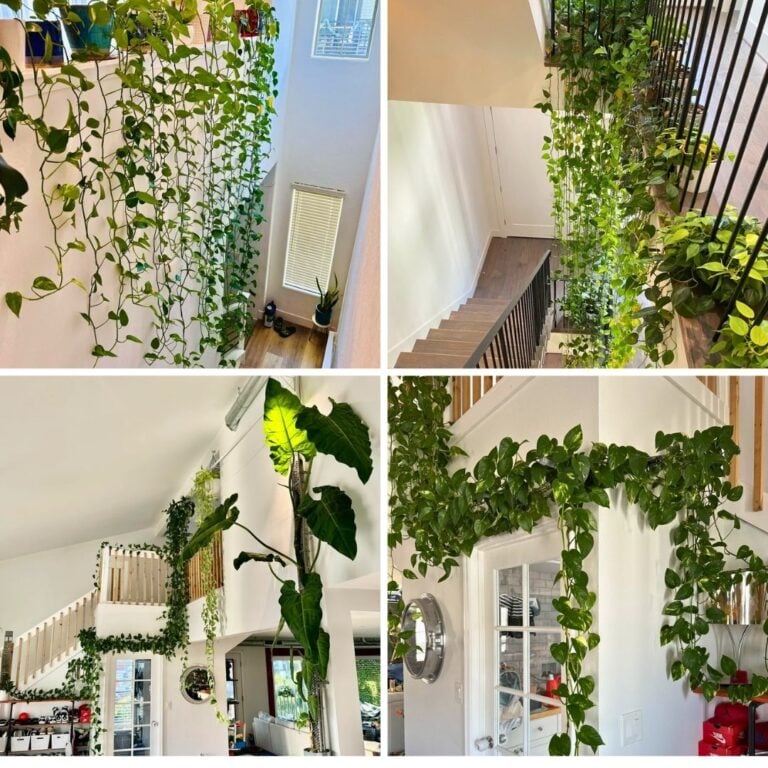
5) Make a hanging planter display
One of my favorite ways to reuse teacups is by turning them into a hanging planter display. I start by picking a sturdy wooden board that fits my space.
If the wood is rough, I sand it down a little to keep it smooth. I lay out my teacups on the board to see what looks best.
I use strong glue or small metal hooks to attach the teacup handles to the board. If I’m using glue, I make sure it’s made for ceramics and wood so it holds up well.
When hanging, I always make sure the board is mounted to the wall with good screws or wall anchors. The teacups can get heavy with soil and plants, so secure mounting is important.
I also leave enough space between each cup so the plants have room to grow. For even more color, I sometimes paint the board or stain it to match my room.
This makes the planter display stand out and feel more personal. I usually plant small succulents or herbs in each teacup.
These plants don’t need a lot of water or soil, so they’re perfect for this display. Watering is easy because the cups keep the soil in one place.
This project is a great way to add a touch of charm to any wall. I love how creative I can get with different shapes and colors.
6) Paint with waterproof colors and plant colorful flowers
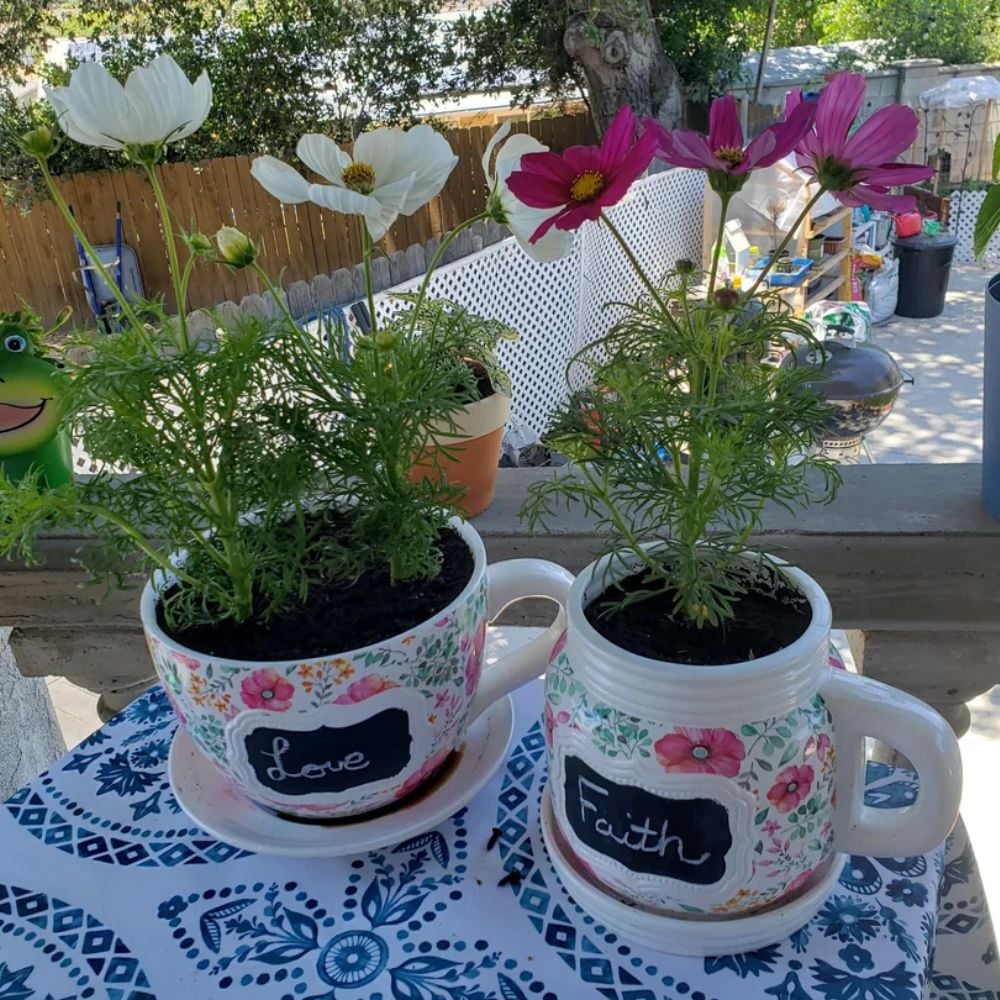
I love making my old teacups stand out with a splash of paint. Waterproof paints work best because they won’t wash away when I water my plants.
I pick my favorite bright colors, and sometimes I use patterns or shapes to make each cup unique. Once the paint dries, I place a small handful of rocks at the bottom to help with drainage.
Then I fill the cup with good potting soil. I choose colorful flowers that will really pop against my painted cup—marigolds, pansies, and petunias are some of my favorites.
They fit well and bloom brightly. When I’m done planting, I set my teacup planters on my kitchen sill or outside on a table.
The mix of painted designs and blooming flowers gives me a happy feeling every time I see them. It’s an easy way to make my space feel more cheerful and personal.
This project never takes much time, and I can even change up the colors anytime I feel like it. Honestly, it’s just fun to see what combinations work best.
7) Stack teacups and saucers to form a tiered planter
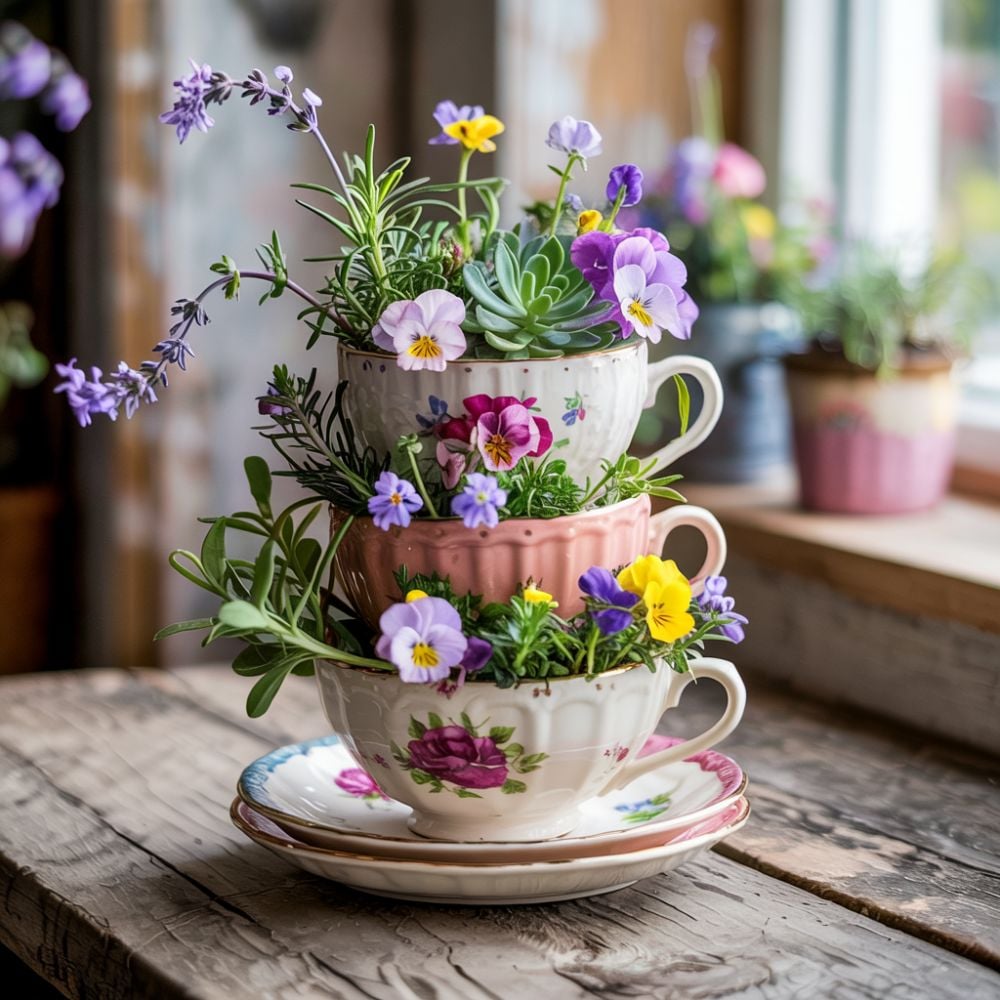
I love the look of a tiered planter made from stacked teacups and saucers. It adds some height and charm to my space.
This is a great way to show off several small plants at once. First, I pick a few teacups and matching saucers that go well together.
It’s fun to mix different colors and patterns, too. I make sure they’re clean and in good shape, with no big cracks.
I start by placing a teacup on a saucer. Then I stack another saucer and teacup on top.
For stability, I use a bit of strong glue between each piece. Letting the glue dry fully helps keep the planter from tipping over—definitely don’t want your plants taking a tumble.
Once the stack feels secure, I add small rocks to the bottom of each cup so water doesn’t collect there. Then I toss in some potting soil and pick small plants or succulents for each layer.
I really enjoy searching for unique plants that fit into each teacup. Succulents, herbs, or tiny flowers all work because they don’t need much space or water.
To finish, I place my tiered planter on a tabletop or shelf where it can be seen. Sometimes, I’ll set it by a sunny window to help the plants grow—if I remember to move it, anyway.
Note: Some images in the articles are sourced from Reddit and Other Platforms For Reference Purpose.