7 DIY Propagation Stations to Try Indoors This Winter
I’m always looking for simple ways to bring a little more green into my home, especially when winter keeps me cooped up inside.
Propagation is honestly one of my favorite tricks—it lets me grow new plants without spending extra cash, and there’s something oddly satisfying about watching new roots appear.
You can whip up easy, creative propagation stations that brighten your space and help your plant collection multiply.
This winter, I’m turning random household stuff into fun setups that make plant care feel less like a chore and more like a cozy project.
From glass jars to quirky displays, every idea brings a little personality (and life) to the room.
Please note: Simplify Plants is reader-supported. As an Amazon Associate, I earn from qualifying purchases made by our readers with no extra cost added to you all! Some links in the post are affiliate links and I get a commission from purchases made through links in the post.
1) Mason Jar Propagation Station
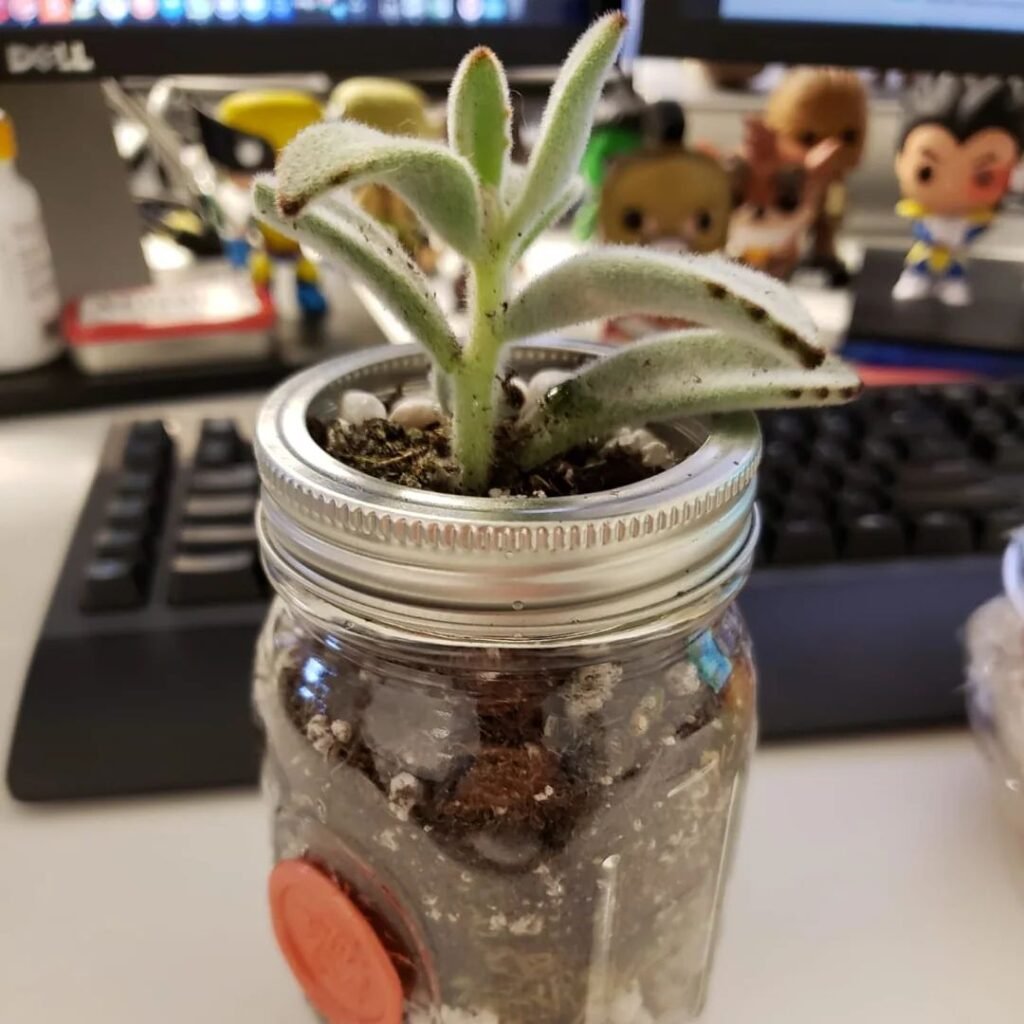
I’m a big fan of mason jars—they’re everywhere in my kitchen, so I rarely need to buy more.
Setting one up is easy: I fill it with clean water and pop the cuttings inside, making sure the bottom nodes are underwater while the leaves stay dry.
I usually put the jar near a bright window but not in direct sun, since hot water isn’t great for roots.
Changing the water every couple of days keeps things fresh and helps roots develop faster (plus, it keeps that gross bacteria smell away).
Sometimes I’ll toss in a marble or two at the bottom, just to anchor the cutting and make the jar look a little cuter.
Mason jars come in all sorts of sizes and shapes—I grab a wide-mouth one for big cuttings, and small jars for little stems.
It’s honestly fun to watch the roots growing through the glass. It keeps me coming back to check on them, even when I’ve got a million other things going on.
2) Hanging Glass Globe Propagator

A hanging glass globe propagator just looks cool, honestly, and it’s a real space-saver for small rooms. The clear glass lets me spy on the roots, which is half the fun.
I hang mine by a bright window so the cuttings get plenty of light, but not so much that the water heats up.
To get started, I fill the globe with water, pop in the stem, and make sure the nodes are underwater—that’s the magic spot for roots.
I try to remember to swap out the water every few days, just to keep things fresh and healthy.
These globes are perfect for pothos, philodendron, and herbs since they root quickly. The small size means I can start just a few cuttings at a time, which is great if I’m short on space (or patience).
Hanging them at different heights gives the room a bit of visual interest. They fit anywhere—kitchen, bedroom, or just a bright corner that needs a little something.
It’s a simple, affordable setup, and honestly, it makes plant propagation feel a bit more like art than science.
3) Wooden Tray with Test Tube Vases

A wooden tray with test tube vases is one of my favorite ways to keep things tidy. The tray makes it easy to move everything around, and it just looks organized on the windowsill.
I drop glass test tubes into the wooden slots and fill them up with water. The narrow tubes hold the stems upright, so the roots grow nice and straight.
This setup is great for multiple cuttings at once—I can experiment with different plants side by side and see which ones take off. Swapping out water or moving cuttings is a breeze, too.
The wooden tray adds a cozy, natural vibe to the room, and it doesn’t hog much space. Test tubes are easy to clean, so I just keep reusing them all winter.
Sometimes I’ll slap a little label on each tube so I don’t forget which plant is which. It keeps things low-stress and a little more fun.
4) Repurposed Teacup Propagation Set
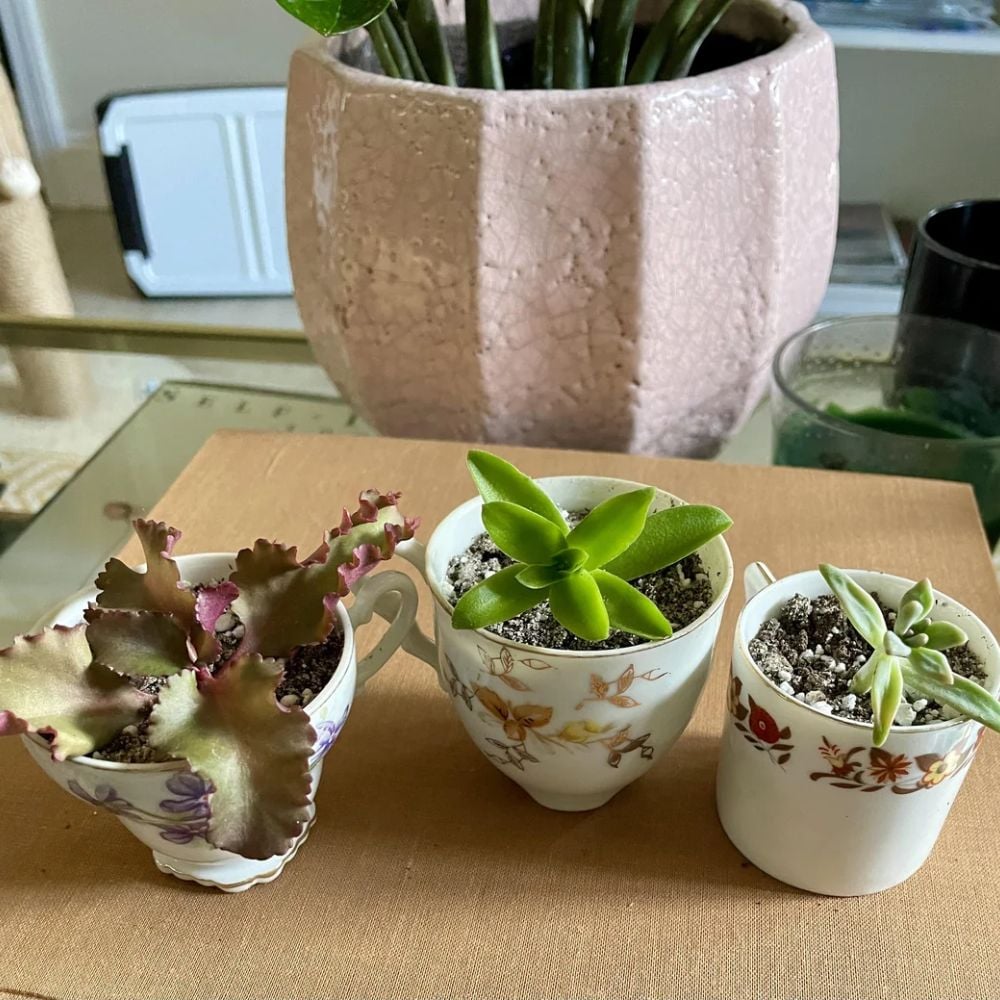
Giving old stuff new life is always satisfying, and teacups make adorable mini planters for cuttings. Their small size is perfect for little projects, and they look sweet on a desk or windowsill.
To set one up, I fill a clean teacup with water and drop in a cutting. Clear glass teacups are my favorite since I can actually see the roots, but I’ll use a ceramic cup and just check the water more often if that’s what I’ve got.
Grouping a few mismatched teacups together makes a cute display, and mixing styles keeps things playful. It’s creative, and I don’t have to buy new containers.
Caring for the cuttings is a breeze. I just swap the water every few days and keep the cups in bright, indirect light. Consistent care really speeds up rooting.
This works especially well for pothos, philodendron, or mint. Teacups keep the cuttings upright, so they root more reliably.
I love that this project mixes plant care with a bit of personal flair. It’s simple, affordable, and a little sentimental. Every teacup has its own story, and now it’s helping me grow something new.
5) DIY Macrame Plant Hanger with Pots

A macrame plant hanger is a fun way to free up shelf space and add a little texture to the room. Hanging pots keep my cuttings away from crowded surfaces and closer to the light.
To make one, I grab some cotton cord, scissors, and a small pot. I cut several cords to the same length, tie them together at one end, and then start knotting in pairs to create a net.
The pot goes right in the middle, and I tie the cords at the bottom to keep it steady. The knots don’t have to be perfect—just tight enough to hold everything in place.
I hang the finished piece near a window so the cuttings get good light. It works for small water jars or even soil-filled pots.
It’s easy to adjust the length—just cut the cords shorter if you want it to hang higher.
Sometimes I’ll mix in colored cords or beads to make it feel more like “me.”
This method keeps my plants safe from curious pets (or accidental spills). Plus, greenery at eye level just makes the space feel happier.
6) Vintage Window Frame Propagation Shelf
Turning a vintage window frame into a propagation shelf is such a cool way to reuse old stuff. The frame already has character, and it’s surprisingly simple to turn it into a plant display.
I attach small glass jars or test tubes to the frame with hooks or clamps. That way, the jars stay put, but the plants are still on full display.
Usually, I lean the frame against a wall or mount it with brackets to keep everything sturdy. Even when it’s loaded up with water and plants, it feels secure.
To keep things bright, I put the shelf near a window with indirect light. The cuttings get what they need, but nothing gets scorched.
Mixing up the plants in each jar—pothos, philodendron, herbs—makes the whole thing feel lively and a little wild.
The best part? The frame doubles as decor. It’s like living art, honestly.
7) Succulent Propagation in Egg Cartons

Egg cartons are a surprisingly handy way to start succulent cuttings, and let’s be real—they’re free. The little cups are just the right size to keep each leaf or cutting in place.
I add a bit of well-draining soil to each cup and gently set the succulent leaves on top. No need to bury them; they root best right on the surface.
The carton makes it easy to shuffle the cuttings to a sunny spot. I water lightly since the cardboard soaks up extra moisture and helps prevent overwatering.
If I’m using a plastic egg carton, I’ll poke a few holes in the bottom for drainage. That way, roots don’t end up sitting in soggy soil.
I check on the leaves every few days. Once I spot tiny roots or baby plants, I let them grow a bit longer before moving them to small pots.
It’s a cheap, organized way to start a bunch of new succulents indoors while it’s cold outside.
Essential Tips for Successful Indoor Propagation
When I’m setting up my plants inside, I focus on three things: picking the right containers, managing light and water, and dodging common mistakes. Paying attention to these details really helps cuttings take off.
Choosing the Right Containers
I always go for clean containers—dirty ones can spread disease, and nobody wants that. Glass jars, vases, or even clear plastic cups work well because I can watch the roots. Metal’s a no-go since it can rust and mess with the water.
For soil propagation, I stick to small nursery pots with drainage holes. Good drainage is key—roots hate sitting in soggy soil.
I try to match the container size to the cutting. Too big, and the soil stays wet forever; too small, and it dries out too fast. Getting the scale right just makes things easier.
Best Practices for Light and Water
I keep my cuttings near a bright window, but not in harsh midday sun. Too much sun can overheat the water or dry out the soil in no time. East or north-facing windows usually do the trick.
If natural light isn’t cutting it, I use LED grow lights. I keep them 6–12 inches above the plants and run them for about 12–14 hours a day. It really helps during those gloomy winter stretches.
For water, I change it every few days to keep things fresh. If I’m using soil, I try to keep it evenly moist—never soggy. I just poke my finger in; if the top inch is dry, it’s time to water.
Common Mistakes to Avoid
Honestly, overwatering is the fastest way to lose a cutting. Roots need air, and too much water just suffocates them. I stick to light, regular watering instead of drowning them.
Using dull scissors or pruners is another big mistake. Clean, sharp cuts heal better and lower the risk of infection. I always wipe my tools with rubbing alcohol before I start trimming.
I also keep cuttings away from heating vents or drafty windows. Sudden temperature swings stress plants out and slow down root growth. A stable, warm spot really helps.
Creative Ways to Display Your Propagation Stations
I love making my plant projects double as home decor. A propagation station can look just as good as it works, and small tweaks in placement or containers help them fit any space. Sometimes, it’s those little personal touches that make the whole setup feel special.
Incorporating Propagation Into Home Decor
I love using clear glass jars or bottles for plant cuttings. Watching those little roots twist around is weirdly satisfying, and honestly, I like that I can just reuse jars from pasta sauce or whatever.
A row of matching jars lined up on a shelf feels tidy—almost like I planned it. Sometimes I’ll hang small test tubes on a wooden frame instead.
That way, I save counter space and get a kind of living art display on the wall. Even just a couple of cuttings in the frame can brighten up a dull corner.
For tables, I’ll group cuttings in containers of different heights. Like, a tall vase with pothos next to a stubby jar with a philodendron—mixing it up keeps things interesting.
If I’m in the mood for a cozy vibe, I’ll put jars on a wooden tray with a candle or maybe a book. Suddenly, it looks intentional, not just like a random plant project.
Maintaining Aesthetic Appeal Throughout Winter
Winter light is a whole different game. I’ll move my jars near south-facing windows if I can, just to keep the plants happy and catch some sparkle on the glass.
Swapping out cloudy water every few days is non-negotiable. Murky jars? No thanks—clear water is key for both the roots and the vibe.
Sometimes I’ll switch to amber or green glass. It hides little water stains and gives the room a softer, cozier feel.
I like to rotate cuttings into decorative holders too—think ceramic cups or tiny pitchers. Even a simple swap keeps things from getting boring, and I can play around with seasonal looks.
Frequently Asked Questions
Honestly, I try to keep plant care as simple as possible. Easy setups, basic stuff, and low-maintenance plants are my go-tos, especially when it’s cold out.
What are some easy-to-make propagation stations for indoor plants?
I’m a big fan of a mason jar propagation station—it’s fast and looks clean. Sometimes I’ll use a repurposed teacup for a little extra charm on the windowsill.
How can I propagate plants at home during the winter months?
I just pop cuttings in water-filled jars or tubes and set them near a bright window. Avoiding cold drafts is important, and I try to remember to change the water every few days.
What materials do I need to create a DIY propagation station?
Mostly I use glass jars, test tubes, or small cups. A wooden tray, some string, or a macrame hanger can help keep everything in place.
Can you suggest any stylish propagation station ideas for my home?
A hanging glass globe propagator looks pretty modern, honestly. For something different, a wooden tray with test tube vases makes a tidy display for a shelf or desk.
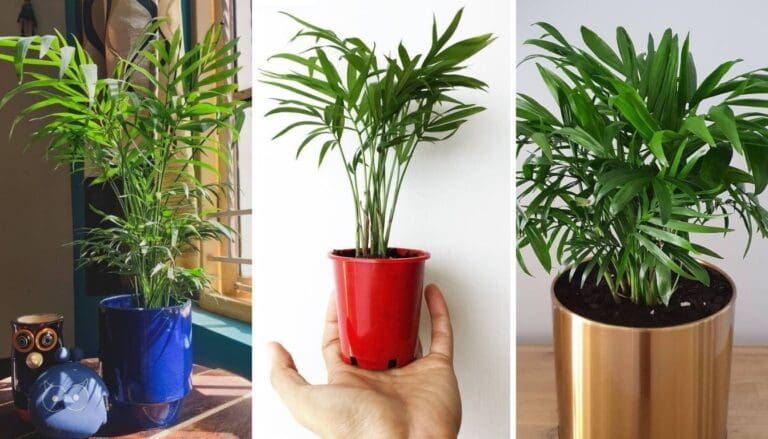
What are the best plants for indoor propagation in winter?
I’ve had the easiest time with pothos, philodendron, and spider plants. They root in water with barely any fuss—can’t really go wrong with those.
How do I care for plants in a homemade propagation station?
I try to keep the water clean and clear, so I change it pretty often—maybe more than I need to, but it feels right. If I spot any dead leaves, I snip them off.
I also make sure the cuttings get steady, indirect light. It’s honestly a bit of trial and error, but that’s part of the fun, isn’t it?
Note: Some images in the articles are sourced from Reddit and Other Platforms For Reference Purpose.