11 Tips To Care And Bloom Amaryllis Flower
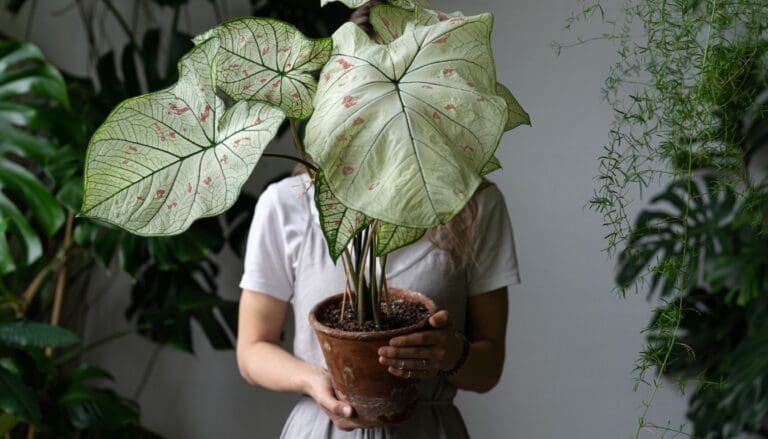
I’m always amazed at how amaryllis flowers can light up a room with their bold colors and tall, showy stems.
They’re honestly pretty easy to grow indoors, and they make any space feel a bit more cheerful—especially when it’s cold outside.
If you know how to care for an amaryllis, it’ll reward you with blooms that last longer and keep coming back year after year.
Let me share a handful of tips that make a real difference, from picking the right pot to getting the light and water just right.
I’ll cover the basics—soil, feeding, and even a few habits that help your plant stay strong and look its best through every season.
Please note: Simplify Plants is reader-supported. As an Amazon Associate, I earn from qualifying purchases made by our readers with no extra cost added to you all! Some links in the post are affiliate links and I get a commission from purchases made through links in the post.
1) Choose a well-draining pot with drainage holes
First things first, I always go for a pot that drains well. Amaryllis bulbs hate soggy soil, so water needs to escape fast.
A pot with drainage holes at the bottom is a must. I usually pick one that’s about 1 to 2 inches wider than the bulb—just enough space for the roots, but not so much that the soil stays wet for ages.
I’m partial to clay or terracotta pots since they let air move through and help the soil dry out. Plastic pots can work, but I double-check those holes are big enough.
Before planting, I toss in a small piece of mesh or even a coffee filter over the holes. It keeps the soil from falling out but still lets the water drain. Easy and tidy.
When I water, I pay attention to how quickly it drains. If it just sits there, I know I need to rethink the soil or maybe repot.
Honestly, getting the pot right from the get-go saves a lot of headaches. It’s a tiny detail, but it really helps your amaryllis grow strong and put on a great show.
2) Use a soil mix rich in organic matter
I always make sure my amaryllis is in soil packed with organic matter. The roots seem to love it, and the plant just looks healthier overall.
I usually mix potting soil, compost, and a bit of peat moss. Compost gives nutrients, and peat moss keeps the soil moist without turning it into a swamp.
Drainage still matters, so I add some perlite or coarse sand. Amaryllis bulbs just don’t do well in wet soil.
When I repot, I gently shake off the old dirt and use a fresh, rich mix. The roots seem to perk up when they get new soil.
A sprinkle of slow-release fertilizer doesn’t hurt either. It keeps things balanced and gives the bulb steady support.
Honestly, if you keep the soil light, nutrient-rich, and draining well, your amaryllis will reward you with taller stems and brighter flowers. It’s worth the extra effort.
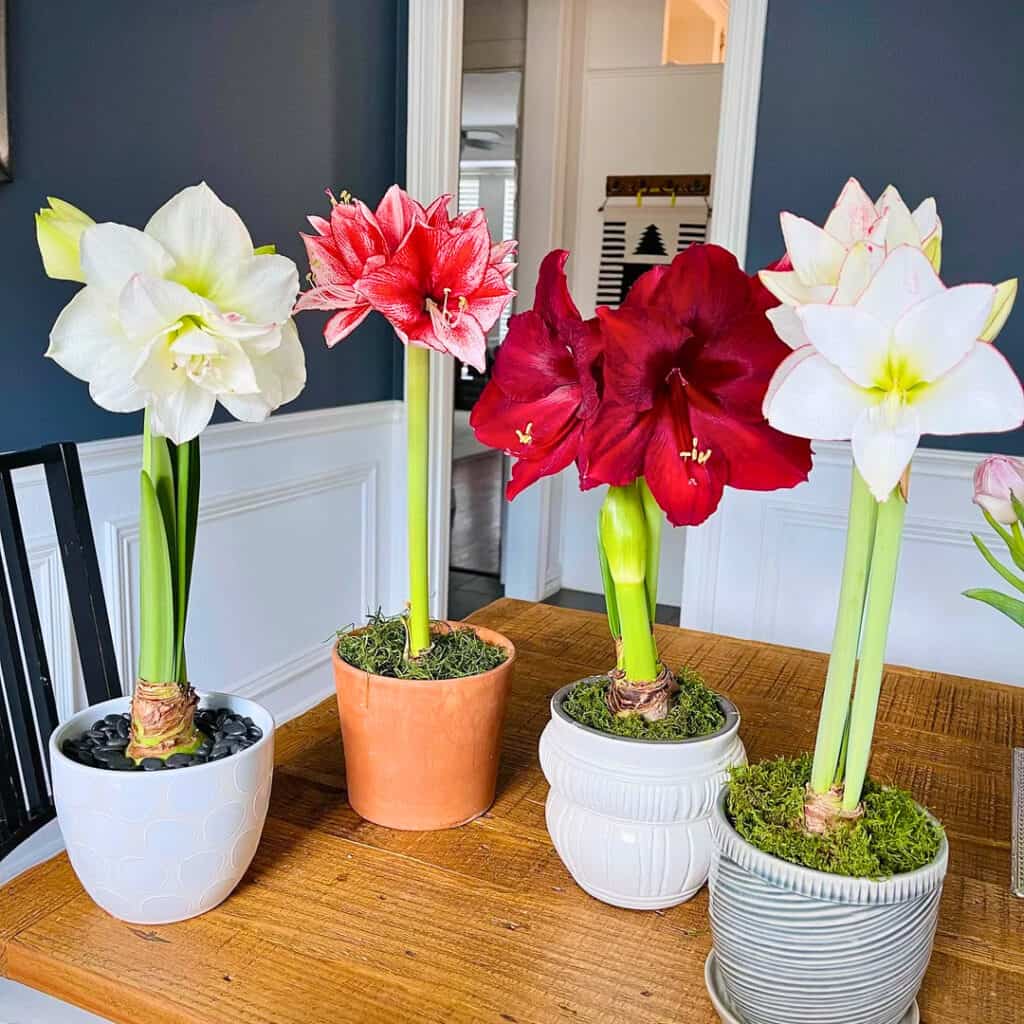
3) Plant the bulb with the neck above soil level
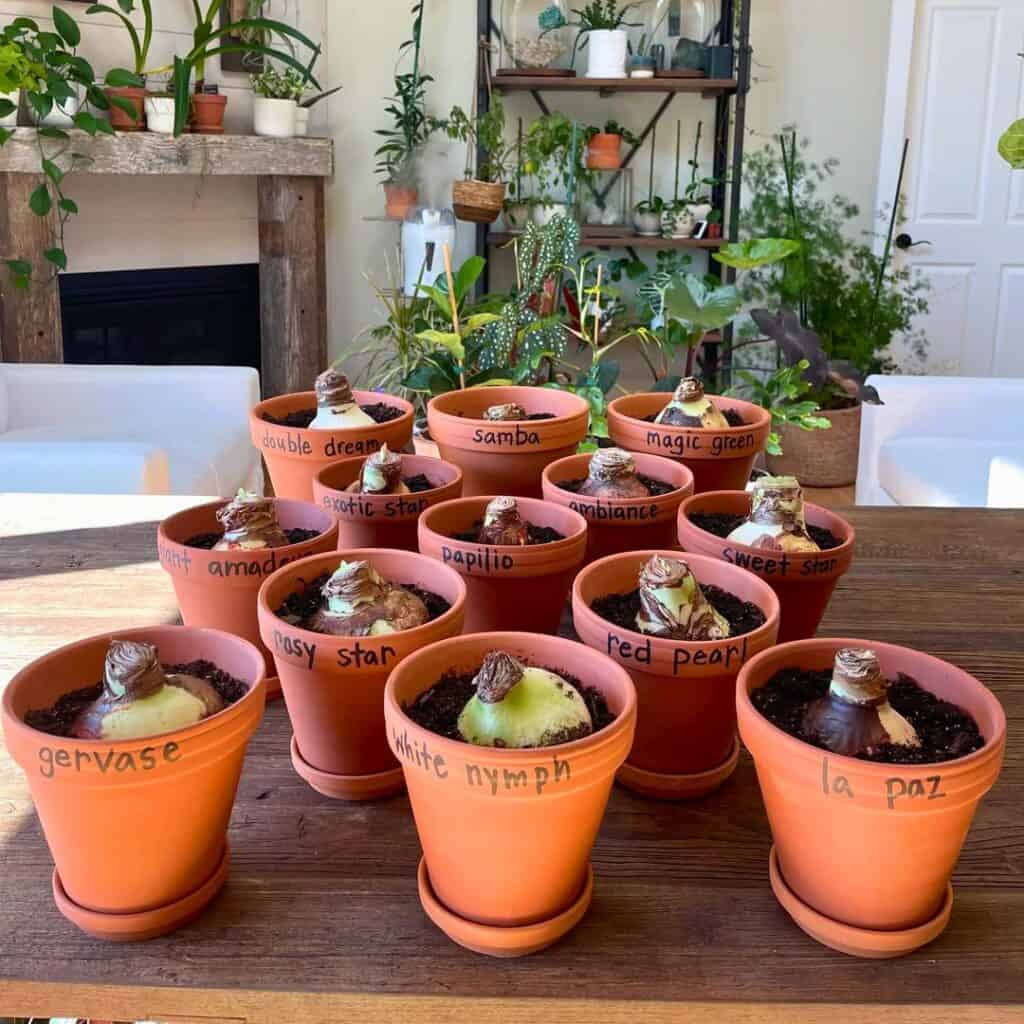
When I plant my amaryllis bulb, I always leave the neck sticking out above the soil. It helps the bulb breathe and keeps it from rotting—burying it too deep is just asking for trouble.
I pick a pot that’s about an inch wider than the bulb. Amaryllis actually likes a snug fit. I fill the bottom with well-draining soil, then nestle the bulb in.
I press the bulb in so only the bottom two-thirds are covered. The top part, or neck, should stay visible. That way, new leaves and the flower stalk can pop out easily.
After planting, I give it a light watering just to settle the soil. No need to soak it—too much water is risky at this stage.
Drainage holes in the pot are non-negotiable. They keep water from pooling at the bottom and save the roots from rotting.
With the neck above the soil, it’s easier to spot new growth or any weird mold issues. It’s a simple thing, but it really helps my amaryllis bloom better.
4) Water sparingly until growth appears
I always remind myself: amaryllis bulbs really don’t need much water at first. When I plant the bulb, I give it a light drink—just enough to moisten the soil.
After that, I wait until I see green shoots before watering again. Too much water early on can cause the bulb to rot, and that’s just frustrating.
Roots need air as much as moisture, so I make sure the pot has good drainage holes. If I’m not sure, I poke my finger into the soil. If the top inch feels dry, I’ll water a little. If it’s still damp, I leave it alone.
Once I spot the first green shoot, I start watering a bit more. The goal is to keep the soil just barely moist, never soggy.
I’ve learned that patience really pays off here. Soon enough, those bright green shoots start pushing through, and it’s totally worth the wait.
5) Place in bright, indirect sunlight
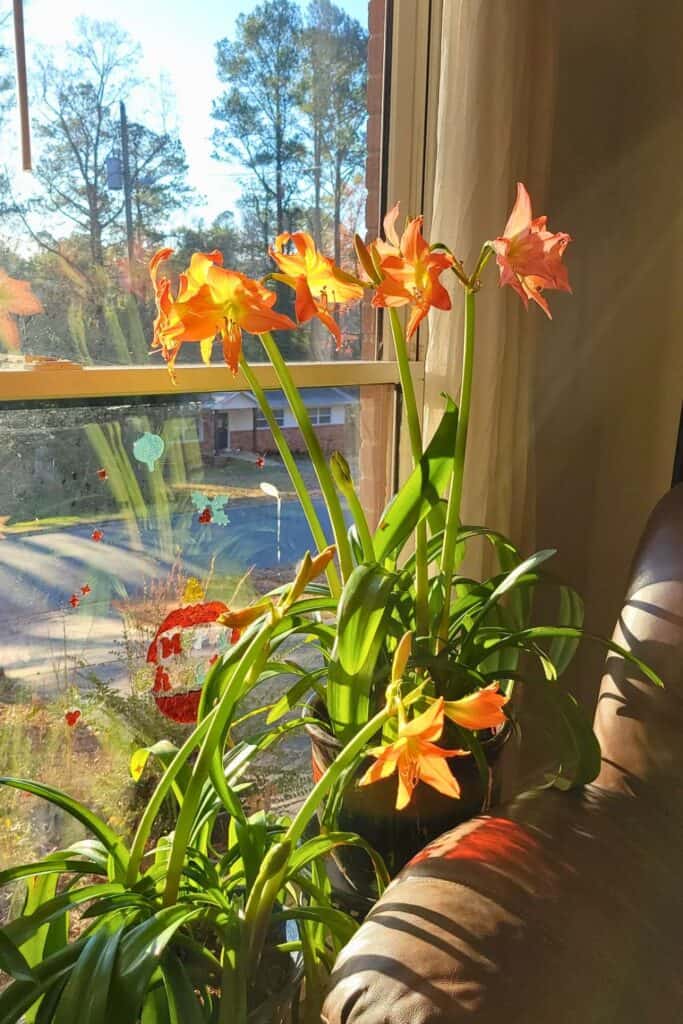
I always keep my amaryllis in a spot with bright, indirect sunlight. Direct sun can be a bit too harsh and might scorch the leaves.
A window with filtered light—like behind a sheer curtain—works best for me. I tried a sunny windowsill once, but the leaves just turned yellow.
Direct light can stress the plant, so softening it helps the blooms last longer. If the light’s too dim, the amaryllis stretches and leans.
I rotate the pot every few days to keep the stem growing straight. The plant will reach for the light if it’s not getting enough.
In winter, I move my amaryllis closer to the window for extra brightness. When summer rolls around, I back it up a bit to avoid those harsh rays.
Getting the light right makes all the difference. The flowers open fully, stay colorful, and the plant just looks happier overall.
6) Maintain indoor temperatures between 60-70°F
I try to keep my amaryllis in a room that’s usually between 60 and 70°F. It seems to really like that range—stems grow sturdy, and the blooms stick around longer.
If it gets too cold, growth just slows down. Too hot, and the flowers fade faster.
I keep a simple thermometer nearby to check. Sudden temperature swings from heaters or drafty windows can stress the plant, so I avoid those spots.
During the day, I let the room warm up a bit, closer to 70°F. At night, it cools down a little, but not by much.
If I notice droopy leaves, I check the temperature first. Sometimes it’s chillier by the window than I expect.
If I need to warm things up, I’ll use gentle heat from a lamp or move the plant to a warmer room. I never put it right next to a heater, though.
Keeping my amaryllis in that sweet spot really helps it thrive. It’s a small thing, but the results are worth it.
7) Fertilize every 2 weeks with a balanced liquid fertilizer
Once my amaryllis starts growing leaves, I feed it every two weeks. Regular feeding keeps it strong and helps those blooms get big and healthy.
I use a balanced liquid fertilizer—something like 10-10-10 or 20-20-20. That way, the plant gets everything it needs for leaves, roots, and flowers.
I always dilute the fertilizer as the label suggests. Too much can burn the roots, so I play it safe.
When I water, I pour the mix into the soil, not on the leaves or bulb. The roots are where it counts.
If the plant’s still blooming, I keep feeding every two weeks until the flowers fade. After that, I keep it up through the growing season to help the bulb recharge.
I stop fertilizing when the plant goes dormant. During rest, it really doesn’t need the extra nutrients.
Sticking to this schedule pays off. The leaves look brighter, stems get stronger, and the plant just seems happier year after year.
8) Rotate the pot weekly for even growth
I make a point to rotate my amaryllis pot once a week. Otherwise, the plant just starts leaning toward the window.
Every time I water, I give the pot a quarter turn. It’s a quick habit, but it really helps.
When I forget, the stem starts to curve. Regular rotation keeps things growing straight and balanced.
I keep mine near a bright window, and turning it helps all sides get enough light. The plant looks neater and stands tall instead of flopping over.
It only takes a second, but it keeps my amaryllis symmetrical and sturdy all season.
9) Remove spent flowers to encourage blooming
When my amaryllis blooms fade, I snip off the spent flowers right away. This way, the plant doesn’t waste energy making seeds and can focus on getting stronger for next time.
I cut the wilted flower close to the main stalk but leave the green stem. The stem still helps the bulb store up energy.
Once the stem turns yellow, I remove it completely. Until then, it’s still useful.
Cleaning up old flowers keeps the plant looking tidy and helps prevent mold or rot. Less mess means fewer pests, too.
I’ve noticed that doing this really helps my amaryllis produce bigger, brighter blooms the next time around. It’s such an easy habit to keep the plant thriving.
10) Reduce watering after blooming ends
Once my amaryllis finishes blooming, I definitely slow down on watering. The flowers are gone, and the plant needs a break.
This rest period gives the bulb time to store up energy for the next round. I let the soil dry out a bit between waterings.
If the soil stays too wet, the bulb might rot—nobody wants that. I just water enough so the leaves don’t wilt.
When the leaves start to yellow and die back, I stop watering completely. The bulb doesn’t need much moisture while it’s dormant.
This dry spell helps it recharge and stay healthy. I tuck the pot away in a cool, dry spot with good airflow.
That helps prevent mold or fungus, which can be a pain. Every few weeks, I check to make sure the bulb still feels firm.
After several weeks, I’ll resume light watering to wake the bulb up. This tells it it’s time to grow again.
With some patience and the right care, my amaryllis usually rewards me with new blooms.
11) Allow leaves to yellow before cutting back
I always wait for the amaryllis leaves to turn yellow before trimming. The leaves soak up sunlight and send energy back into the bulb.
This stored energy is what helps the plant grow strong and bloom again next year. If I cut too soon, the bulb just doesn’t have enough nutrients to recharge.
Patience really matters here. Once the leaves start to yellow and droop, I know the bulb is ready for a break.
I carefully cut the leaves near the base and try not to damage the bulb. After trimming, I keep it in a cool, dry place for several weeks.
This rest period is important for the next growth cycle. I’ve learned that timing makes a difference—letting the leaves die back naturally gives the plant its best shot at thriving year after year.
Understanding Amaryllis Growth Stages
I watch my amaryllis go from a resting bulb to a tall stem with bright blooms. Each stage needs something a little different, especially when it comes to water, light, and temperature.
Life Cycle Overview
I start with a dormant bulb resting in a cool, dry spot for about 8–10 weeks. During this time, I don’t water at all so the bulb can store up energy.
Once I spot new growth, I move it to a warm, sunny place and start watering lightly. Next comes the growth stage—the stem and leaves appear.
I keep the soil just a bit moist and turn the pot so the stem grows straight. A strong stem means better blooms, right?
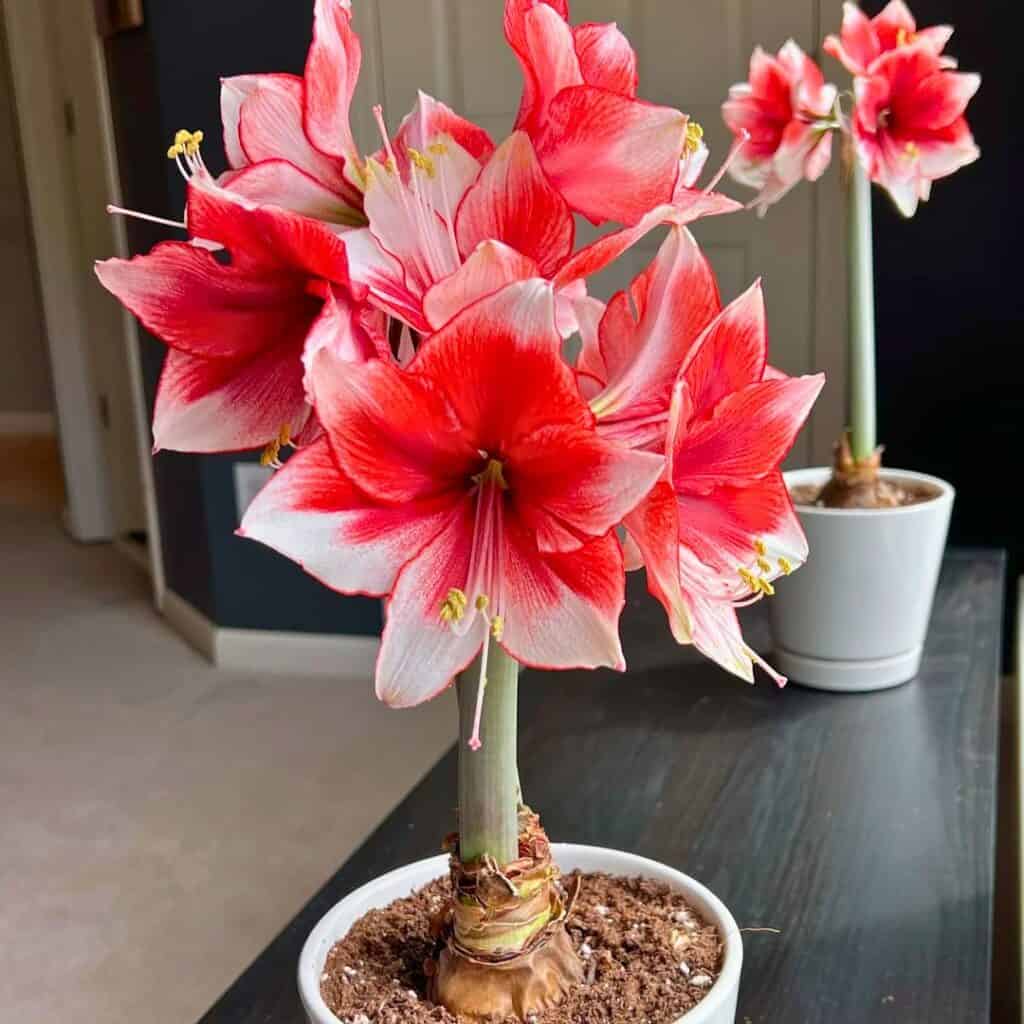
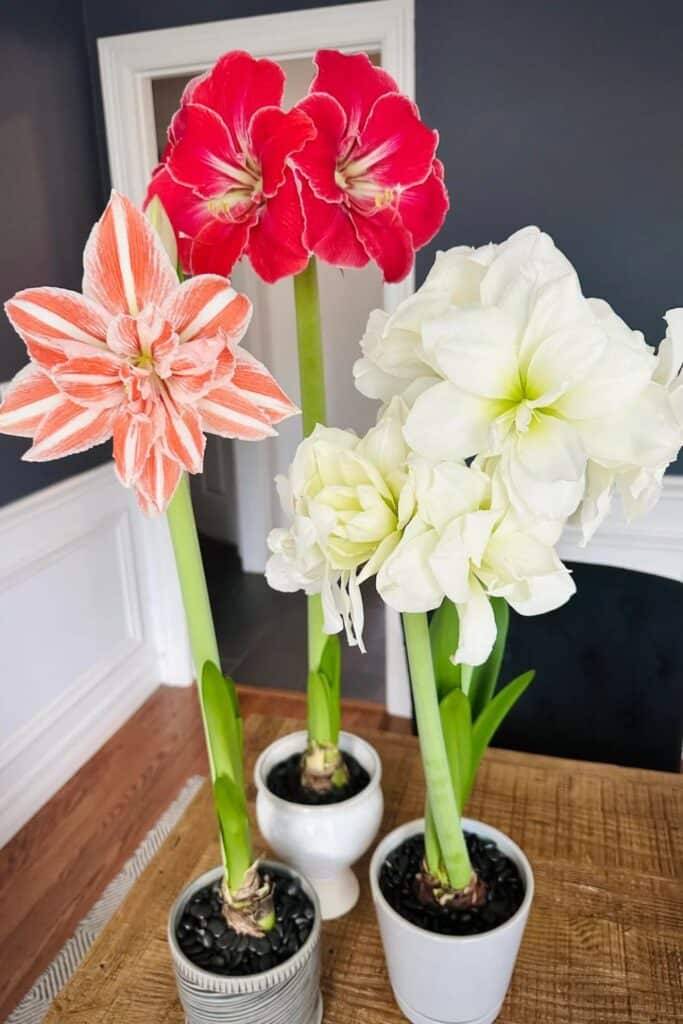
Then comes the blooming stage, which lasts about 6–8 weeks. Big, trumpet-shaped flowers open one after another.
I keep the plant in bright, indirect light and snip off faded flowers to encourage more buds. After blooming, I let the leaves grow for a few months to feed the bulb for next year.
When the leaves yellow, I stop watering and let the bulb rest again.
| Stage | Duration | Key Action |
|---|---|---|
| Dormant | 8–10 weeks | Keep dry and cool |
| Growth | 4–6 weeks | Water lightly, give light |
| Blooming | 6–8 weeks | Remove spent flowers |
| Resting | 8–10 weeks | Stop watering |
Common Challenges During Bloom
Sometimes I get weak stems that flop over under the heavy flowers. Usually, that means the plant didn’t get enough light.
I fix it by moving the pot near a bright window or using a grow light. Overwatering is another problem—bulb rot is no fun.
I make sure the pot drains well and never let water sit at the bottom. If flowers fade too quickly, the room might be too hot or dry.
I try to keep it around 65–70°F and mist the air if needed. Pests like aphids or spider mites can pop up, too.
I wipe leaves with a soft cloth and a bit of mild soap to keep them away. By keeping an eye out for these issues, I help my amaryllis stay healthy and blooming as long as possible.
Optimizing Indoor and Outdoor Environments
I want my amaryllis to grow strong, so I try to give it the right light, temperature, and soil. These things really help the plant build healthy roots and produce bright blooms.
Ideal Light and Temperature Conditions
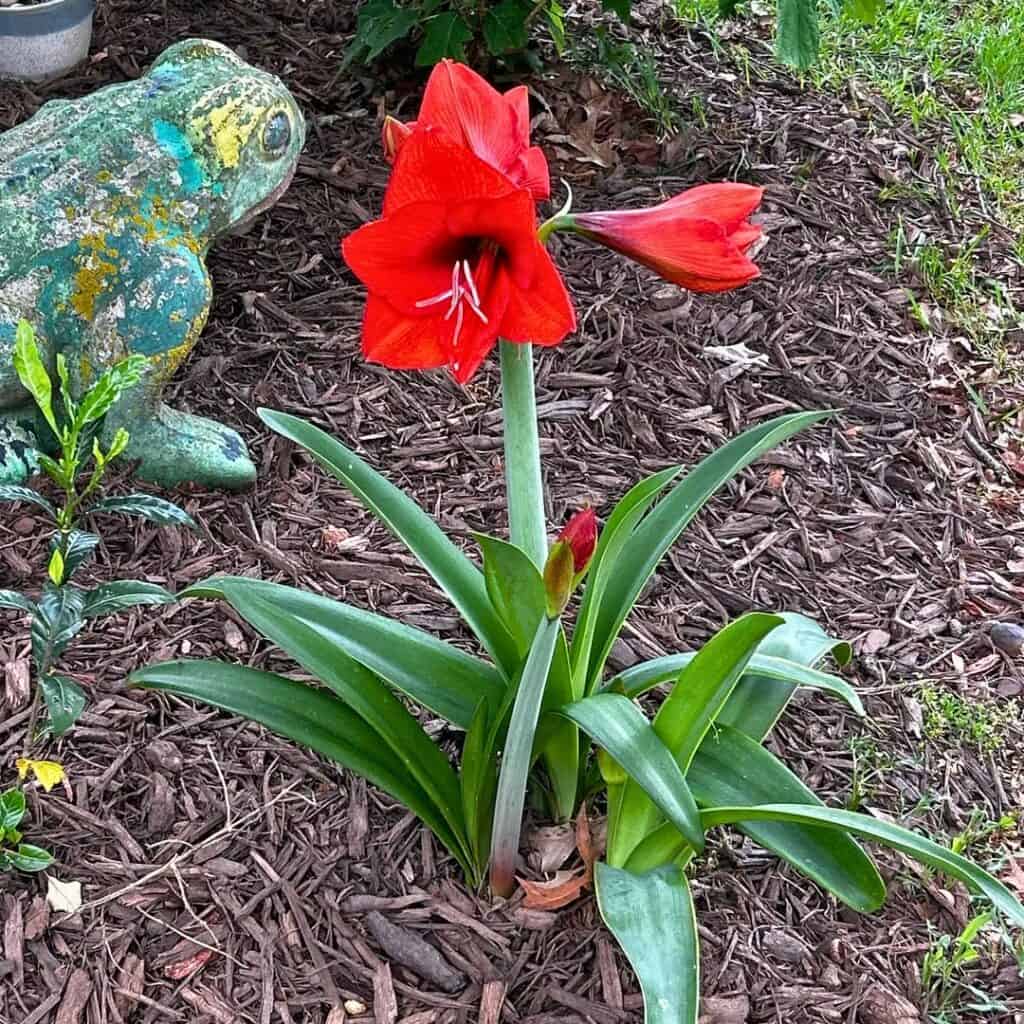
I put my amaryllis somewhere it gets bright, indirect sunlight for at least six hours a day. Too much direct sun can scorch the leaves, but too little makes the stems weak.
A sunny window with a sheer curtain usually works best indoors. If I grow it outside, I keep it in partial shade to protect it from harsh afternoon sun.
Before the first frost, I bring it in—amaryllis doesn’t like the cold at all. The sweet spot for temperature is 60–75°F (15–24°C).
If it gets too hot, the flowers don’t last. Too cold, and growth just slows down.
I keep the pot away from heat vents or drafty windows, since big temperature swings can stress the plant. I use a small thermometer to keep track and rotate the pot each week so all sides get some light.
Soil and Potting Recommendations
For soil, I go with well-draining soil to avoid root rot. My mix is two parts potting soil, one part perlite, and one part peat moss.
The pot should have drainage holes and be just 1–2 inches wider than the bulb. If it’s too big, water can pool at the bottom and cause problems.
I plant the bulb so the top third sticks out above the soil. That helps prevent rot and lets the bulb breathe.
After planting, I water lightly until growth starts, then keep the soil just moist—not soggy. Every year or two, I refresh the soil and repot if the roots are getting crowded.
That keeps my amaryllis healthy and ready to bloom again.
Frequently Asked Questions
I focus on watering, lighting, repotting, feeding, and reblooming since each step helps my amaryllis stay strong and colorful. It’s the little details that keep my plant happy all year.
How often should I water my amaryllis plant?
I water my amaryllis only when the top inch of soil feels dry. Too much water can rot the bulb, so I always make sure the pot has good drainage.
During active growth, I check it every few days.
What’s the best lighting for amaryllis to thrive?
I keep my plant in bright, indirect sunlight. Direct sun can burn the leaves, but a sunny windowsill with filtered light works great.
Light really helps the bulb grow strong stems and big blooms.
When is the right time to repot an amaryllis flower?
I repot my amaryllis every 2 to 3 years, usually after the blooming season ends. I pick a well-draining pot and use fresh, rich soil so the bulb has more room.
Can you share some tips on fertilizing amaryllis plants?
I feed my amaryllis every 2 to 4 weeks during growth with a balanced liquid fertilizer. When the leaves die back, I stop feeding until new growth starts up again.
This routine helps the bulb store energy for the next round of blooms.
How do I encourage my amaryllis to rebloom?
After flowering, I cut off the spent blooms but leave the leaves. I water and feed it regularly for a few months, then let it rest in a cool, dark place for about eight weeks.
That rest period usually helps trigger new blooms.
What should I do if my amaryllis is not flowering?
If my plant isn’t blooming, I usually wonder if it’s getting enough light or maybe I’ve been a bit too generous with the watering can. Sometimes I forget that these bulbs actually need a rest period, too.
I always check to make sure the bulb’s neck is poking up above the soil. Bright light is key—without it, those flowers just don’t want to show up.
Note: Some images in the articles are sourced from Reddit and Other Platforms For Reference Purpose.