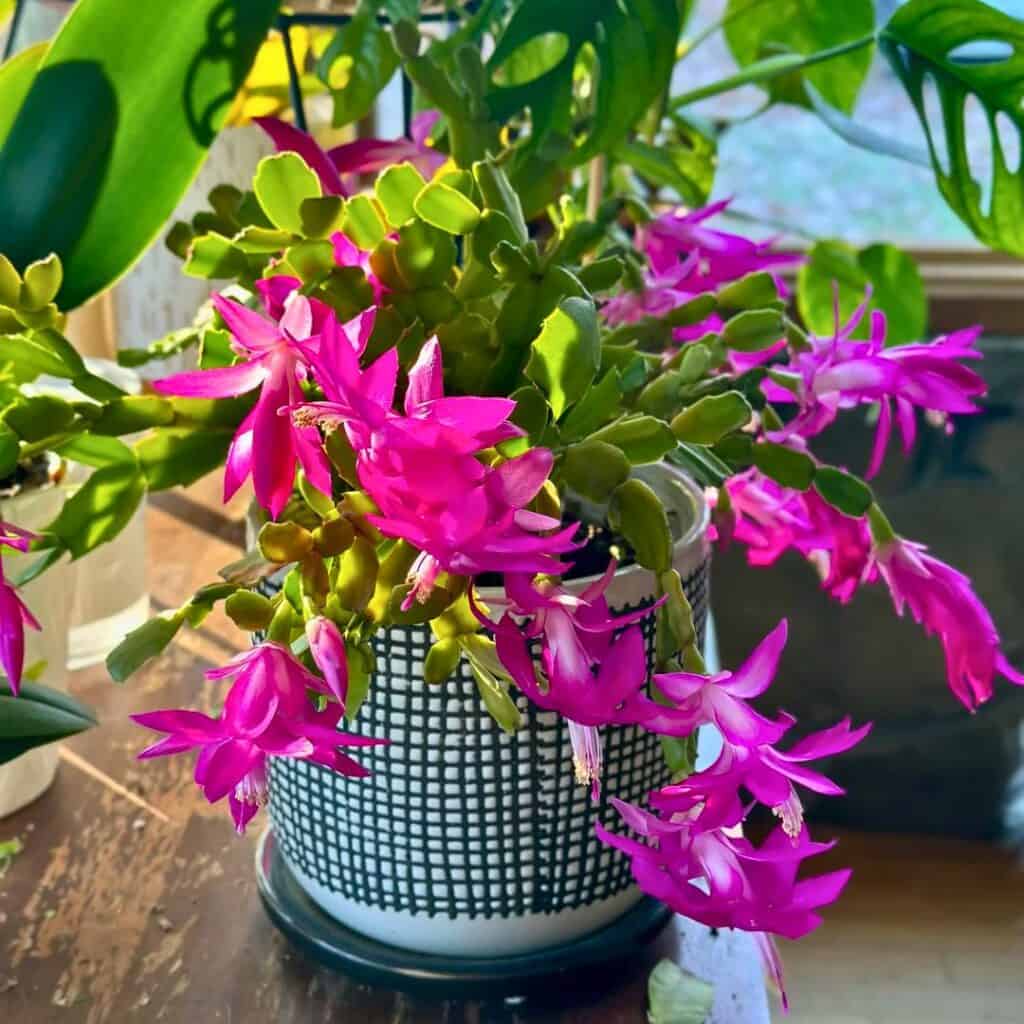
11 Tips For Propagating Christmas Cactus Successfully
I just love how easy it is to grow more Christmas cacti from a few healthy segments. With a little care and some patience, you can turn one plant into a bunch—plus, those blooms are always a treat.
Learning how to propagate a Christmas cactus really helps you grow strong, happy plants that brighten up your space and, honestly, make awesome gifts.
Here, I’ll share some practical tips for picking healthy cuttings, prepping them for planting, and setting up the right environment for new growth. Light, moisture, and temperature all matter—maybe more than you’d think.
Please note: Simplify Plants is reader-supported. As an Amazon Associate, I earn from qualifying purchases made by our readers with no extra cost added to you all! Some links in the post are affiliate links and I get a commission from purchases made through links in the post.
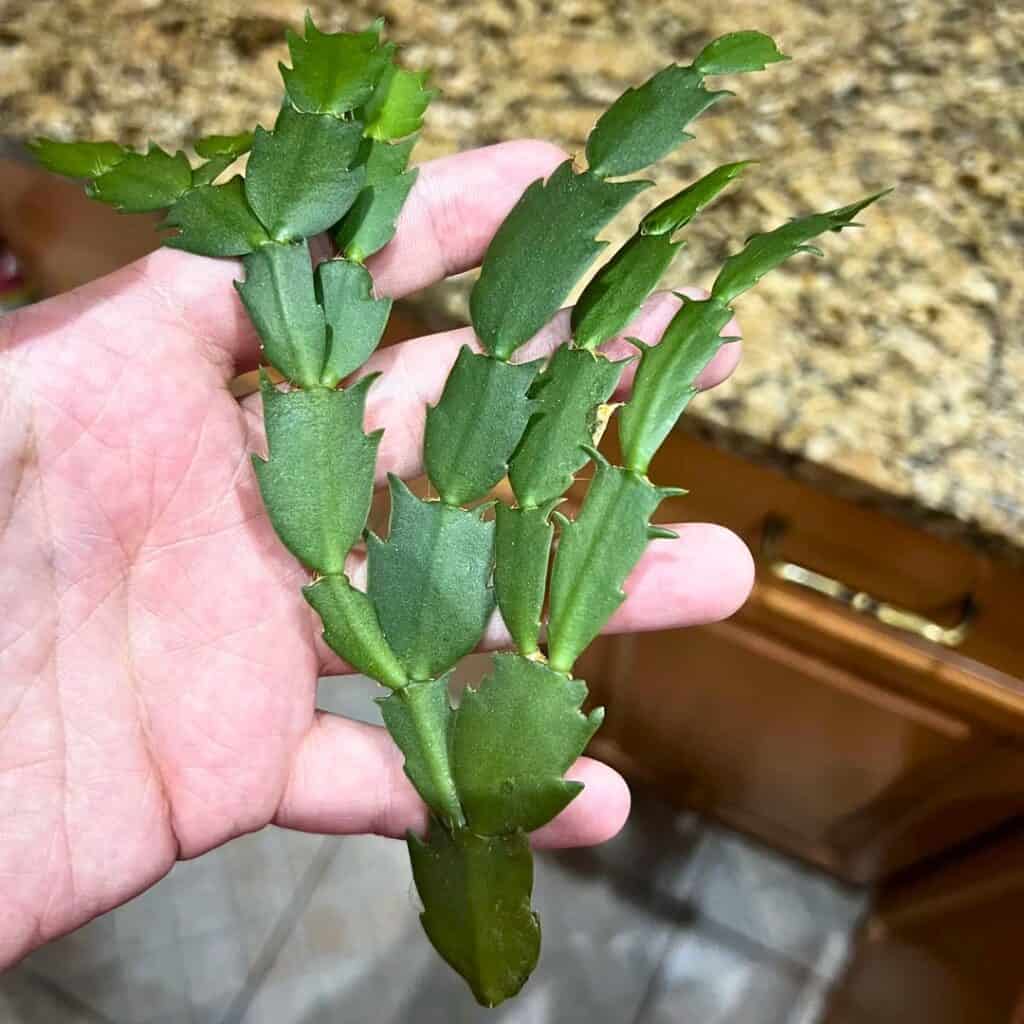
1) Choose healthy, mature Christmas cactus segments for propagation
I always start with healthy, mature segments from my Christmas cactus—firm, green, no signs of rot or damage. These have the best shot at rooting and turning into new plants.
I skip any pieces that look soft, wrinkled, or weirdly colored. Those usually don’t root well, and who needs more trouble? Mature segments with two or three joints seem to root faster for me.
Before cutting, I make sure my scissors or knife are clean and sharp. Nothing fancy, just clean and sharp enough for a nice cut.
I cut just above a joint so the main plant can recover. Afterward, I let the segments dry for a day or two somewhere warm, out of direct sun. That callus on the end really helps—don’t skip it.
When I take my time picking good segments, rooting happens more reliably and the new plants look a lot stronger. It’s a small thing, but it pays off.
2) Use clean, sharp scissors to cut segments
I always double-check that my scissors are clean and sharp before I cut. Dull or dirty tools can crush the plant, and that’s no good for rooting.
A quick wipe with rubbing alcohol or soapy water does the trick to keep things clean. It’s a simple way to avoid infection or rot.
When I cut, I pick a healthy segment with a couple of joints and snip right where the joints separate. A clean cut just heals better and seems to stress the plant less.
I don’t twist or snap pieces off by hand. That just tears things up and makes rooting harder. Scissors give me more control.
After cutting, I let the segments dry for a day or two in a warm, shaded spot. That callus really makes a difference in avoiding rot.
Taking a few extra minutes with my tools and cuts keeps my cactus healthy and gives my new plants a real shot at growing strong.
3) Allow cut ends to dry and callous for 24 hours
After I take my Christmas cactus cuttings, I always let the ends dry and form a callus before planting. It’s one of those steps that just makes sense—less rot, better rooting.
I set the cuttings on a clean paper towel or tray somewhere with indirect light. Not too much sun, just enough warmth.
Usually, within about 24 hours, the cut ends feel a bit dry and firm. If it’s humid, it might take a bit longer, so I just keep an eye on them.
I don’t rush to plant them. If you plant too soon, moisture gets trapped and that’s just asking for fungus.
Once they’re calloused, I move on to planting in the right mix. That little pause really pays off.
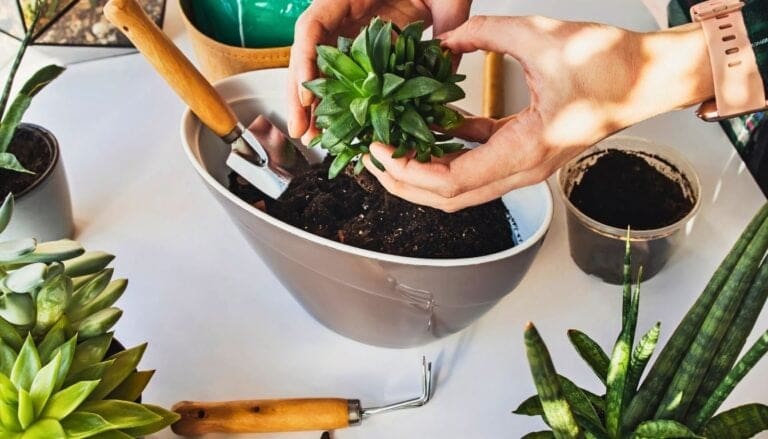
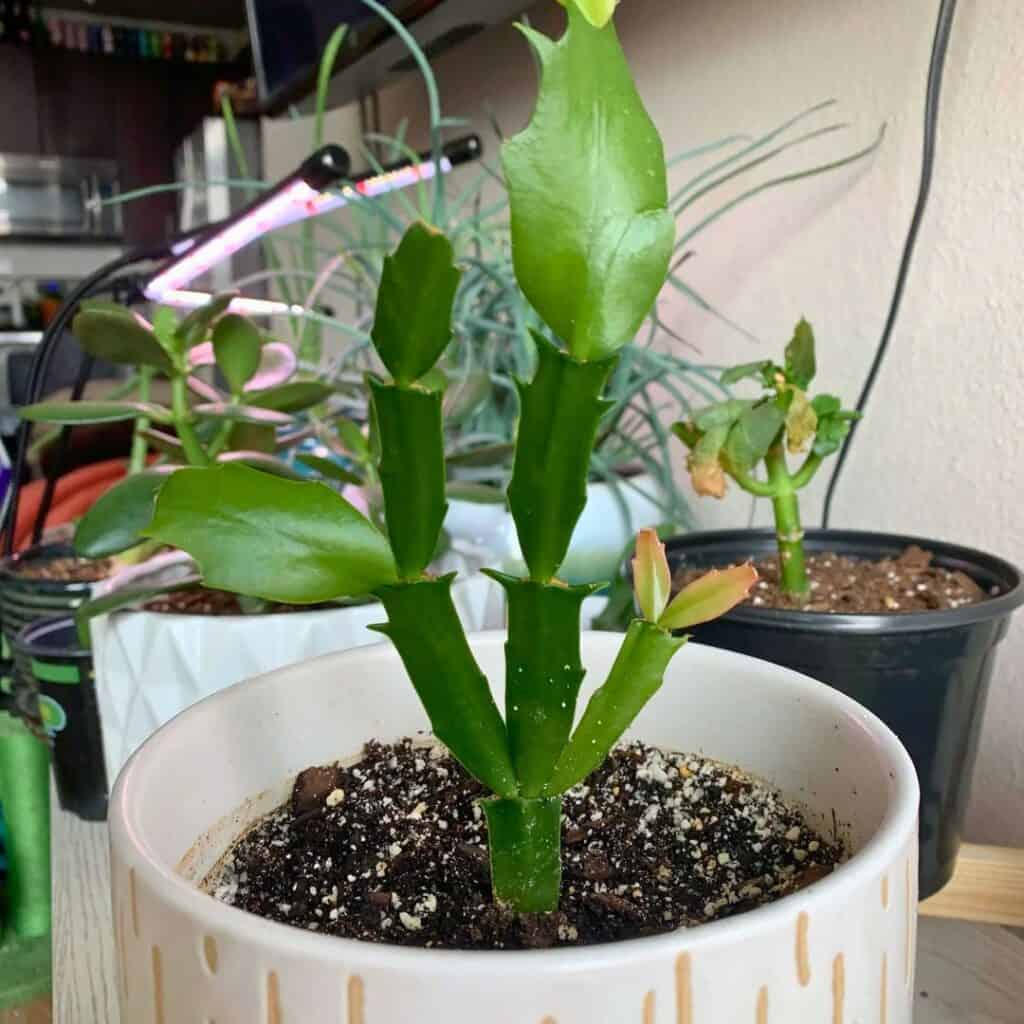
4) Plant segments in well-draining cactus soil mix
I always use a well-draining cactus soil mix for my Christmas cactus cuttings. It keeps the roots happy and away from soggy conditions.
Usually, I just grab a commercial cactus or succulent mix. Sometimes I mix my own—two parts potting soil, one part perlite, one part coarse sand—if I’m feeling ambitious.
I make sure my pot has drainage holes. No holes, no go. I fill the pot with the mix, leaving a little space at the top.
I press each segment in just deep enough to stand up—about an inch is fine. No need to bury it.
After planting, I don’t water right away. I wait a few days, then give it a light watering when the soil’s dry.
I keep the pot in bright, indirect light while roots form. Direct sun dries the soil too quickly. I check the soil every few days and only water if the top is dry.
Honestly, the right soil mix is everything. My cuttings root faster and just look better.
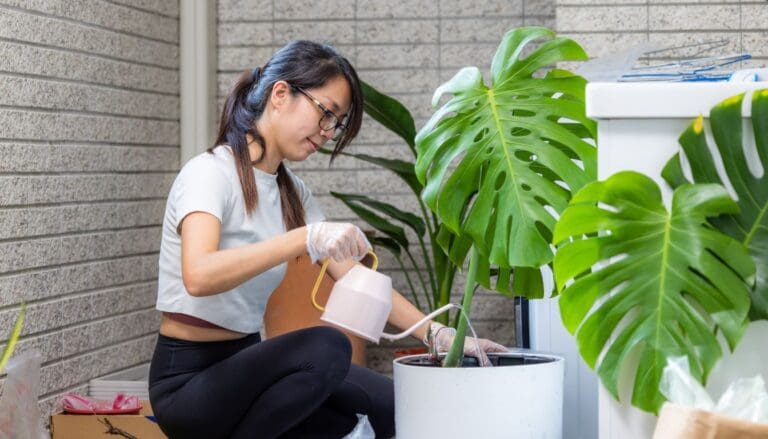
5) Keep soil lightly moist but not soggy

I make sure my Christmas cactus cuttings stay lightly moist, not soaked. Too much water is a recipe for rot.
I just stick my finger in the soil—if the top inch feels dry, I add a bit of water. If it’s damp, I wait.
Well-draining soil really helps here. I usually add a bit more perlite to keep things airy.
I don’t let water sit in trays or saucers. After watering, I dump any extra out. Standing water is just bad news.
If my place is dry, I’ll mist the soil surface instead of pouring water. It keeps humidity up without going overboard.
Keeping the soil consistently but gently moist is the sweet spot for healthy roots.
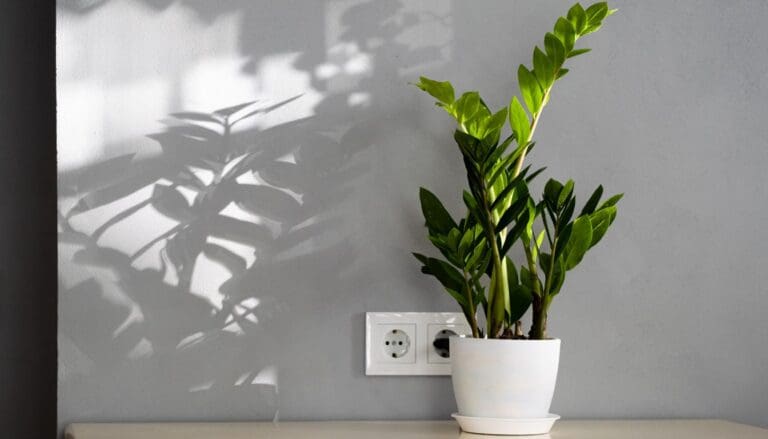
6) Place pots in bright, indirect sunlight
I always put my Christmas cactus cuttings in bright, indirect sunlight. Too much sun and they shrivel, too little and they just sit there.
A north- or east-facing window is usually perfect. If it’s too dim, I nudge them closer or hang up a sheer curtain to cut harsh rays.
I learned the hard way—full sun can wilt cuttings in no time. Now, I check the light every few days and tweak things as needed.
If natural light is lacking, I’ll use a grow light for a few hours. I keep it close, but not too close.
I also rotate the pots every week or so. It keeps growth even and stops the plants from leaning.
Good lighting really matters. With the right spot, cuttings stay green and firm, ready to grow.
7) Maintain temperatures between 65-75°F (18-24°C)
I keep my Christmas cactus at a steady room temperature—65-75°F (18-24°C). That range just seems to work best.
If it gets warmer than 75°F, I move the plant away from hot spots. Too much heat dries out the soil and stresses the cuttings.
At night, I let the temperature drop a bit. Plants seem to like that little change, and growth feels more natural.
I avoid setting my cactus near vents, heaters, or drafty windows. Sudden temperature swings can mess things up.
If I’m unsure, I just use a cheap thermometer nearby. Keeping things steady really makes propagation easier.
8) Avoid direct sunlight to prevent leaf burn
I always keep my Christmas cactus out of direct sunlight. Those leaves burn so easily if they get blasted by afternoon sun.
When I put my cactus near a window, I go for filtered light or hang a thin curtain. No one wants crispy leaves.
If I see the leaves turning yellow or red, I move the plant right away. That’s a surefire sign of too much light.
East-facing windows or shaded spots are my go-to for even, healthy color.
During summer, if I move my cactus outside, it always goes in a shady spot. Morning light is okay, but I dodge the harsh afternoon sun.
I rotate my plant every couple of weeks for even light. It keeps the growth balanced and stops the plant from getting lopsided.
By giving my Christmas cactus bright, indirect light, I avoid stress and help it grow firm, green segments. It’s honestly one of the easiest ways to keep it looking good.
9) Use a humidity tray or mist occasionally
Honestly, my Christmas cactus just doesn’t like dry air. Since these plants come from tropical forests, they seem to crave a bit of humidity. When my place feels parched, I grab a humidity tray or give the plant a light mist.
Making a humidity tray is pretty straightforward. I just fill a shallow tray with pebbles and water, then set the pot on top—making sure it doesn’t actually sit in the water.
As the water evaporates, it gently boosts the moisture around the plant.
I’ll also mist the leaves with room-temperature water every few days, especially in winter when the radiator is running nonstop. I’m careful not to overdo it—too much moisture can lead to rot, and nobody wants that.
If the air feels dry or the leaf tips look a bit shriveled, I’ll mist a little more often. On humid days, I just skip misting altogether.
Watching how the plant reacts is honestly the best way to find the right rhythm.
10) Fertilize with a balanced, water-soluble fertilizer monthly

Once a month, I give my Christmas cactus a boost with balanced, water-soluble fertilizer. It keeps the plant strong and the leaves looking nice and green.
I stick to fertilizers with equal parts nitrogen, phosphorus, and potassium—like a 10-10-10 or 20-20-20 mix.
I always dilute the fertilizer to half strength. Too much can burn the roots, so I just pour the mix onto the soil until it’s a little moist, not soggy.
During the active growing season—spring through early fall—I try to feed monthly. When winter rolls around, I pause fertilizing and let the plant rest.
I’ve noticed regular feeding means more buds and healthier stems. The plant fills out and the blooms look brighter when I stick to a simple schedule.
If I miss a month (hey, it happens), I just pick up where I left off—no doubling up. That way, I avoid stressing the plant.
Every few months, I’ll flush the soil with plain water to clear out any salt buildup from the fertilizer. It’s a small step but it really helps keep the roots happy and prevents yellowing leaves.
11) Repot after roots establish, usually in 2-3 months
I usually wait about 2 to 3 months before repotting new Christmas cactus cuttings. That seems to give the roots enough time to get established and fill the small pot.
If I repot too early, the plant can get stressed and stall out. I check for roots by gently tugging on the cutting—if there’s resistance, it’s usually ready.
Sometimes, I’ll spot roots poking out of the bottom of the pot, which is always a good sign.
When it’s time, I pick a slightly bigger pot with drainage holes. Too large a pot just means extra soggy soil, and that’s a recipe for rot.
Fresh, well-draining soil is a must—I like cactus or succulent mixes. I’m careful not to break the roots, placing the plant gently in its new home and filling in around it.
After repotting, I water lightly to help the soil settle, then keep the plant in bright, indirect light. No fertilizer for a few weeks—just let it adjust.
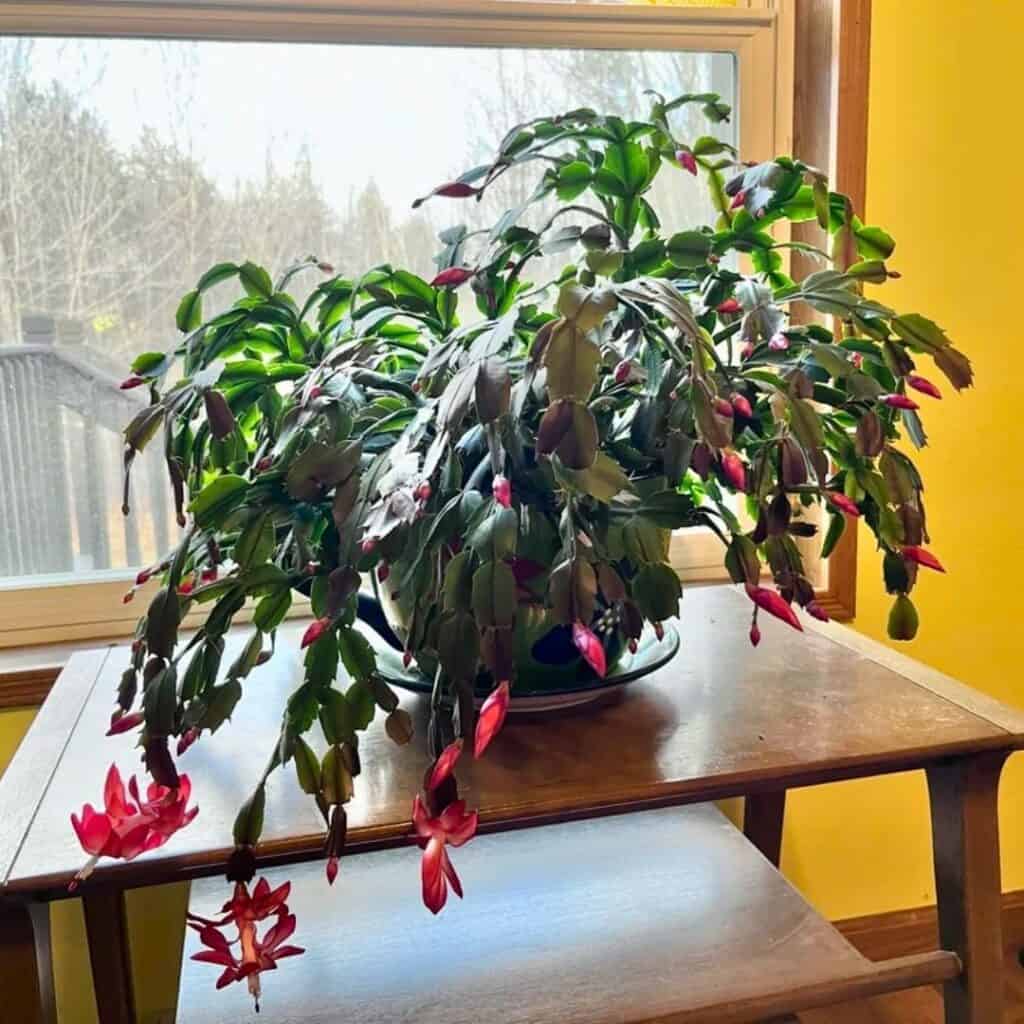
Every couple of years, I’ll repot again. It keeps things fresh and the plant seems to love it. Watching it bounce back after a move is pretty satisfying.
Understanding Christmas Cactus Propagation
I’ve found that successful propagation really comes down to healthy cuttings, clean tools, and proper care while rooting. The little details truly matter here.
Common Mistakes to Avoid
When I first tried propagating my Christmas cactus, I definitely made some rookie mistakes. Taking cuttings that were too short or too old was a big one.
The best pieces come from healthy stems with two to four segments.
Watering too soon is another classic error. After cutting, I let the pieces dry for a few days so the ends can seal up and avoid rot.
Using heavy soil is also a no-go. Cactus roots need to breathe, so I always use a light, well-draining mix—usually cactus soil with some perlite.
Here’s what I remind myself:
- Don’t overwater or let soil stay soggy.
- Keep cuttings out of direct sun while rooting.
- Use sharp, clean tools.
- Be patient—rooting takes time.
Avoiding these mistakes really makes a difference.
Choosing the Right Tools and Materials
I always reach for clean, sharp scissors or pruning shears. Dull blades just crush the stems, which is no good.
A quick wipe with rubbing alcohol before and after cutting keeps things clean.
For containers, I go with small pots that have drainage holes. That way, extra water can escape.
I use fresh cactus soil mixed with sand or perlite for extra airflow.
Here’s my basic setup:
| Item | Purpose |
|---|---|
| Clean scissors | To make smooth cuts |
| Small pot | To hold cuttings while rooting |
| Cactus soil mix | To provide drainage |
| Perlite or sand | To keep soil light |
I like to label each pot with the date of planting—makes it easier to track progress. Staying organized really helps, even if it feels a bit fussy.
Troubleshooting Propagation Challenges
I still run into little hiccups when growing new Christmas cactus plants. Most of the time, it comes down to the wrong rooting conditions or pests sneaking in.
Identifying Rooting Problems
If cuttings aren’t rooting, I check moisture levels first. Too much water leads to rot, too little and the roots won’t form.
I aim for soil that’s slightly damp, never soggy.
Light and temperature matter too. Bright, indirect light and a steady 65–75°F (18–24°C) seem to work best.
Cold drafts or harsh sun just slow everything down.
If a cutting looks wilted or shriveled, I snip off any soft or dark ends, let it dry for a day, then replant in fresh, clean soil.
Here’s my quick cheat sheet:
| Problem | Likely Cause | Fix |
|---|---|---|
| Soft, mushy stem | Overwatering or rot | Remove damaged parts and replant |
| Dry, wrinkled cutting | Too little moisture | Mist lightly and keep humidity steady |
| No new roots after 4 weeks | Low warmth or light | Move to a brighter, warmer spot |
Dealing With Pests and Diseases
I check my cuttings now and then for mealybugs, fungus gnats, or spider mites. These pests are a pain and can slow down growth.
A cotton swab dipped in alcohol works well to wipe them off gently.
For fungus gnats, I let the soil dry out a bit between waterings and set out sticky traps to catch the adults.
Diseases like root rot usually come from old soil or too much water. I always use fresh potting mix and clean pots before starting new cuttings.
If I catch a bad smell or see black roots, I trim the damaged parts and let the rest dry before replanting. Keeping things clean and balanced goes a long way.
Frequently Asked Questions
I’ve realized that timing, good care, and the right environment make all the difference with Christmas cactus propagation. Healthy cuttings, just enough moisture, and well-draining soil really help new plants get off to a good start.
What’s the best time of year to propagate a Christmas cactus?
I prefer late spring or early summer. The plant is growing actively then, so cuttings root more easily.
Cooler months just slow everything down.
Can you walk me through the step-by-step process of propagating a Christmas cactus?
I pick healthy, mature segments with at least two or three joints. Using clean, sharp scissors, I cut them and let the ends dry and callous for about 24 hours.
Then I stick them in slightly moist, well-draining soil and set them in bright, indirect light.
How do you ensure high humidity for a Christmas cactus cutting?
I’ll usually cover cuttings loosely with a clear plastic bag or pop them in a mini greenhouse to trap some moisture.
I make sure there’s still airflow so things don’t get too damp. A light mist every few days keeps humidity steady.
What kind of soil mixture is ideal for Christmas cactus propagation?
I go for a cactus or succulent soil mix that drains well. Adding a bit of perlite or sand helps with airflow and prevents soggy soil.
The goal is soil that’s lightly moist, never wet.
How long does it take for a Christmas cactus cutting to root?
Usually, my cuttings root in three to six weeks. Warmer, more humid conditions speed things up, while cooler air slows the process.
Are there any common issues to watch out for when propagating a Christmas cactus?
I usually keep an eye out for rot, mold, or cuttings that look shriveled up. Overwatering tends to be the main culprit—honestly, it’s easy to get carried away with the watering can.
So, I let the soil dry out just a bit between waterings, even if I’m tempted to add more. If I spot a cutting that’s gone soft or turned dark, I just pull it out right away to keep the rest safe.
Note: Some images in the articles are sourced from Reddit and Other Platforms For Reference Purpose.